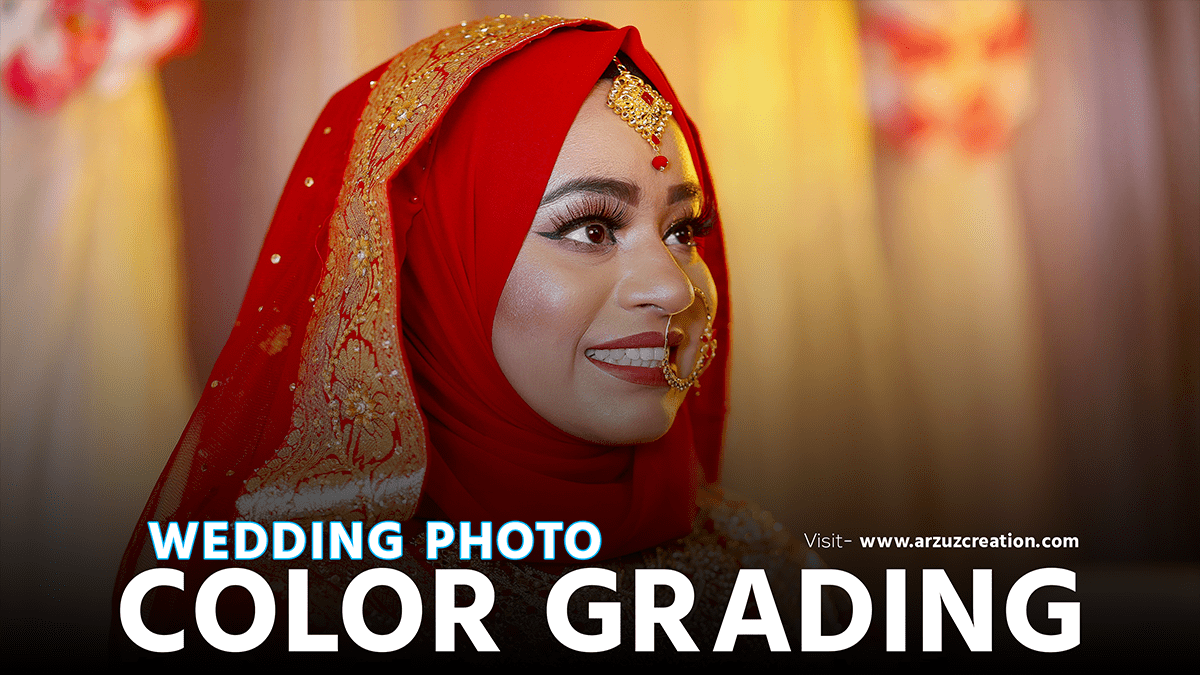
Wedding Photo Editing 2024 Photoshop Tutorial,
Editing wedding photos in Photoshop can enhance the overall quality and appearance of the images. Therefore, Here are some steps and tips to help you get started with wedding photo editing in Photoshop:

Basic Workflow,
In other words, Import Photos:
- Open Photoshop and import the photos you want to edit by going to
File > Open.
However, Crop and Straighten:
- Use the Crop Tool (
C) crop the photo to your desired aspect ratio and straighten any tilted horizons.
For instance, Adjust Exposure and White Balance:
- Go to
Image > Adjustments > LevelsorCurvesto adjust the exposure. - Use
Image > Adjustments > White Balanceor adjust it in Camera Raw if you opened the photo as a raw file.
Above all, Enhance Colors:
- Use the
VibranceandSaturationadjustments to make the colors pop without oversaturating the image. - Use the
Selective Coloradjustment to fine-tune specific colors.
In addition, Retouching:
- Use the
Spot Healing Brush Tool(J) orClone Stamp Tool(S) to remove any blemishes or unwanted objects. - Use the
Dodge Tool(O) to brighten specific areas and theBurn Tool(O) to darken specific areas.
After that, Smooth Skin:
- Duplicate the background layer (
Ctrl + JorCmd + J). - Go to
Filter > Blur > Gaussian Blurand apply a slight blur. - Add a layer mask to the blurred layer and paint with black on the mask to reveal the eyes, lips, and other details you don’t want to be blurred.
Similarly, Sharpen:
- Apply
Filter > Sharpen > Unsharp Maskto sharpen the image. Adjust the settings to your preference.
Therefore, Add Vignette:
- Go to
Filter > Lens Correctionand add a vignette effect to draw attention to the center of the image.
In other words, Final Adjustments:
- Use the
LevelsorCurvesadjustments to make final tweaks to the contrast and brightness. - Consider converting the image to black and white for a classic look (
Image > Adjustments > Black & White).
However, Save the Edited Photo:
- Save your edited photo in a high-quality format, such as JPEG or TIFF (
File > Save As).
- Consistency: Maintain a consistent style across all wedding photos to create a cohesive album.
- Subtle Edits: Avoid over-editing. Subtle enhancements often look more professional.
- Presets and Actions: Use Photoshop to speed up your workflow and maintain consistency.
- Backup Originals: Always back up the original photos before editing.

Example Walkthrough: Basic Wedding Photo Edit,
For instance, Open Photo in Camera Raw:
- If you are working with raw files, open the image in Camera Raw (
Ctrl + RorCmd + R). - Adjust the
Exposure,Contrast,Highlights,Shadows,Whites, andBlackssliders to balance the photo.
Above all, Adjust White Balance:
- Use the White Balance tool to set the correct white balance by clicking on a neutral gray area in the photo.
Fine-Tune Colors:
- Use the
HSL/Grayscalepanel to adjust the Hue, Saturation, and Luminance of specific colors.
Open in Photoshop:
- Once adjustments are made in Camera Raw, open the photo in Photoshop for further editing.
Skin Smoothing and Blemish Removal:
- Use the techniques mentioned above for skin smoothing and blemish removal.
Enhance Eyes and Smile:
- Use the
Dodge Toolto brighten the eyes and teeth slightly. - Use the
Burn Toolto add depth to the eyes.
Final Touches:
- Apply a final vignette to focus attention.
- Use the
Sharpenfilter to enhance details.
By following these steps and tips, you can achieve beautifully edited wedding photos that capture the special moments of the day.
