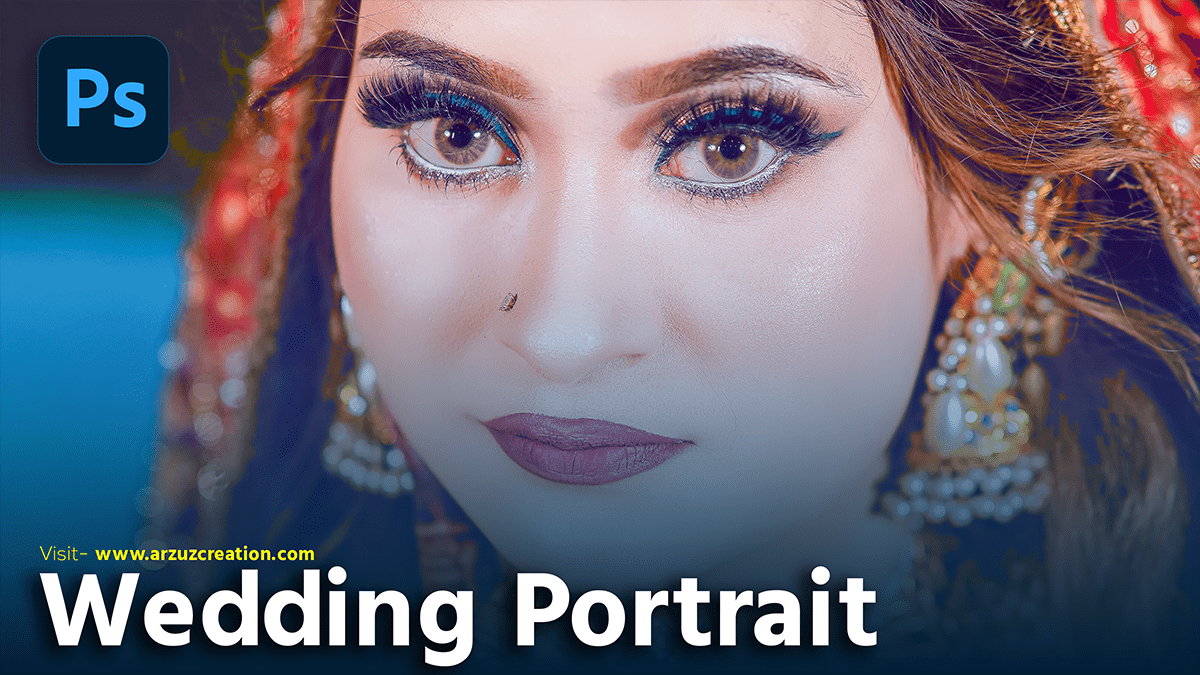
Adobe Photoshop Wedding Portrait Editing Tutorial For Beginners,

Therefore, Editing portrait photos in Photoshop using adjustment layers is a powerful way to enhance and correct images non-destructively. In other words, Adjustment layers allow you to change your photo’s appearance without permanently altering the original image. However, Here’s a step-by-step guide to using adjustment layers for portrait editing:
Adobe Photoshop Wedding Portrait Editing Tutorial For Beginners,

Open Your Portrait Photo,
- For instance, Open Photoshop and load the portrait photo you want to edit.
Create Adjustment Layers,
Above all, Adjustment layers can be added from the Layers or Adjustment panels. Here’s a list of common adjustment layers used in portrait editing:
a. Brightness/Contrast:
- In addition, Go to
Layer > New Adjustment Layer > Brightness/Contrast. - Adjust the brightness and contrast sliders to improve the overall lighting of the portrait.
b. Levels:
- After that, Go to
Layer > New Adjustment Layer > Levels. - Similarly, Use the input level sliders to adjust the shadows, mid-tones, and highlights.

c. Curves:
- Therefore, Go to
Layer > New Adjustment Layer > Curves. - In other words, Create points on the curve to adjust the tonal range and contrast.
d. Hue/Saturation:
- However, Go to
Layer > New Adjustment Layer > Hue/Saturation. - For instance, Adjust the hue, saturation, and lightness to modify the colors in the portrait.
e. Color Balance:
- Above all, Go to
Layer > New Adjustment Layer > Color Balance. - In addition, Adjust the sliders for shadows, mid-tones, and highlights to correct the color balance.
f. Selective Color:
- Go to
Layer > New Adjustment Layer > Selective Color. - Fine-tune specific colors in the portrait for more precise color correction.
g. Photo Filter:
- After that, Go to
Layer > New Adjustment Layer > Photo Filter. - Apply warming or cooling filters to adjust the overall color tone.
Adobe Photoshop Wedding Portrait Editing Tutorial For Beginners, Fine-Tune Adjustments,
Each adjustment layer will have its own properties panel where you can make changes. You can also use layer masks to apply adjustments to specific parts of the portrait:
- Click on the layer mask thumbnail in the Layers panel.
- Use the Brush tool to paint with black or white on the mask. Painting with black hides the adjustment, and painting with white reveals it.

Retouching with Adjustment Layers,
For portrait retouching, consider these additional adjustment layers and techniques:
a. Dodge and Burn:
- Create a new layer filled with 50% gray (
Layer > New > Layer, then fill with 50% gray and set the blending mode to Overlay). - Use the Dodge and Burn tools to lighten or darken areas for a more three-dimensional look.
b. Frequency Separation:
- Create two copies of your image layer. Apply Gaussian Blur to the lower copy (low frequency) and use the High Pass filter on the top copy (high frequency).
- Set the high-frequency layer’s blending mode to Linear Light.
- Use adjustment layers to correct colors and tones on the low-frequency layer.
Save Your Work,
- Save your Photoshop file (
.psd) to retain all adjustment layers and masks. - Export the final image as a
.jpgor.pngfor sharing or printing.
Adobe Photoshop Wedding Portrait Editing, Example Workflow,
- Brightness/Contrast: Adjust overall lighting.
- Curves: Enhance contrast and correct tonal range.
- Hue/Saturation: Boost colors and adjust skin tones.
- Selective Color: Fine-tune specific colors like reds and yellows in the skin.
- Photo Filter: Apply a subtle warming filter for a pleasing skin tone.
Combining these adjustment layers gives you a professional and polished look for your portrait photos.
