Therefore, The Content-Aware Move Tool in Photoshop is a powerful feature that allows you to move an object within an image and have Photoshop intelligently fill in the background where the object was originally located. However, This tool uses advanced algorithms to blend the moved object seamlessly with its new surroundings. In other words, Here’s how to use the Content-Aware Move Tool effectively:

For instance, Open Your Image:
- Above all, Open Photoshop and load the image you want to edit.
In addition, Select the Content-Aware Move Tool:
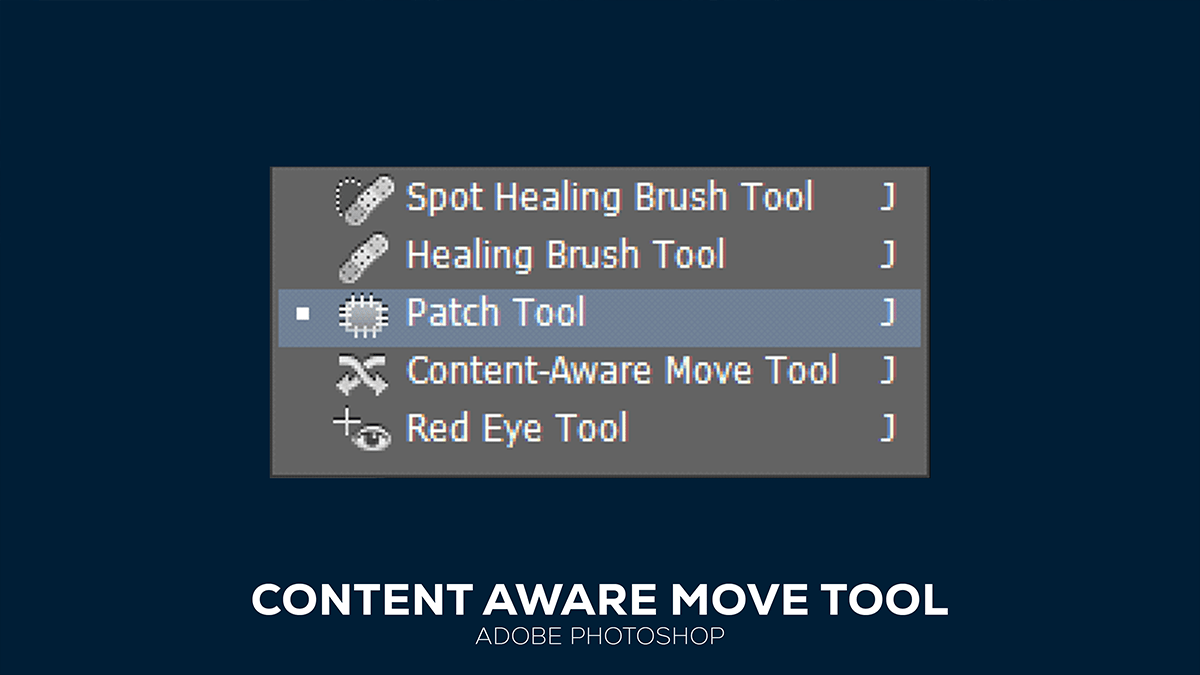
- After that, You can find the Content-Aware Move Tool in the toolbar on the left side of the screen. It is nested under the Spot Healing Brush Tool. Click and hold the Spot Healing Brush Tool icon to reveal the Content-Aware Move Tool.
Similarly, Choose the Mode:
- Therefore, In the options bar at the top, you can choose between “Move” and “Extend” modes.
- Move: In other words, Move the selected object to a new location.
- Extend: However, Stretches the selected object, useful for lengthening or duplicating parts of the image.
For instance, Create a Selection:
- Click and drag to create a selection around the object you want to move. Make sure the selection encompasses the entire object.
Move the Object:
- Click inside the selection and drag it to the desired location. Release the mouse button to place the object in its new position. Photoshop will automatically fill in the background where the object was originally located.
Adjust the Settings:
- You can adjust the “Structure” and “Color” settings in the options bar to fine-tune the blending.
- Structure: Controls how closely the new image structure should match the original structure. Values range from 1 to 7, with 1 being the loosest match and 7 being the closest.
- Color: Controls how closely the colors should match between the original and new areas. Values range from 0 to 10, with 0 being no color blending and 10 being maximum color blending.
Refine the Edges:
- If needed, use the Healing Brush Tool or the Clone Stamp Tool to refine the edges and blend the moved object more seamlessly.
Practical Example,
Move a Person:
- Select a person in a photo who is standing off-center.
- Drag the selection to a more balanced position in the image. Photoshop will fill in the background where the person was originally standing.
Extend an Object:
- Select a tree in a landscape photo.
- Use the “Extend” mode to stretch the tree and create the effect of a longer trunk or taller tree.
Additional Tips,
- Feathering the Selection:
- Feather the edges of your selection for smoother transitions. You can do this by right-clicking on the selection and choosing “Feather,” and then specifying the feather radius.
- Work on a Duplicate Layer:
- Duplicate the background layer before applying the Content-Aware Move Tool to work non-destructively. This way, you can always revert to the original image if needed.
- Zoom In:
- Zoom in on the area you are working on for more precise control. Use
Ctrl + +(Windows) orCmd + +(Mac) to zoom in.
By mastering the Content-Aware Move Tool, you can significantly enhance your ability to edit and manipulate images, creating more dynamic and visually appealing compositions.