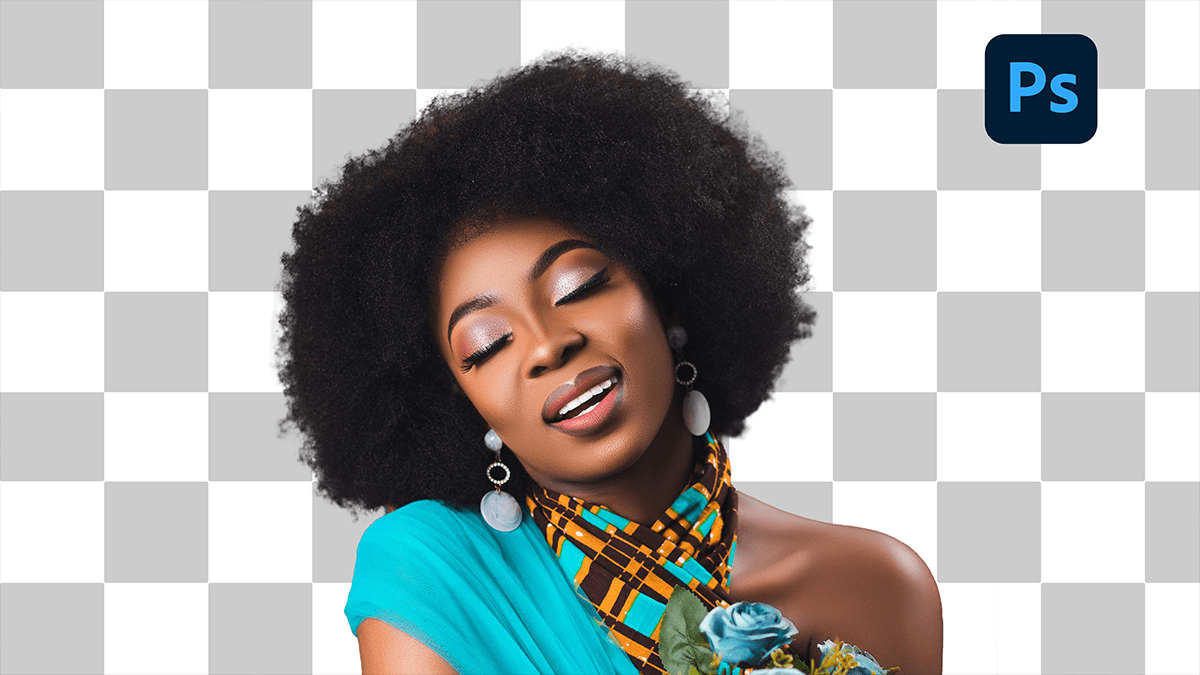
How to Remove Hair Background in Photoshop,

Removing hair from a background in Photoshop can be tricky due to the fine details, but using the Select and Mask feature can make the process much easier. Therefore, Here’s a step-by-step guide:
Open Your Image in Photoshop:
- In other words, Load the image where you want to remove the background.
How to Remove Hair Background in Photoshop, Duplicate the Layer:
- However, In the Layers panel, right-click on your image layer and choose “Duplicate Layer.” This helps you work non-destructively.
Select the Subject:
- For instance, Use the Quick Selection Tool or Magic Wand Tool to roughly select the subject.
- Above all, Go to the top menu and select Select > Subject for an automatic selection.
How to Remove Hair Background in Photoshop, Open Select and Mask:
- In addition, With the selection active, click on Select and Mask in the options bar at the top.
- After that, This will open the Select and Mask workspace.
Refine the Selection:
- View Mode: Set it to a mode that allows you to see the edges clearly, such as “On White” or “On Black.”
- Refine Edge Brush Tool: Use this tool to paint over the
Hair edges. This tool helps refine the selection, especially around fine hair strands by intelligently detecting the hair from the background.
How to Remove Hair Background in Photoshop,

Adjust Global Refinements:
- Smooth: Slightly increase the smoothness to create a cleaner edge.
- Feather: Apply a very small feather to soften the edge, but don’t overdo it.
- Contrast: Increase the contrast to make the hair strands sharper.
- Shift Edge: You can shift the edge inward slightly to remove any unwanted background near the hair.
Output the Selection:
- Similarly, In the Output Settings, choose Output to New Layer with Layer Mask. This will create a new layer with the background removed, using a mask to preserve the hair details.
Clean Up the Mask:
- If needed, use a soft brush on the layer mask to manually refine any areas that need touch-ups.
How to Remove Hair Background in Photoshop, Add a New Background:
- You can now add a new background layer beneath the masked subject. Adjust the subject’s position, size, and lighting to match the new background.
Final Adjustments:
- Use tools like the Dodge Tool or Burn Tool to lighten or darken hair strands, ensuring they blend seamlessly with the new background.
This method leverages Photoshop’s powerful tools to tackle the complexity of hair, ensuring a professional and natural-looking result.
