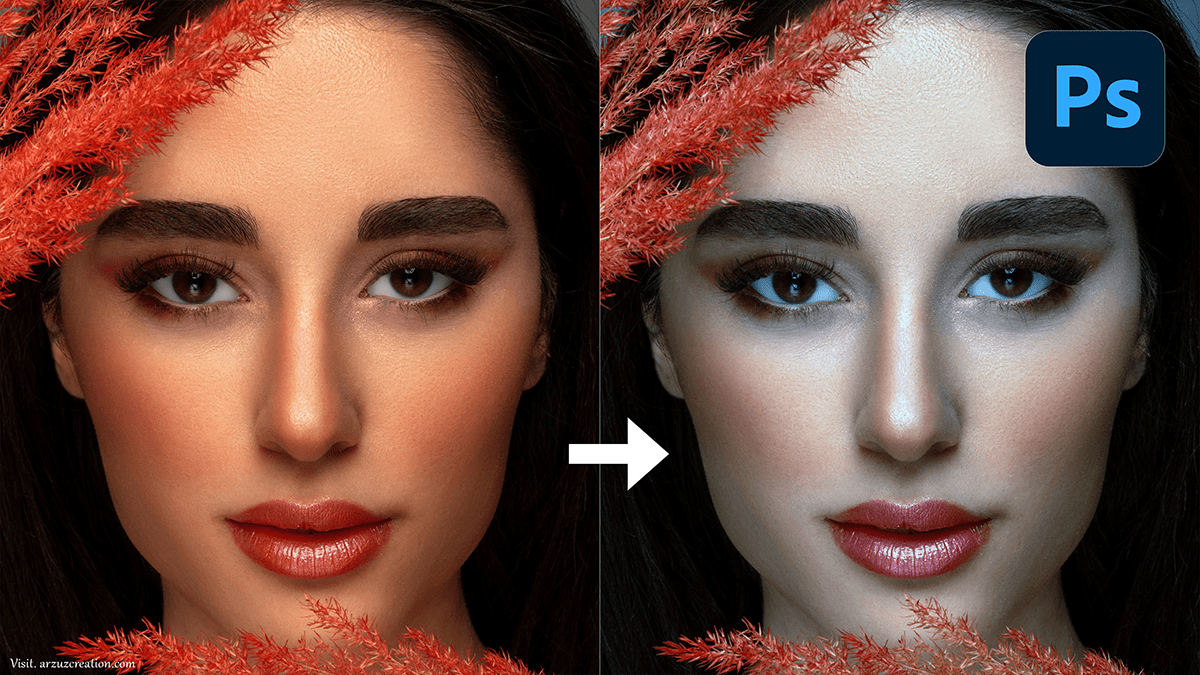
How to Edit Skin Tones in Adobe Photoshop 2024,

Therefore, To edit skin tones in Photoshop effectively, you can follow these steps, depending on the complexity of the adjustments you want to make:
Using the Hue/Saturation Adjustment Layer:
- Step 1: Open your image and create a Hue/Saturation adjustment layer by going to
Layer > New Adjustment Layer > Hue/Saturation. - Step 2: From the drop-down menu that says “Master,” select Reds (as skin tones usually fall within the red channel).
- Step 3: Adjust the Hue and Saturation sliders to shift the skin tone without affecting other colors. Small changes usually work best.
- Step 4: If the adjustments affect areas other than the skin, mask out those areas by painting black on the adjustment layer’s mask where you don’t want the effect.
Selective Color Adjustment:
- Step 1: Create a Selective Color adjustment layer (
Layer > New Adjustment Layer > Selective Color). - Step 2: In the drop-down menu, select Reds, and adjust the sliders for Cyan, Magenta, Yellow, and Black to refine skin tones.
- Step 3: You can also adjust the Yellows and Neutrals to make finer corrections.
- Step 4: Use the layer mask to isolate the effect to just the skin.


Frequency Separation for Skin Smoothing (Advanced):
- Step 1: Duplicate your image layer twice.
- Step 2: On the top layer, apply the High Pass filter (
Filter > Other > High Pass) to retain skin texture. Set the blending mode to Linear Light. - Step 3: On the bottom duplicated layer, use Gaussian Blur to smooth out color imperfections while keeping texture intact.
- Step 4: Use a soft brush to mask out areas that need color correction and adjust the opacity for subtlety.
How to Edit Skin Tones, Dodge, and Burn:
- Step 1: Create a new layer and fill it with 50% gray. Set the blending mode to Overlay or Soft Light.
- Step 2: Above all, Use the Dodge and Burn tools on the gray layer to subtly lighten and darken specific areas of the skin, enhancing the natural look.
How to Edit Skin Tones in Adobe Photoshop 2024,

Color Balance Adjustment Layer:
- Step 1: Create a Color Balance adjustment layer (
Layer > New Adjustment Layer > Color Balance). - Step 2: After that, Focus on adjusting the Midtones first, then fine-tune the Shadows and Highlights to balance out skin colors.
- Step 3: Above all, Again, use the layer mask to restrict the adjustment to the skin areas only.
How to Edit Skin Tones, Tips:
- In other words, Always work non-destructively by using adjustment layers.
- However, Be subtle with your edits to maintain the natural texture and look of the skin.
- Above all, Zoom in and out frequently to check the details but also to see the whole picture.
In conclusion, These techniques can help you balance, correct, or enhance skin tones while maintaining the natural look of your image.
