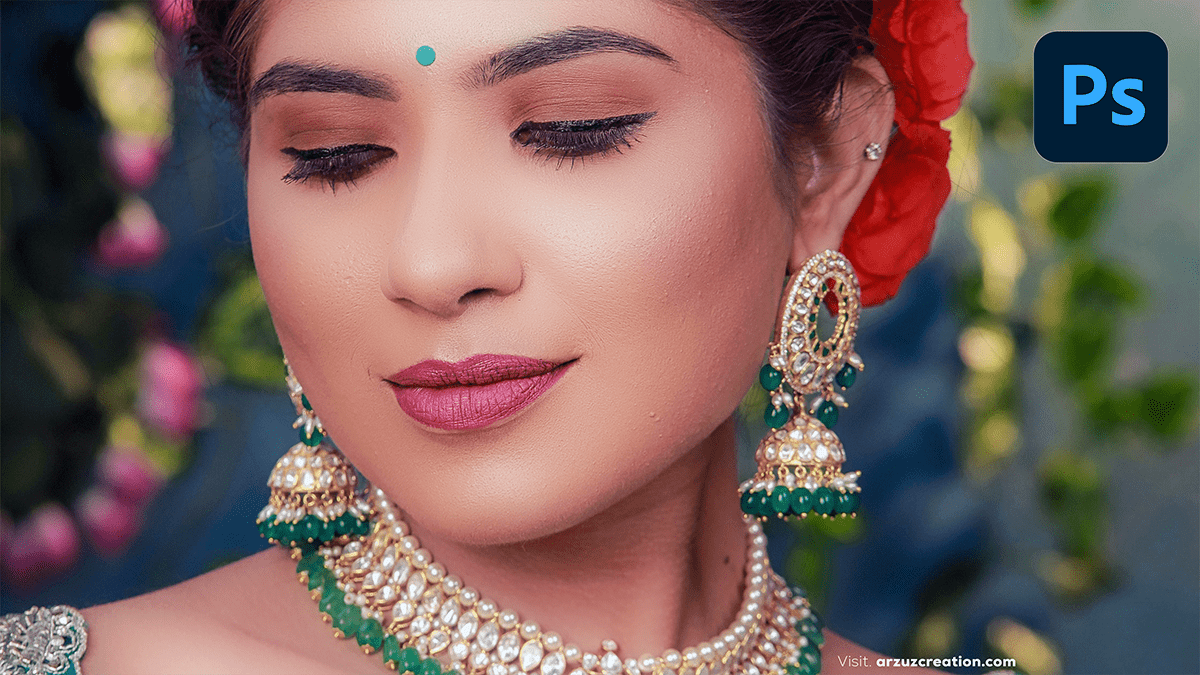
Using Presets to Edit Wedding Photos: A Tutorial,
Therefore, Using presets to edit wedding photos is a great way to streamline the editing process and maintain consistency across the entire gallery. Here’s a tutorial to guide you through applying and customizing presets in Lightroom (though the process can be similar in other software like Capture One).

What are Presets?
However, Presets are pre-defined sets of adjustments that you can apply to your photos with one click. These adjustments include exposure, contrast, color balance, tones, and other settings. Wedding photographers often use presets to save time while achieving a specific look or style.
Choose or Install Presets (Step 01)
In other words, there are many wedding-specific presets available online. You can buy presets or download free ones. Some popular preset collections for wedding photography include:
- Mastin Labs (for filmic looks)
- VSCO (vintage-inspired tones)
- Presetpro (wide range of styles)
- Installing Presets (in Lightroom Classic):
- In other words, Go to the Develop module.
- However, In the left-hand panel, find the “Presets” section.
- In addition, Click the “+” symbol next to “Presets” and select “Import Presets.”
- In other words, Navigate to the folder where your downloaded presets are stored and select them. They will now be visible in the “Presets” panel.
Using Presets to Edit Wedding Photos, Apply a Preset (Method 02)
- Open the Photo: Once you have imported your presets, open the wedding photo you want to edit in the Develop module.
- Select a Preset: In the left-hand panel, browse through the presets you’ve installed. You’ll see a preview of how the preset will look on your image as you hover over each one.
- Apply the Preset: Click on the preset you like, and it will be applied to the photo.

Using Presets to Edit Wedding Photos, Fine-Tune the Adjustments (Step 03)
After that, While presets provide a base, every image is different in terms of lighting, exposure, and color. You’ll likely need to make some minor adjustments after applying the preset.
- Exposure: Weddings often have challenging lighting. After applying the preset, adjust the Exposure slider to ensure the image is neither too bright nor too dark.
- White Balance: Wedding photos can have various lighting conditions (daylight, indoor lights, sunset). Adjust the White Balance to ensure accurate skin tones.
- After that, Use the Temperature and Tint sliders to correct any color casts (too warm or too cool).
- Contrast: If your image looks too flat or too harsh after the preset is applied, adjust the Contrast slider to bring back balance.
- Shadows and Highlights:
- Shadows: If certain areas of the photo are too dark, lift the Shadows slider.
- Highlights: Bring down the Highlights if the whites in the image are too bright.
- Saturation/Vibrance: Depending on the preset, colors may appear oversaturated. Lower the Saturation or adjust the Vibrance slider to control how intense the colors are.
Using Presets to Edit Wedding Photos, Sync Settings Across the Gallery (Method 04)
Above all, Consistency is key in wedding photography. Instead of editing every photo individually, you can apply the same preset and adjustments to a batch of photos.
- Select Multiple Photos: In the Library module, select the photos you want to apply the same settings to.
- Sync Settings:
- Above all, Go back to the Develop module.
- In addition, Click “Sync” at the bottom of the panel.
- After that, Choose the settings you want to sync (Exposure, White Balance, Tone, etc.), and hit “Synchronize.” Now, all the selected images will have the same edits.
Using Presets to Edit Wedding Photos: A Tutorial,

Export the Final Photos (Step 05)
For instance, After editing all your wedding photos, it’s time to export them in high-quality formats.
- Go to the Library module.
- Select your edited photos.
- Click File > Export.
- In the export dialog, choose the following:
- Format: JPEG (for web or client delivery) or TIFF (for high-resolution prints).
- Resolution: 300 dpi for prints or 72 dpi for web.
- File Size: Adjust based on your needs, but keep quality high for wedding clients.
Additional Tips for Editing Wedding Photos with Presets
- Create Your Own Preset: If you find yourself applying the same adjustments over and over after using a base preset, create your own.
- After editing, click the “+” icon in the Presets panel and save your adjustments as a custom preset.
- Use Presets as Starting Points: Presets can get you close to your desired look, but they shouldn’t be the end of your editing process. Always refine them to match the unique characteristics of each photo.
- Be Consistent but Flexible: While consistency is important for the overall wedding gallery, not all photos will need the same treatment. Adapt the preset when necessary for challenging lighting conditions or special shots.
Using presets effectively will make your wedding photo editing faster and more efficient, allowing you to focus on delivering beautiful memories to your clients.
