How to Make XMP in Adobe Photoshop CC,

To create a preset in Photoshop, such as a color grading preset or a filter that you can reuse, follow these steps:
Edit the Image:
- Above all, Open an image in Photoshop.
- In addition, Adjust your image (e.g., Brightness/Contrast, Hue/Saturation, Color Balance, or other Adjustment Layers).
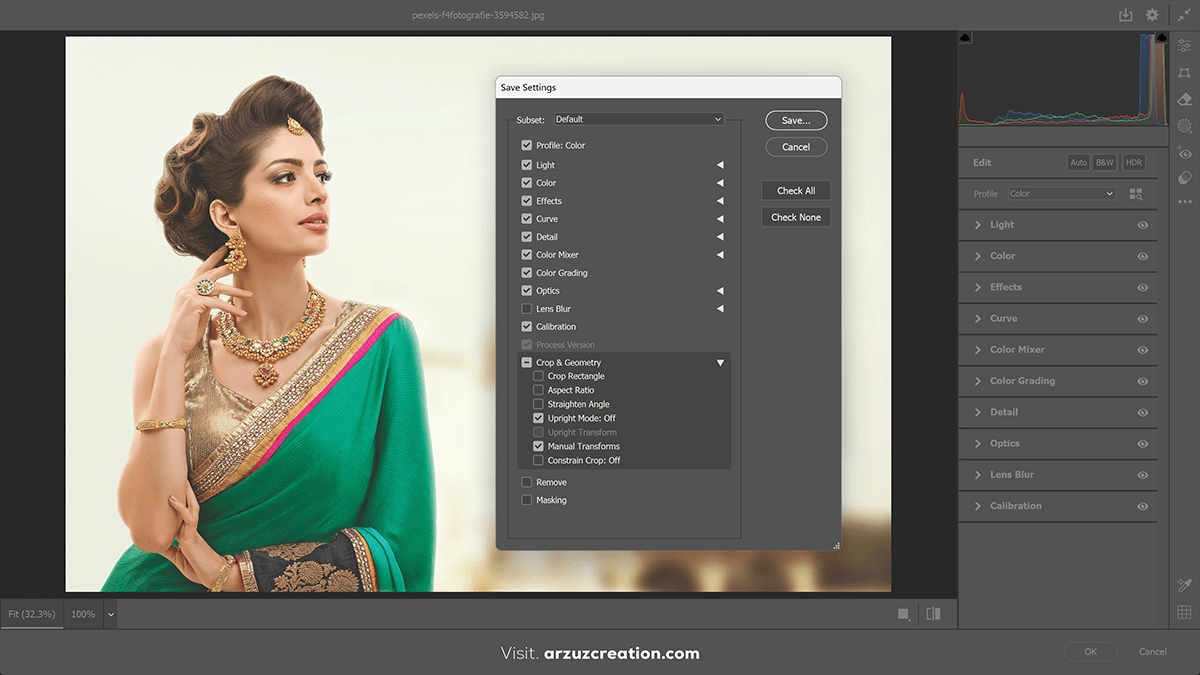
How to Make XMP, and Save the Adjustments as a Preset:
For Adjustment Layers:
- However, Go to the Adjustment Layer (like Curves or Hue/Saturation) you want to save as a preset.
- Above all, In the Properties panel, click on the menu (three horizontal lines) and select Save Preset.
- For instance, Name your preset and save it.
For Filters:
- Therefore, If you’ve applied a filter (e.g., Camera Raw Filter, Gaussian Blur, etc.), after adjusting the settings, you can save it as a preset:
- Filter > Camera Raw Filter > Presets tab > Click on the Create New Preset icon.
- For instance, Name your preset and save it.

How to Create XMP, and Apply Your Preset:
- Therefore, To apply a saved preset, load it to the corresponding adjustment layer or filter panel.
- However, For Adjustment Layers, use the Load Preset option in the Properties panel.
- In other words, For Camera Raw Filter, select the preset from the Presets tab.
How to Make XMP in Adobe Photoshop CC, Bonus Tip:
In other words, You can also export presets to share with others. Simply locate the preset in Photoshop’s preset manager, right-click, and choose Export.
Would you like help with a specific type of preset?
Why is there a need to know the use of presets in Photoshop?
However, Understanding and using presets in Photoshop can significantly improve your workflow and the quality of your work. Here’s why:
Time-Saving:
- Efficiency: Presets allow you to apply frequently used adjustments or effects in a single click, reducing the time spent on repetitive tasks.
- Batch Editing: You can apply presets to multiple images quickly, which is especially useful for professionals like photographers who need to edit large numbers of photos.
Consistency:
- Uniform Look: Presets help maintain a consistent style across multiple projects. For example, wedding photographers often use color grading presets to ensure all photos in an album have the same tone and mood.
- Professionalism: Consistent edits give a polished and cohesive look, enhancing the overall quality of a portfolio or project.
Creativity and Experimentation:
- Starting Point: Presets give you a starting point for creative edits. You can tweak and adjust them further to create unique looks.
- Discover New Styles: By using presets made by other professionals, you can learn new techniques and styles, expanding your creative horizons.
Standardization:
- Branding: Designers and brands often use presets to maintain a recognizable style across different projects (e.g., ads, social media, websites).
- Collaboration: Sharing presets with a team or clients ensures that everyone is working within the same stylistic framework.
Learning Tool:
- Reverse-Engineering: By applying a preset and examining the settings, you can learn how certain effects or looks are achieved. This helps improve your skills and understanding of Photoshop’s tools.
Overall, presets simplify complex edits, save time, and allow for consistent, high-quality results—making them invaluable for both beginners and professionals. Do you use presets in your work, or are you considering starting?
