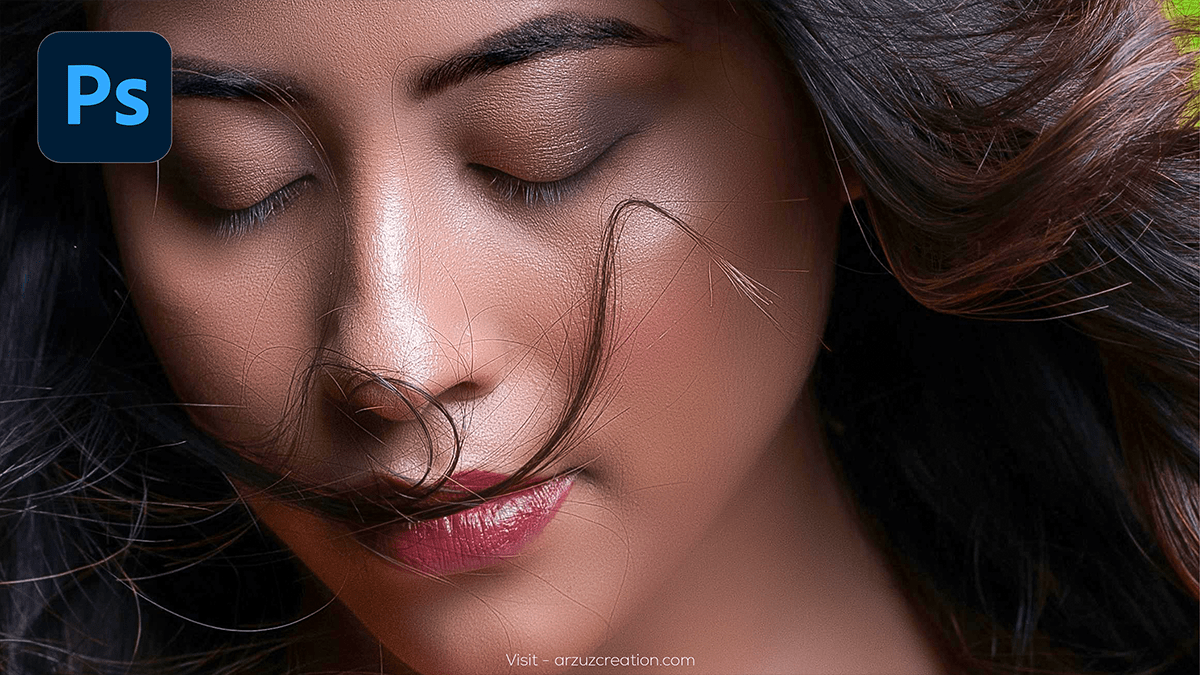
How to Edit Images Adobe Photoshop Step-By-Step,
Therefore, Here’s a simple step-by-step guide to editing a photo in Photoshop:

Open Photoshop and Load Your Image:
- In other words, Launch Photoshop.
- However, Go to
File > Open, locate your image on your computer, and clickOpen.
Duplicate the Background Layer:
- For instance, In the Layers panel, right-click the Background layer.
- Above all, Choose
Duplicate Layer.... This helps preserve the original image.
Crop and Straighten (Optional):
- For instance, Select the
Crop Toolfrom the toolbar or pressC. - Above all, Drag the corners of the crop box to adjust the framing of your image.
- For instance, Hit
Entercan be used to apply the crop.
Adjust Brightness and Contrast:
- Above all, Go to
Image > Adjustments > Brightness/Contrast. - In addition, Adjust the sliders to make the image more balanced.
- After that, Click
OKwhen you are satisfied.
How to Edit Images Adobe Photoshop Step-By-Step,
How to Edit Images, and Color Adjustments:
- In addition, Go to
Image > Adjustments > LevelsorImage > Adjustments > Curves. - Above all, Play with the sliders to improve shadows, mid-tones, and highlights for a better color balance.
- After that, Alternatively, you can use
Image > Adjustments > Vibranceit to enhance colors subtly.
Remove Blemishes or Unwanted Objects:
- Similarly, Select the
Spot Healing Brush Toolfrom the toolbar or pressJ. - After that, Click on blemishes or unwanted objects in the image to remove them.
How to Edit Images, and Sharpen the Image:
- Similarly, Go to
Filter > Sharpen > Unsharp Mask. - After that, Adjust the sliders to sharpen the image without overdoing it.
- Similarly, Click
OKto apply.
Apply Filters (Optional):
- Above all, Go to
Filter > Filter Gallery. - However, Choose artistic or other effects to stylize the image.
How to Edit Images, and Save Your Edited Image:
- However, Once satisfied with your edits, go to
File > Save As.... - Above all, Choose the file format (JPEG, PNG, PSD) and click
Save.
This process can be tailored depending on what you’re aiming to achieve with your photo edits. You can always explore more advanced tools once you’re comfortable with these basics!
Professional Photo Editing Tutorial For Beginners,

Photoshop CC is a versatile tool with many features that can be used to enhance your photos. Here are a few simple tips for improving your images:
Brightness & Contrast:
- How to do it: Go to
Image>Adjustments>Brightness/Contrast. - Tip: Increase brightness for a lighter look or boost contrast for more dramatic tones.
Curves Adjustment:
- How to do it: Go to
Image>Adjustments>Curves. - Tip: Use the Curves tool for precise control over shadows, midtones, and highlights.
How to Edit Images, Healing Brush Tool:
- How to do it: Select the Healing Brush tool from the toolbar or press
J. - Tip: Use this to remove blemishes, dust spots, or imperfections from your photo.
Dodge and Burn:
- How to do it: Select the Dodge (lighten) or Burn (darken) tool from the toolbar.
- Tip: Use it to selectively lighten or darken areas of the image, enhancing contrast and detail.
Sharpening:
- How to do it: Go to
Filter>Sharpen>Unsharp Mask. - Tip: Adjust the Amount, Radius, and Threshold to sharpen your image without adding too much noise.
Vibrance and Saturation:
- How to do it: Go to
Image>Adjustments>Vibrance. - Tip: Increase vibrance for subtle saturation boosts without over-saturating the colors.
How to Edit Images, Selective Color:
- How to do it: Go to
Image>Adjustments>Selective Color. - Tip: Adjust specific color ranges to highlight or tone down certain hues.
Feel free to ask if you need more specific tips or techniques for particular effects!
