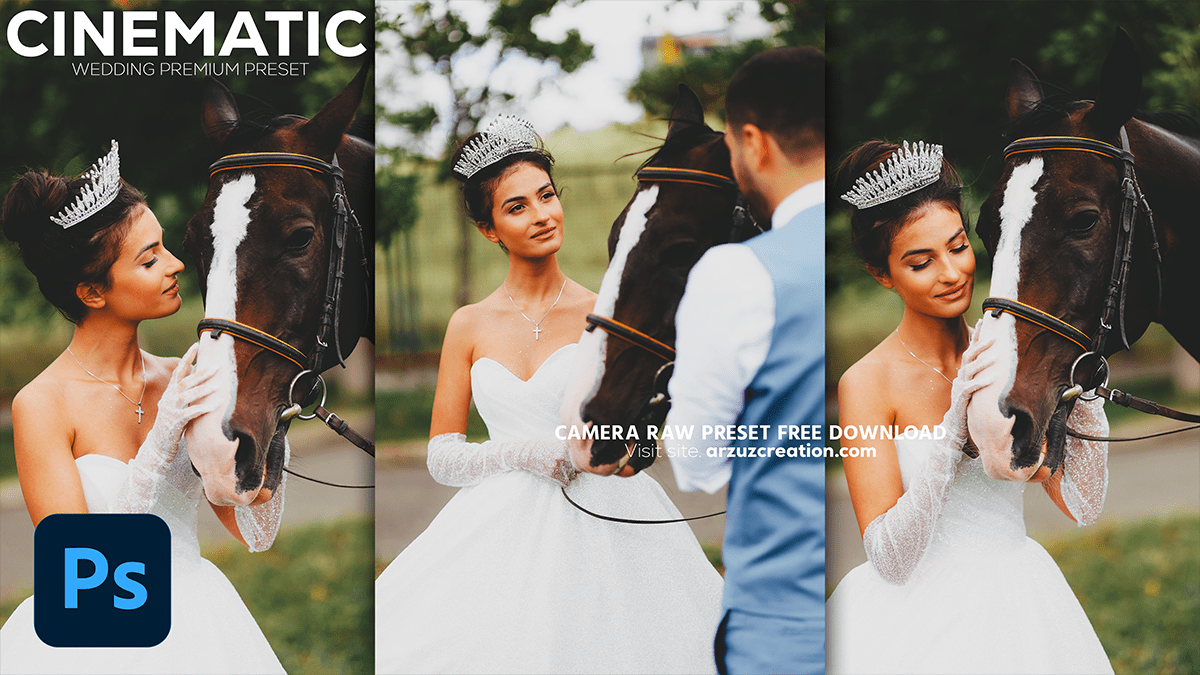
Adobe Photoshop: Wedding Photoshop Editing Tutorial 2024,

Therefore, Editing wedding photos in Photoshop involves a variety of techniques to enhance the overall look and feel. In other words, Here’s a step-by-step guide to some popular edits you can apply:
Basic Adjustments: Exposure, Contrast, and White Balance:
- Open the Image in Camera Raw: Use
Filter > Camera Raw Filter. - Adjust Exposure: Ensure the photo is neither too dark nor too bright.
- Correct White Balance: Use the Temperature and Tint sliders to get natural skin tones and correct any color casts.
Adobe Photoshop: Wedding Photoshop Editing, Skin Retouching:
- Remove Blemishes: Use the
Spot Healing Brush Toolto eliminate any imperfections on the skin. - Frequency Separation for Smooth Skin:
- Duplicate the image twice and name the layers (High Frequency and Low Frequency).
- Apply Gaussian Blur to the Low-Frequency layer to smooth skin texture.
- Use the
Apply Imagecommand on the High-Frequency layer to retain details. - Use the
Clone Stamp Tooland theMixer Brushfor fine retouching.
Dodge and Burn:
- Enhance Highlights and Shadows: However, Create a 50% gray layer in Soft Light mode. Use them
Dodge Toolto lighten areas like the bride’s dress or hair highlights, andBurn Toolto darken areas for more depth and contrast.
Teeth Whitening:
- However, Use the
Lasso Toolto select the teeth area. - For instance, Go to
Image > Adjustments > Hue/Saturation. Lower the Yellow saturation and increase lightness slightly for a natural look.
Adobe Photoshop: Wedding Photoshop Editing Tutorial 2024,
Enhancing Eyes:
- Brighten and Sharpen Eyes: Use the
Dodge Toolto lightly brighten the whites of the eyes. Then use theSharpen Toolaround the iris for extra detail. - Add a Catchlight: If needed, create a subtle reflection using a soft white brush to enhance eye sparkle.
- Use Adjustment Layers: Apply
Selective ColororColor Balanceto control the overall tone. For weddings, warmer tones (yellows, reds) or vintage looks (faded colors) are popular. - Split Toning: Use the
Gradient Mapto add custom color overlays to highlights and shadows, creating mood and consistency in the photos.
Adobe Photoshop: Wedding Photoshop Editing, Vignette Effect:
- Darken the Edges: Add a subtle vignette to draw focus to the couple. Use, then go to the Vignette section and adjust the sliders to darken the corners.
- High Pass Filter: Above all, Duplicate your final image and apply the
High Pass Filterset to 2-3px. Change the blending mode toOverlayorSoft Lightto sharpen. - Noise Reduction: Apply subtle noise reduction to smooth any grain, especially in low-light photos.
These steps will give wedding photos a polished, timeless look. Do you have a specific style or edit in mind you’d like to explore further?