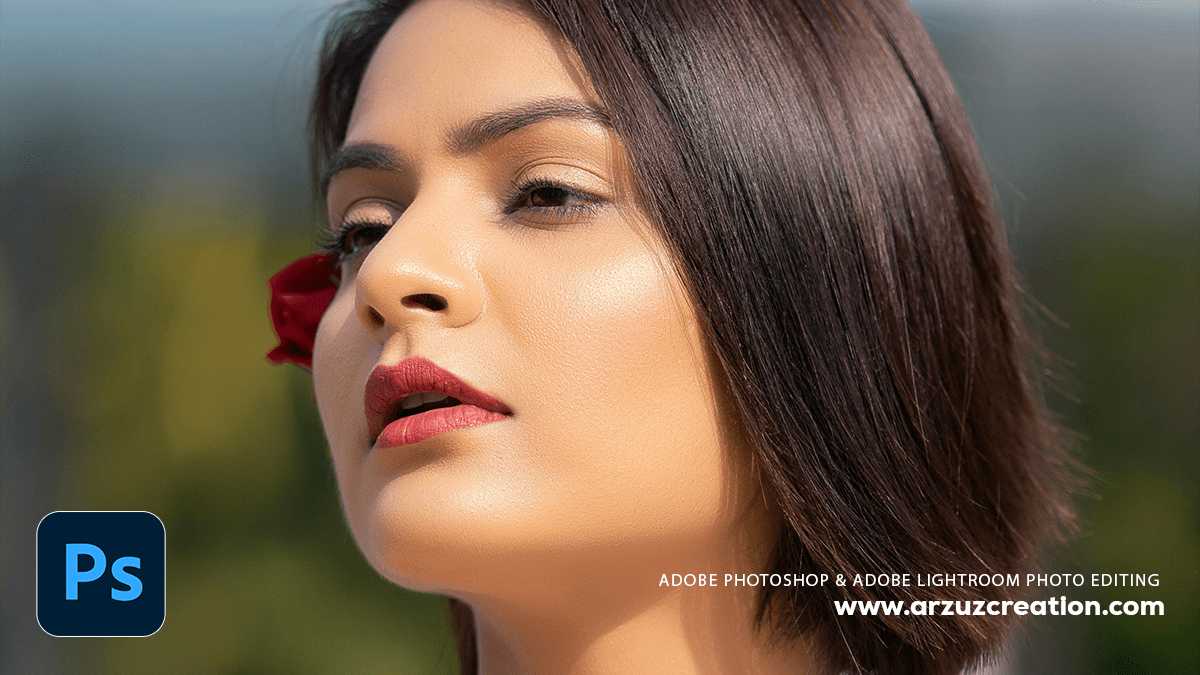
Adobe Photoshop Advanced Retouching Tutorial For Beginners,

Adobe Photoshop Advanced Retouching Tutorial For Beginners,
Therefore, Advanced retouching in Adobe Photoshop is a highly sought-after skill for professional photographers and digital artists. It goes beyond basic blemish removal to a non-destructive, detailed workflow that enhances an image while maintaining a realistic and natural appearance. This involves a combination of specialized techniques, each with its own purpose.
Core Advanced Retouching Techniques:
- Frequency Separation: Therefore, this is arguably the most fundamental and powerful advanced retouching technique, especially for skin. It separates an image into two layers: a “low frequency” layer containing color and tone information, and a “high frequency” layer containing texture and detail. This allows you to edit the two aspects of the image independently. For example, you can smooth out skin tones on the low-frequency layer without losing the natural skin texture on the high-frequency layer.
- Dodge and Burn: Therefore, this classic darkroom technique is a cornerstone of professional retouching. In Photoshop, it’s used to selectively lighten (dodge) or darken (burn) areas of an image. This is not about exposure correction, but rather about sculpting light and shadow to add dimension, define facial features, and create a more polished, three-dimensional look. A non-destructive workflow often involves using neutral gray layers with a “Soft Light” or “Overlay” blending mode.
Retouching Photoshop Plugin,


- Advanced Healing and Cloning: While the basic Spot Healing Brush and Clone Stamp are essential tools, advanced retouchers utilize them with greater precision. Techniques include:
- Therefore, using a separate layer for cleanup allows for non-destructive edits.
- However, changing the blending mode of the Clone Stamp tool (e.g., to “Lighten” or “Darken”) can blend in textures more seamlessly.
- Therefore, utilize the Patch Tool with the “Content-Aware” option for intelligent filling of larger areas.
- Color Correction and Grading: This involves making subtle, precise adjustments to the image’s color palette.
- Selective Color: However, using this adjustment layer, you can target specific color ranges in the image (e.g., reds, yellows, blues) and adjust their hue, saturation, and luminance to create a more cohesive and professional look.
- Curves and Levels: However, mastering these tools allows for granular control over the tonal range of an image, enabling you to precisely adjust highlights, midtones, and shadows to enhance contrast and depth.
Camera Raw Filter Photo Editing,
- Liquify Tool: Therefore, the Liquify filter is used for more significant shaping of a subject, such as subtle adjustments to a person’s pose or body shape. Professional use of this tool is about subtlety and naturalism, not extreme distortion.
- Non-Destructive Workflow: A hallmark of professional retouching is a workflow that does not permanently alter the original image data. This is achieved by:
- Working on duplicated layers or Smart Objects.
- Using Adjustment Layers for all tonal and color edits.
- Employing layer masks to selectively apply effects.
- Organizing layers into logical groups.
A Typical Professional Retouching Workflow:

However, while the exact steps can vary, a common professional workflow looks something like this:
- Initial Cleanup: Start with general cleaning using the Healing Brush, Spot Healing Brush, and Clone Stamp tools to remove major distractions like blemishes, stray hairs, and dust spots. Work on a separate layer for this.
- Frequency Separation: Apply the frequency separation technique to smooth out skin tones and color transitions while preserving texture.
- Dodge and Burn: Use a non-destructive dodge and burn setup to add dimension and shape to the subject’s face and body. This step is crucial for giving the image a polished, high-end look.
- Color Correction and Enhancements: Use adjustment layers like Selective Color, Curves, and Hue/Saturation to refine colors, add contrast, and create a desired mood or style.
- Final Touches: This could include sharpening specific details (e.g., eyes, hair), adjusting the overall contrast, or adding a final vignette to draw the viewer’s eye to the subject.
- Export: Save the final image in the appropriate format and color space for its intended use (e.g., web, print).
