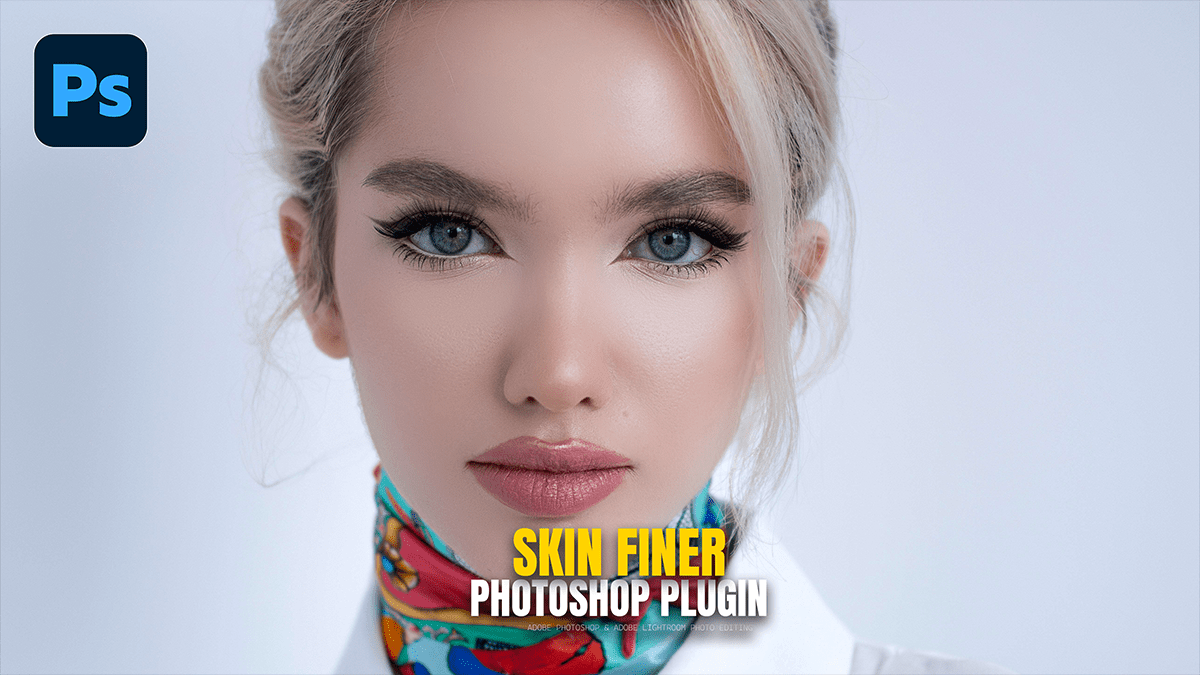
SkinFiner 7.0 Adobe Photoshop Plugin Tutorial,

Therefore, using the SkinFiner plugin in Photoshop is a popular way to quickly and easily retouch portraits. The plugin automates much of the process, making it a great tool for both beginners and professionals. In other words, here’s a general guide on how to use it:
SkinFiner 7.0 Adobe Photoshop Plugin Tutorial,
1. Installation:
Install the Plugin: Therefore, when you install the SkinFiner software, it should automatically detect and install the plugin for compatible versions of Photoshop (and Lightroom).
Restart Photoshop: If Photoshop was open during the installation, you’ll need to restart it for the plugin to appear.
Manual Installation: In other words, if the automatic installation fails, the SkinFiner user guide provides steps for manual installation, which usually involves copying a plugin file into the Photoshop “Plug-ins” folder.
SkinFiner 7.0 Adobe Photoshop Plugin Tutorial,
2. Basic Workflow:
Open Your Image: Therefore, in Photoshop, open the portrait you want to retouch.
Duplicate the Layer: It’s good practice to duplicate your background layer (Ctrl + J or Cmd + J) so you’re working non-destructively.
Access the Plugin: Go to Filter > Photo-Toolbox > SkinFiner.
Auto-Skin-Mask: Therefore, the plugin will automatically detect the skin areas. You’ll see a preview of the mask, with the skin area highlighted. You can manually refine this mask if needed.
Adobe Photoshop Adjustment Layer Photo Editing,

Adjust the Settings: Therefore, the SkinFiner interface has several sliders and options to control the retouching effect. Key settings include:
Skin Smoothing: In other words, it controls the overall smoothness of the skin. You can often adjust the “Amount,” “Fine,” and “Medium” details to get the desired result.
Skin Imperfections: This section helps remove blemishes, redness, and yellow tones.
Skin Tone: Use these sliders to adjust the skin color, shadows, highlights, brightness, and contrast.
Presets: The plugin comes with pre-defined presets for quick, one-click effects. You can also create and save your own.
Review and Apply: Use the “Before” and “After” preview to see the changes. Once you are happy with the result, click “OK.”
Final Touches: In other words, the plugin does a lot, but you may still need to do some final manual retouching. For example, you might use Photoshop’s Spot Healing Brush or Clone Stamp tool to remove any remaining stubborn blemishes or to clean up areas not covered by the plugin.
Camera Raw Filter Photo Editing & Color Grading Tutorial,

3. Advanced Features & Tips:
Smart Filters: When you apply SkinFiner as a “Smart Filter” (available in Photoshop CC 2017 and later), you can go back and re-adjust the plugin’s settings at any time without having to re-apply the filter.
Batch Processing: SkinFiner can also be used as a standalone application for batch processing multiple photos at once. This is a huge time-saver for large shoots.
Output Options: The Photoshop filter allows you to choose how the result is output, for example, as a new layer or a smart filter.
SkinFiner 7.0 Adobe Photoshop Plugin Tutorial,
Video Tutorials:
In other words, since visual learning can be very effective for software like this, here are some search queries to help you find video tutorials:
“Skinfiner Photoshop plugin tutorial“
“How to use Skinfiner in Photoshop.“
“Skinfiner 5.0 Photoshop tutorial” (or the latest version)
