Adobe Photoshop Nik Collection Photo Editing,

Therefore, the Nik Collection by DxO is a suite of powerful creative plugins that integrates seamlessly with Adobe Photoshop to provide advanced and artistic photo-editing filters
Therefore, the key to a flexible workflow is using Nik filters as non-destructive Smart Filters on a Smart Object layer.
Adobe Photoshop Nik Collection Photo Editing,
Before you begin:
- Install the Nik Collection: Download and install the software from the DxO website. The installer will automatically detect and integrate with your version of Photoshop.
- Open your image: Open the image you wish to edit in Adobe Photoshop.
- Create a Smart Object: In the Layers panel, right-click on your image layer and select Convert to Smart Object. This allows you to apply the Nik filter non-destructively, so you can change or remove it at any time.
Step 1: Launch a Nik plugin:
Therefore, there are two main ways to open a Nik filter from Photoshop:
Method A: Use the Nik Collection panel:
- Therefore, the Nik Collection 8 and later versions use a dedicated panel in Photoshop. Go to Plugins > Nik Collection and select the panel to display a list of all the plugins.
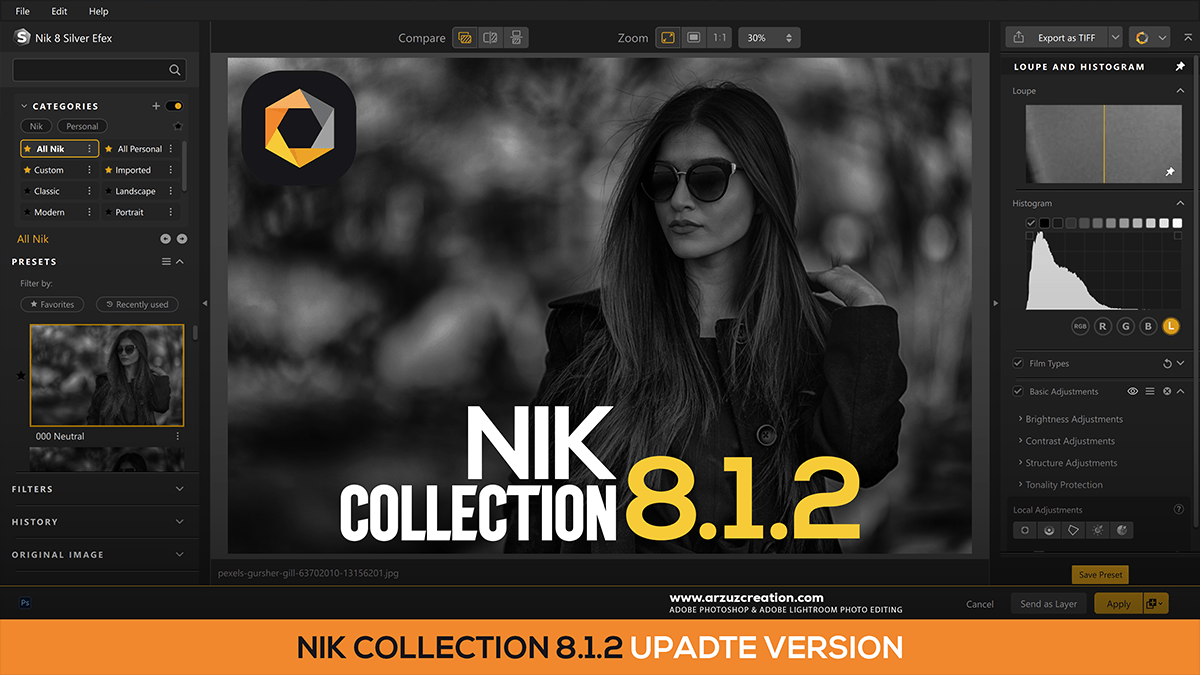
- Therefore, click the icon for the plugin you want to use, such as Color Efex for color effects or Silver Efex for black and white conversions.
Method B: Use the Filter menu:
- Alternatively, go to Filter > Nik Collection and select the specific plugin you wish to use from the dropdown menu.
Method 2: Edit in the Nik Collection interface:
After launching a plugin, your image will open in the Nik Collection’s editing interface. The layout is similar across the suite.
Adjustment Layer Photo Editing,
- Presets (left panel): Therefore, browse through a wide variety of presets to apply a specific look instantly. Many presets are categorized by style, such as “Landscape” or “Analog Film”.
- Filters (right panel): Manually stack and customize filters for precise control. For example, in Color Efex, you might add a “Brilliance / Warmth” filter and a “Vignette” filter.
- Control points: Therefore, use the powerful Control Point technology to apply adjustments to specific areas of your image without creating a mask in Photoshop.
- Click the “Add Control Point” button and place a point on the area you want to adjust.
- Use the sliders to control the effect‘s strength, brightness, contrast, and saturation.
- The adjustments will only affect the area around the control point, with a smooth falloff.
- Switch between plugins: Many Nik plugins allow you to switch directly to another plugin without returning to Photoshop. This can be done using the “Switch to” button at the top right of the interface.
Method 3: Apply the filter back in Photoshop:
Adobe Photoshop Nik Collection Photo Editing,
In other words, when you are done editing in the Nik Collection, click Apply to send your changes back to Photoshop.
- In other words, if you began with a Smart Object, the effect will be applied as a Smart Filter.
- However, in the Photoshop Layers panel, you can now:
- Double-click the Smart Filter to reopen the Nik plugin with all your original settings and adjustments, allowing you to fine-tune your work.
- In other words, adjust the filter’s Opacity and Blending Mode to change how it interacts with the layers below.
- However, add a Layer Mask to the Smart Filter to paint the effect on or off specific areas of your image.
Camera Raw Filter Photo Editing Tutorial,
Step 4: Combine Photoshop masks with Nik filters:
For ultimate control, you can create a precise mask in Photoshop and use it within the Nik Collection.
- In Photoshop, create a selection using the marquee, lasso, or AI-powered “Select Subject” tool.
- Open your chosen Nik filter from the panel. The selection mask will be imported automatically.
- In the Nik plugin’s interface, the imported mask will be visible in the local adjustments list, allowing you to apply filters exclusively to the selected area.
