Photoshop Skin Finer 7.0 Tutorial For Beginners,
Therefore, there is no single tool called “Skin Finer” in Adobe Photoshop. The term may refer to a third-party plugin called SkinFiner, but the most effective and professional skin retouching in Photoshop is done with built-in tools and techniques like Frequency Separation.

Therefore, for users of Adobe Photoshop Express, there is a one-click “Smooth Skin” feature, and the full version of Photoshop offers the AI-powered “Skin Smoothing” Neural Filter.
Photoshop Skin Finer 7.0 Tutorial For Beginners,
Photoshop’s built-in skin smoothing options:
Neural Filters: Skin Smoothing (for current Photoshop):
For a quick, AI-assisted method, the Neural Filters feature offers an easy way to smooth skin.
- Go to
Filter> Neural Filters. - Therefore, select the Skin Smoothing filter from the panel. If it’s your first time, you may need to download it by clicking the cloud icon.
- Adjust the Blur and Smoothness sliders to control the effect.
- Therefore, for the
Output, chooseDuplicate Layer Masked. This applies the smoothing effect to a new layer with a mask, allowing you to control which areas are affected.
Adjustment Layer Photo Editing Tutorial For Beginners,
Quick Actions: Smooth Skin (for current Photoshop):
Therefore, you can also use a Quick Action to get started with skin smoothing immediately.
- In other words, open the Discover panel by clicking the search icon or going to
Help > Photoshop Help. - In other words, navigate to
Browse > Quick Actionsand selectSmooth skin. - Click
Apply. Photoshop will detect the subject and automatically smooth the skin.
Adobe Photoshop Express:
In other words, the mobile and web versions of Photoshop Express offer a simple one-click “Smooth Skin” feature designed for easy touch-ups.
Camera Raw Filter Color Grading Tutorial,
Professional skin retouching with Frequency Separation:
However, this advanced technique is the industry-standard for retouching skin because it allows you to correct blemishes and tone without destroying the skin’s natural texture.
- Separate frequency layers. Create two copies of your background layer. Blur the bottom layer (low frequency/tone) and apply the
Image > Apply Imagecommand to the top layer (high frequency/texture) with specific settings (Subtractblending mode,Scale: 2,Offset: 128). - Clean up blemishes. However, select the texture layer and use the Spot Healing Brush or Clone Stamp Tool to remove fine details like blemishes and stray hairs.
- Even out skin tones. On the tone layer, use a soft Mix Brush Tool to even out blotchy colors and smooth out rough areas.
- Dodge and burn for dimension. However, use Curves adjustment layers with layer masks to selectively add light (dodge) and shadow (burn) to create dimension.
Photoshop Skin Finer 7.0 Tutorial For Beginners,
Third-party plugins:
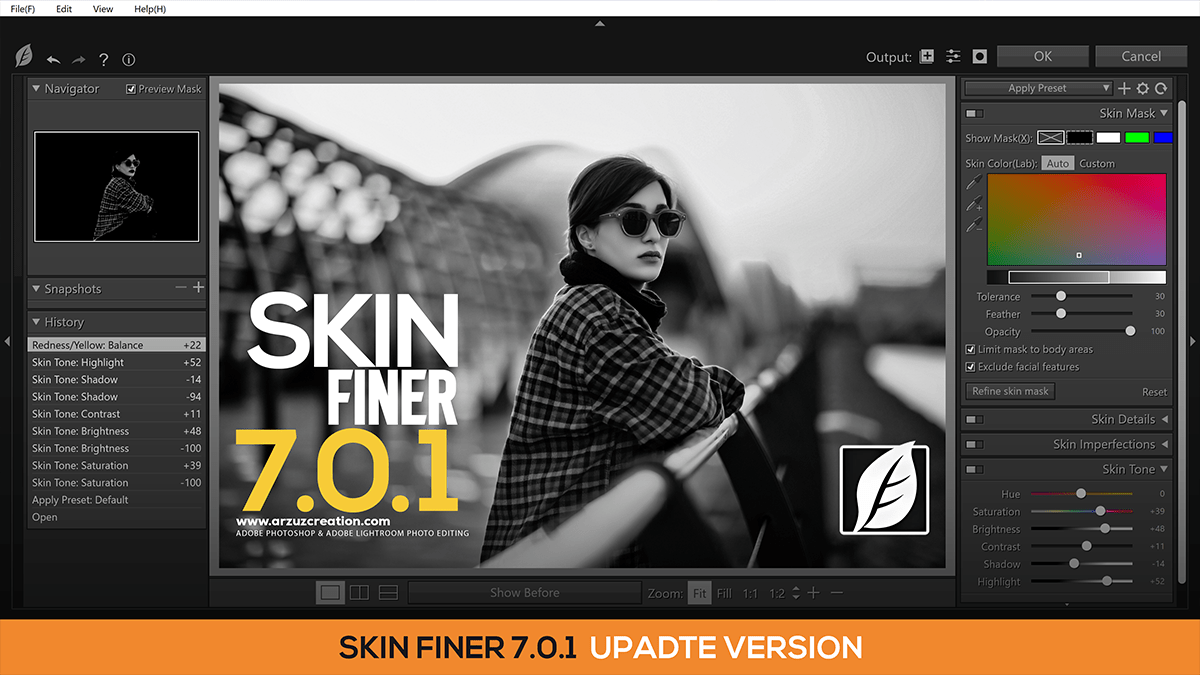
For a faster, more automated workflow, you can use dedicated third-party plugins. The term “Skin Finer” most likely refers to one of these.
- SkinFiner: This plugin automatically detects skin and offers sliders to smooth and enhance skin texture and tone. It can be used as a standalone application or a plugin for Photoshop.
- Portraiture: However, A well-known plugin that automatically smooths and refines skin with advanced controls.
- Retouch4me: This plugin uses AI to retouch skin automatically, offering a streamlined process.
