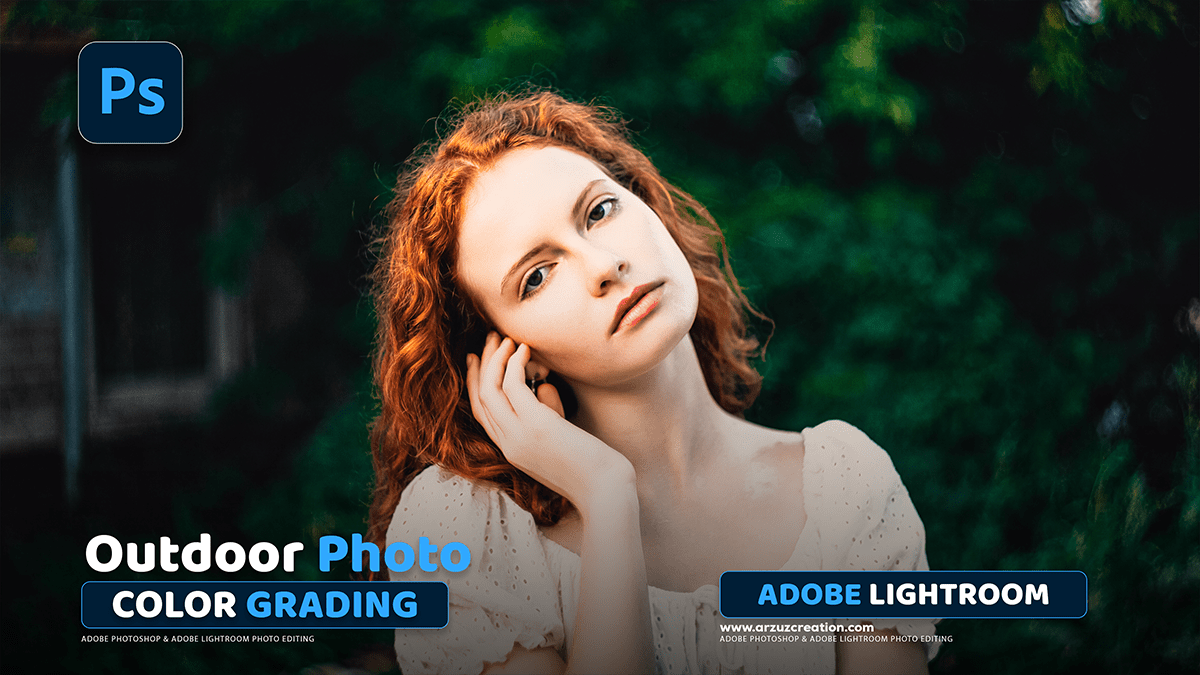
Lr Color Grading Photo Editing Tutorial For Beginners,
Therefore, Color grading in Lightroom can dramatically change the mood and style of your photos. Here’s a general workflow and key tools to use:

Lr Color Grading Photo Editing Tutorial For Beginners,
General Color Grading Workflow:
- Start with Color Correction (The Foundation):
- Exposure & Contrast: Ensure your image has good overall brightness and contrast using the Light panel (Exposure, Contrast, Highlights, Shadows, Whites, Blacks).
- White Balance: Get the colors neutral first, or intentionally set a starting mood (e.g., warmer for a sunset) using the Temp and Tint sliders in the Color panel.
- Refine Specific Colors (HSL/Color Mixer):
- Therefore, Go to the HSL (Hue, Saturation, Luminance) or Color Mixer panel.
- In other words, Adjust individual colors (Reds, Oranges, Yellows, Greens, etc.) to refine specific elements:
- Hue: Changes the shade of a color (e.g., making greens more yellow or more blue).
- Saturation: Changes the intensity/purity of a color.
- Luminance: Changes the brightness of a color (e.g., darkening a blue sky).
- Tip: Use the Targeted Adjustment Tool (the circle icon in the HSL panel) to click and drag on a color in the photo to adjust its HSL values.
Ajustment Layer Photo Editing,

- Apply Creative Tones (Color Grading Panel):
- Therefore, Scroll down to the Color Grading panel (replaces the old Split Toning tool).
- Therefore, This is the core of color grading, allowing you to add specific color casts to your image’s different tonal areas:
- Shadows Wheel: Adds a color to the darkest parts of your image (often cool colors like blue or cyan).
- Midtones Wheel: Adds a color to the middle tones (often subtle).
- Highlights Wheel: Adds a color to the brightest parts (often warm colors like orange or yellow).
Camera Raw Presets Free Download,
- How to use the Wheels:
- Therefore, Click and drag the circle inside the wheel to pick a Hue (color) and set the Saturation (distance from the center).
- In other words, Use the Luminance slider under each wheel to adjust the brightness of that tonal range.
- Blending & Balance:
- Blending: Controls how much the three color casts overlap. Higher blending creates smoother transitions.
- Balance: Shifts the boundary between the shadows/midtones and midtones/highlights.
- Final Touches (Tone Curve & Calibration):
- Tone Curve: Use the separate Red, Green, and Blue channels in the Tone Curve panel for subtle, global color shifts that affect contrast. For example, lifting the black point on the Blue channel makes shadows warmer (less blue).
- Color Calibration (at the bottom): This panel is for making fundamental adjustments to your camera’s primary color interpretation, affecting all colors globally. It’s great for fine-tuning overall color bias.
Lr Color Grading Photo Editing Tutorial For Beginners,

Common Techniques/Styles:
- Orange & Teal (Cinematic):
- In other words, Set Highlights to warm colors (Orange/Yellow).
- However, Set Shadows to cool colors (Teal/Blue).
- In other words, Adjust Blending for a smooth transition.
- Muted Film Look:
- However, In the Tone Curve (RGB channel), raise the black point and lower the white point to create a “faded” or low-contrast look.
- For instance, Slightly desaturate colors in the HSL panel.
- Warm/Golden Look:
- However, Increase the Temperature slightly in the Basic panel.
- In other words, Add a subtle Yellow/Orange to highlights in the Color Grading panel.
- However, Slightly increase the saturation of Yellows/Oranges in the HSL panel (useful for skin tones/sunlight).
Remember, color grading is subjective! Experiment and find a style you love.
