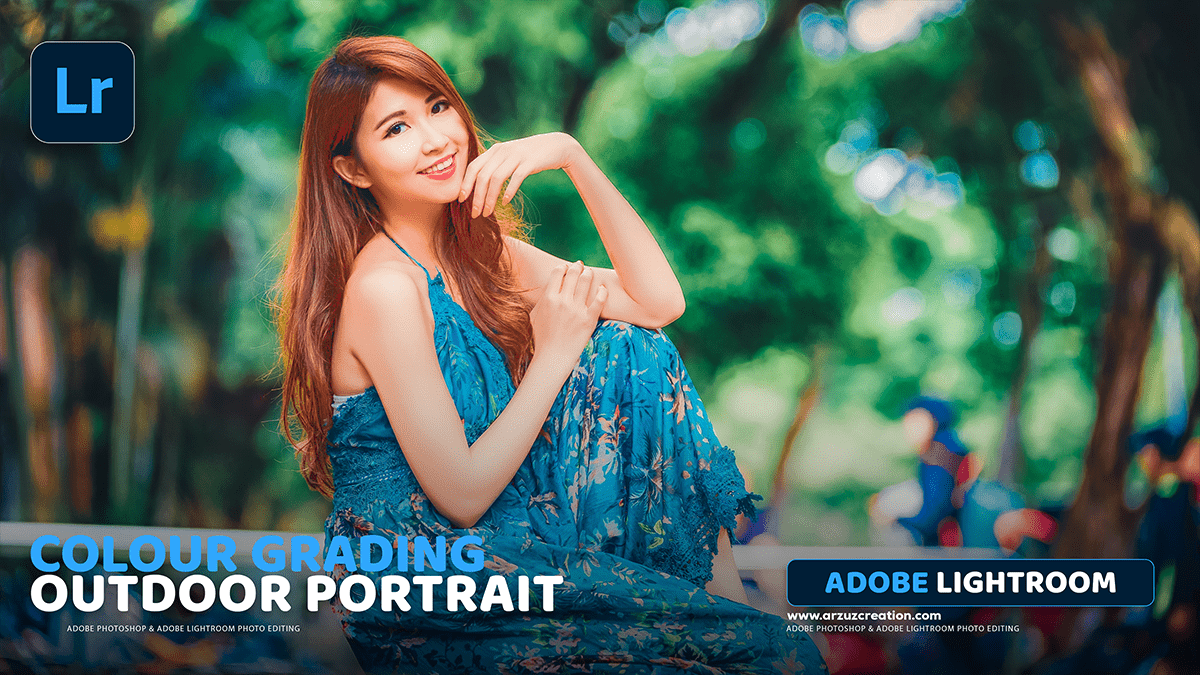
Adobe Lightroom- Colour Grading Outdoor Photo 2025,

Therefore, Color grading in Lightroom is the process of adjusting the colors in your image to create a specific aesthetic, mood, or style. It goes beyond simple color correction and allows for creative color manipulation.
Adobe Lightroom- Colour Grading Outdoor Photo 2025,
Therefore, the primary tool for this is the Color Grading Panel, but other tools are also essential:
1. Color Grading Panel (Replaced Split Toning)
Therefore, this is the most powerful tool for creative color grading, as it allows you to apply different color casts to the Shadows, Midtones, and Highlights independently.
- Three Color Wheels:
- Shadows: Adjusts the color of the darkest areas.
- Midtones: Adjusts the color of the middle-range tones.
- Highlights: Adjusts the color of the brightest areas.
Lr Photo Editing Tutorial For Beginners,
- Controls for each Wheel:
- Hue: Determined by the position of the point on the wheel (the color).
- Saturation: Controlled by the distance from the center (stronger color further out).
- Luminance Slider: Located below each wheel, this controls the brightness of that tonal range.
- Blending: Controls how smoothly the colors blend between the shadows, midtones, and highlights.
- Balance: In other words, it determines the relationship or cutoff point between the tonal ranges. Shifting it can push more of the image toward the shadow or highlight adjustment.
- Global Wheel: Applies a single color cast across the entire image.
Colour Grading, Colour Adjustment,

Pro Tip: A common technique is to use complementary colors—for example, adding warm tones (yellow/orange) to the highlights and cool tones (blue/cyan) to the shadows to create contrast and a cinematic look.
2. Basic Panel Adjustments:
In other words, these are crucial for setting up your image before grading:
- White Balance (Temp & Tint): Establishes the overall color foundation. Use the Temp slider for warmth/coolness and the Tint slider for green/magenta. Getting this right is the first step in color grading.
- Contrast & Exposure: Essential for proper light and dark tones.
- Tone Curve: Used to adjust contrast and overall brightness, but you can also use the individual Red, Green, and Blue channels for subtle color shifts in the shadows and highlights.
Adobe Lightroom- Colour Grading Outdoor Photo 2025,
3. HSL / Color Mixer Panel:
In other words, this tool allows for precise adjustments of specific colors already present in your photo:
- Hue: Changes the actual shade of a color (e.g., turning a light green to a darker green or yellow).
- Saturation: Controls the intensity or purity of a color.
- Luminance: Adjusts the brightness of a specific color (e.g., darkening the blues to make a sky punchier).
4. Calibration Panel (Older versions: Camera Calibration)
However, often overlooked, this panel can create profound color changes by adjusting the underlying Red, Green, and Blue primary colors in the image, affecting the overall color palette.
Adobe Lightroom- Colour Grading Outdoor Photo 2025,

5. Masking (Local Adjustments)
However, for more targeted and advanced grading, you can use masking tools like the Adjustment Brush, Linear Gradient, Radial Gradient, or Subject/Sky Select Masks to apply any of the adjustments (like White Balance, Exposure, or Hue) to only a specific part of the image.
General Workflow:
- Correct: However, adjust Exposure, Contrast, and White Balance in the Basic Panel to ensure a balanced starting point.
- Refine: Use the HSL/Color Mixer to fine-tune individual colors (e.g., make greens less saturated or shift the hue of skin tones).
- Grade: However, apply creative color effects using the Color Grading Panel to establish the final look and mood.
- Polish: Use Masking for selective local adjustments or the Calibration Panel for a final global color shift.
