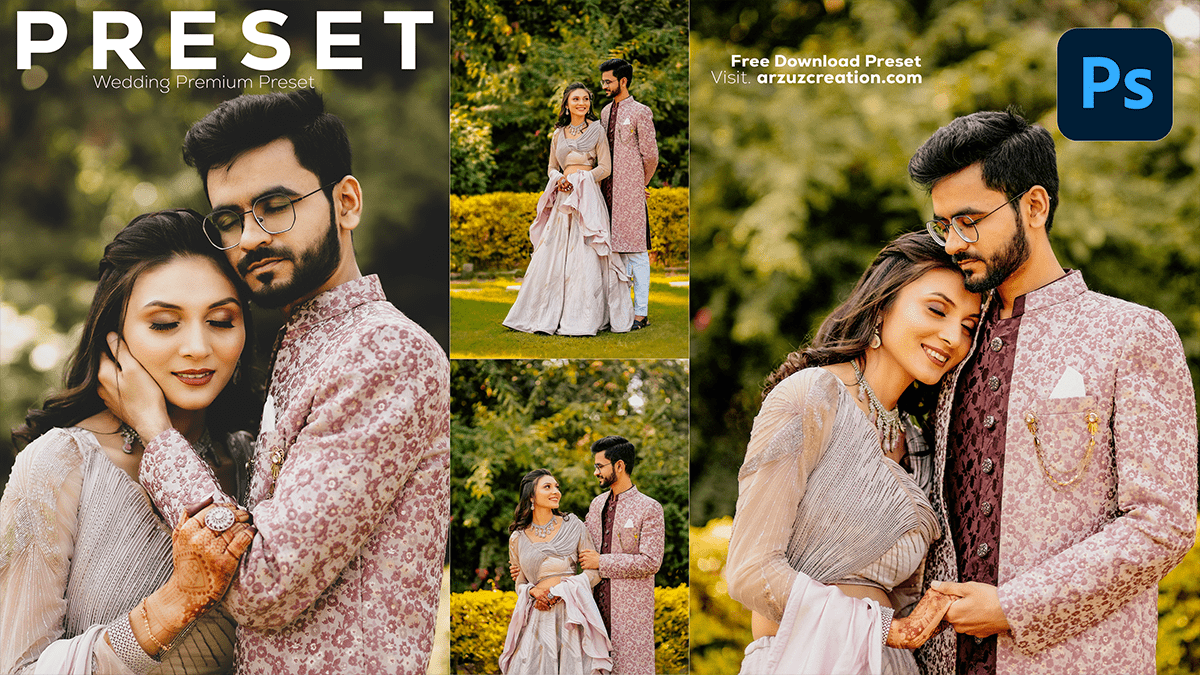
A Tutorial on Using Presets to Edit Wedding Photos, Wedding Photo Editing Photoshop Presets,

Therefore, Using presets is a great way to streamline your wedding photo editing process. They can help maintain consistency across a large batch of images, saving time while ensuring a professional finish. In other words, Here’s a step-by-step tutorial on how to use presets to edit wedding photos effectively.
Choose Your Preset:
However, many photography software, such as Adobe Lightroom, come with built-in presets, or you can download them from various sources online. Some presets are tailored for specific photography styles like wedding photography. You can also create your own presets by saving your edits.
- Built-in Presets: Lightroom comes with several standard presets that may work well as a starting point.
- Custom Presets: You can find wedding-specific presets on websites like Creative Market, Etsy, or directly from wedding photographers who sell their preset packs.

For instance, Look for presets that align with the mood of your wedding photos, like soft, romantic tones or vintage film styles.
A Tutorial on Using Presets, Apply a Preset to a Single Photo:
Above all, Once you have your preset, you’ll need to apply it to a photo. Here’s how:
- Open Lightroom (or a similar software) and import your wedding photos.
- In addition, Select a photo you want to edit.
- After that, Navigate to the Develop Module.
- In addition, On the left panel, you will find the Presets section. Hover over different presets to preview their effects on your photo.
- After that, Click on a preset to apply it.

Fine-Tune Your Edit:
Similarly, After applying a preset, you’ll likely need to tweak some settings for each photo. Presets are not one-size-fits-all, and some images may require adjustments depending on lighting and color conditions.
Here are the key areas you might want to adjust:
- Exposure: Adjust the exposure slider to brighten or darken the image as needed.
- White Balance: Ensure the warmth or coolness of the image complements the skin tones and lighting conditions of the wedding.
- Shadows and Highlights: Play with these settings to reveal more details in dark areas (shadows) or bright areas (highlights).
- Contrast: Increase or decrease contrast for a more dramatic or softer look.
- Color Grading: Refine the hue, saturation, and luminance of specific colors (especially skin tones) to match the wedding’s aesthetic.

Batch Editing (Apply Preset to Multiple Photos):
Similarly, Wedding photography typically involves editing large numbers of images. You can save time by batch-applying the preset to multiple photos.
- In addition, Select multiple photos from the filmstrip at the bottom of the Develop Module.
- Therefore, After applying the preset to one photo, you can synchronize the settings across the selected photos.
- In addition, Click Sync at the bottom-right corner of the Develop Module.
- Therefore, A dialogue box will appear, allowing you to select which settings (exposure, white balance, contrast, etc.) you want to sync across the batch.

A Tutorial on Using Presets, Create Your Own Preset (Optional):
Once you’ve fine-tuned an image and you’re happy with the results, you can save these settings as a new preset for future use.
- On the left-hand panel of the Develop Module, click the + next to Presets and select Create Preset.
- Name your preset, choose a group to save it in, and select the settings you want to include.
- Save the preset, and it will appear in your preset list for future use.
A Tutorial on Using Presets, Export Your Edited Photos:
Wedding Photo Editing Photoshop Presets,
After that, After applying presets and making any final adjustments, you’re ready to export your photos for your clients.
- Similarly, Go to File > Export.
- Above all, Choose the export settings such as file format, resolution, and output folder.
- Similarly, Click Export.

- Consistency: Presets are perfect for maintaining a consistent look throughout the entire wedding album.
- Don’t Overdo It: Be mindful of not overusing the preset. Too much contrast, saturation, or color shifts can take away from the natural beauty of wedding photos.
- Adjust for Lighting: Wedding venues have varying light conditions. Ensure your preset works for both indoor and outdoor shots.
In conclusion, Using presets to edit wedding photos can save time while allowing you to create a cohesive and beautiful final product.
