Outdoor Photo Cinematic Tone Photo Editing in Adobe Photoshop,

Outdoor Photo Cinematic Tone Photo Editing in Adobe Photoshop,
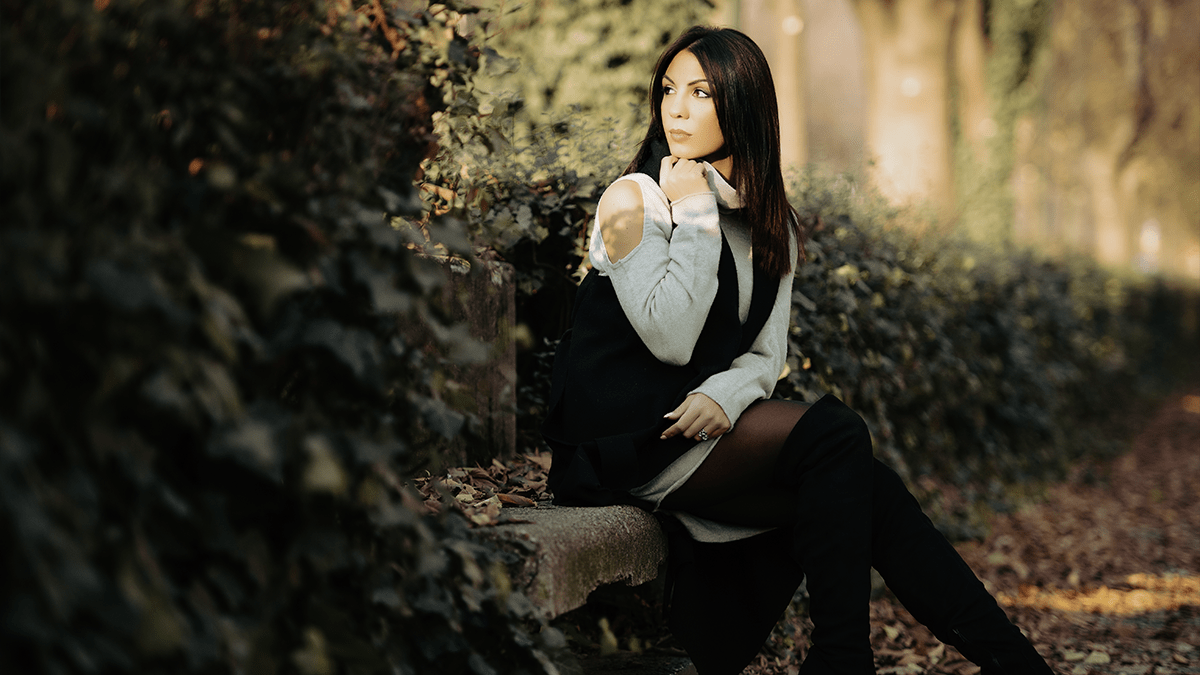
Therefore, achieving a “Cinematic Tone” in an outdoor photo edit using Photoshop typically involves a combination of color grading, contrast adjustments, and sometimes adding a special effect like a subtle matte finish or a specific color palette (like teal and orange).
Therefore, here are the key steps and techniques commonly used to create a cinematic look:
1. Color Grading (The Core of the Cinematic Look)
Therefore, the hallmark of a cinematic look is often the color palette. A popular one is Teal and Orange (or Blue and Yellow), but other moody, stylized palettes work too.
- Color Balance Adjustment Layer:
- Target Shadows and shift them towards Cyan/Blue.
- Target Highlights and shift them towards Red/Yellow (Orange).
- Adjust the Midtones subtly to balance the shift.
- Selective Color Adjustment Layer:
- Adjust Neutrals (for the overall look). Try increasing Cyan and Black, and decreasing Yellow.
- Adjust Reds and Yellows (often to control skin tones) by fine-tuning their Cyan and Magenta values.
- Camera Raw Filter (or Lightroom adjustments):
- Use the Color Mixer (HSL) to specifically control the saturation and hue of greens (to a more moody olive or cyan), blues, and reds.
- Use the Color Grading (formerly Split Toning) panel to add different colors to the shadows and highlights.
Outdoor Photo Cinematic Tone Photo Editing in Adobe Photoshop,
2. Contrast and Tone
Therefore, Cinematic photos often have a controlled, sometimes moody, contrast.
- Curves Adjustment Layer:
- Create an “S-curve” to increase overall contrast (steepen the curve).
- Therefore, for a subtle Matte Look, drag the bottom-left point of the curve up slightly to lift the blacks and reduce harsh shadows.
- Black & White/Contrast Sliders (in Camera Raw/Lightroom):
- In other words, Reduce Highlights and pull up the Shadows to recover detail in the extremes.
- However, slightly increase Contrast.
- In other words, lower the overall Saturation or Vibrance for a desaturated, film-like feel, or keep colors rich depending on the desired mood.
3. Special Effects and Sharpening
- Vignette: Add a subtle dark vignette using the Camera Raw Filter > Effects panel to draw the eye toward the center of the image. This mimics a common film look.
- Sharpening & Clarity: Increase Clarity and Dehaze in the Camera Raw Filter for a punchier, more detailed look. Apply subtle Sharpening.
- Film Grain: Add a layer of subtle noise or grain (found in the Camera Raw Filter > Effects) to mimic the texture of film stock.
Basic Workflow Suggestion:
- Open in Photoshop.
- Duplicate the Background Layer (Ctrl/Cmd + J).
- In other words, go to Filter > Camera Raw Filter for global adjustments (basic tone, texture, color grading).
- However, apply a Curves Adjustment Layer for contrast and a matte look.
- For instance, apply a Color Balance Adjustment Layer for the teal/orange or custom cinematic color shift.
- In other words, apply a Selective Color Adjustment Layer for fine-tuning.
- However, add a New Layer for any local adjustments (Dodge & Burn, or creative light effects).
You can find many specific video tutorials on YouTube by searching for “Photoshop Cinematic Tone Outdoor” that will walk you through these steps visually with different examples.
