Photoshop Cinematic Photo Editing Tutorial,

Therefore, Cinematic photo editing in Photoshop involves several key techniques to achieve that dramatic, film-like mood and atmosphere. Here are the main elements and steps often used:
Photoshop Cinematic Photo Editing Tutorial,
Key Elements of a Cinematic Look:
- Color Grading (The “Look”): This is the most crucial step. It often involves:
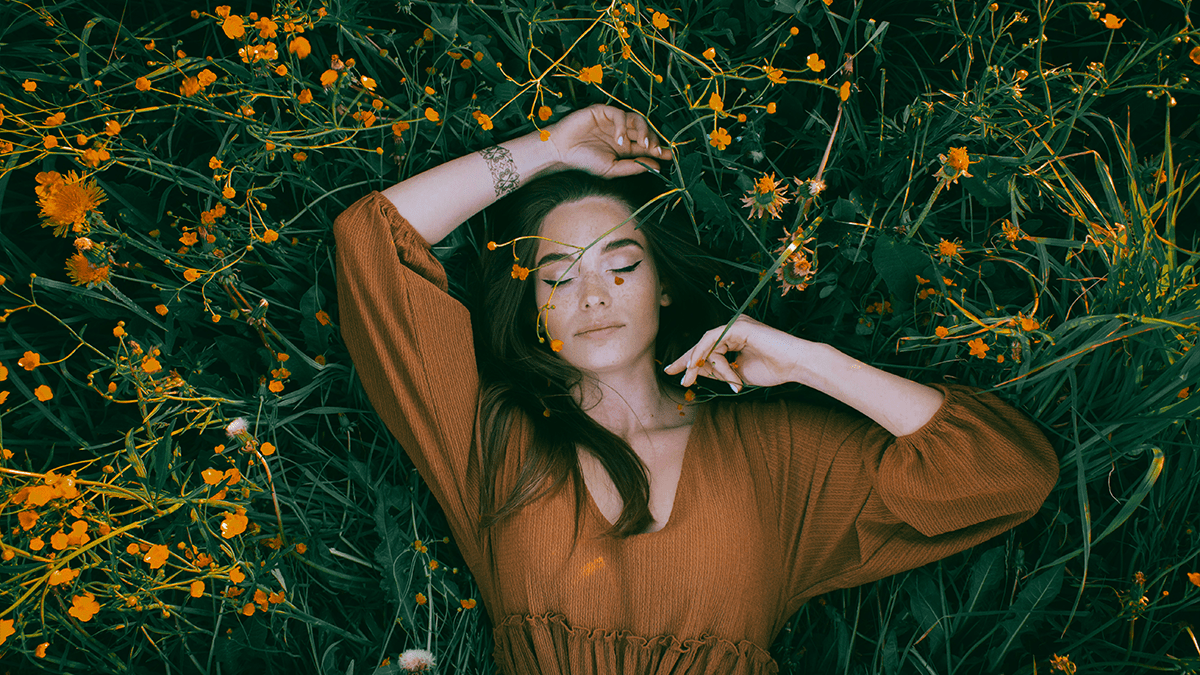
- Teal and Orange: Therefore, A very popular Hollywood color scheme where shadows/cooler tones are shifted toward cyan/teal/blue, and warmer tones (like skin) are shifted toward orange/yellow.
- Desaturation & Contrast: Often a slight reduction in overall saturation for a more filmic, less “digital” look, coupled with increased contrast (especially in the midtones).
- Specific Tonal Shifts: Therefore, using tools like Color Balance, Selective Color, or Curves on individual color channels (Red, Green, Blue) to subtly shift the colors in the shadows, midtones, and highlights.
- Cinematic Aspect Ratio: Therefore, adding black bars (letterboxing) to the top and bottom of the image to mimic film formats like 2.35:1 or 2.40:1. This is usually done using the Crop Tool or adding solid black shapes.
Photoshop Cinematic Photo Editing Tutorial,
- Tonal Control (Light and Shadow):
- Dramatic Contrast: Therefore, Using Levels or Curves to deepen shadows and brighten highlights for a more dramatic, less flat image.
- Crushing Blacks/Fading: Sometimes slightly lifting the black point on the Curves adjustment to give shadows a slightly “faded” or “filmic” look, rather than pure black.
- Film Grain/Noise: Adding subtle, realistic grain or noise to the image to emulate the texture of film stock. This can be done using the Add Noise filter or a dedicated grain overlay layer.
- Focus and Depth: Using techniques like selective focus or subtle vignette to guide the viewer’s eye to the main subject and enhance the sense of depth.
Common Photoshop Steps:
- Basic Adjustments (in Camera Raw/Lightroom or Photoshop):
- In other words, Adjust Exposure and White Balance.
- Above all, Fine-tune Highlights and Shadows.
- Increase Contrast and maybe a little Clarity/Texture.
- Color Grading with Adjustment Layers:
- Curves: The most powerful tool. Use it to create contrast and to apply the color shift (e.g., lower the blue curve in the shadows for warmth, raise it in the highlights for coolness, or vice-versa).
- Color Balance: Use this to push shadows toward a cool color (like cyan/blue) and highlights toward a warm color (like orange/yellow).
- Color Lookup (LUTs): Use the Color Lookup adjustment layer to quickly apply a cinematic Look-Up Table (LUT), such as “Foggy Night” or a custom-made film look. You can then adjust the layer’s Opacity to control the intensity.
Photoshop Cinematic Photo Editing Tutorial,
- Applying a Film Look Overlay (Optional):
- In other words, create a new Solid Color adjustment layer, pick a color (like a dark blue or cyan), set the Blend Mode to a creative option like Exclusion or Soft Light, and adjust the Opacity for a subtle tint.
- Adding Film Grain:
- In other words, create a new layer, fill it with 50% gray (Edit > Fill > 50% Gray).
- Above all, change the layer’s Blend Mode to Overlay.
- However, go to Filter > Noise > Add Noise. Choose a small amount (e.g., 3-6%) and select Gaussian and Monochromatic.
- Above all, adjust the layer’s Opacity to fine-tune the intensity.
- Adding Cinematic Bars (Letterboxing):
- However, select the Crop Tool and choose a cinematic aspect ratio (e.g., 21:9 or 2.35:1).
- Above all, alternatively, create a new layer above your image and draw two thin black rectangles at the top and bottom.
In conclusion, there are many tutorials available online and on platforms like YouTube that demonstrate these techniques visually, often focusing on the Color Balance and Curves tools for the core cinematic color shifts.