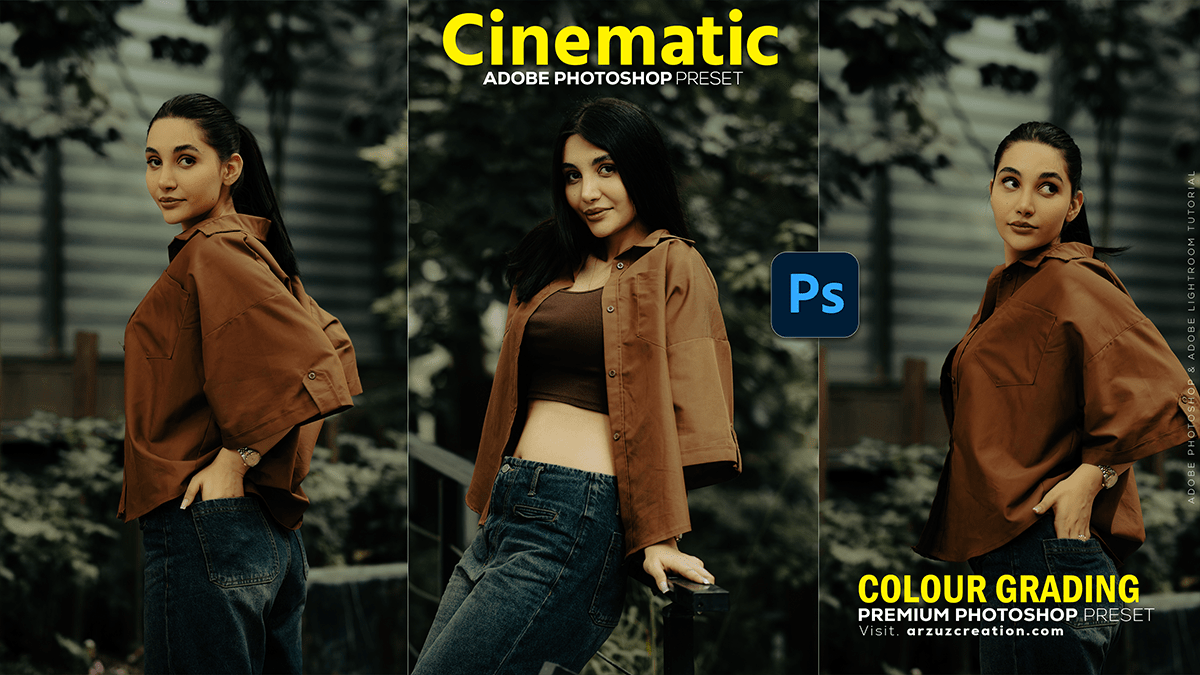
Colour Grading Photoshop: Cinematic Effect Photo Editing,

Therefore, that’s a fantastic topic! Cinematic color grading is key to giving photos a professional, film-like mood. The “cinematic look” often involves a split-tone effect, typically teal (blue/cyan) in the shadows and orange/warm tones in the highlights, which creates a high-contrast, appealing aesthetic.
Colour Grading Photoshop: Cinematic Effect Photo Editing,
Therefore, here are the main methods and key adjustments you can use in Adobe Photoshop:
🎨 Three Main Techniques for Cinematic Grading:
1. The Camera Raw Filter (or Lightroom) – Recommended for Speed and Quality:
Therefore, this is often the easiest and most powerful method for color grading.
- Access: Go to Filter > Camera Raw Filter (or press
Shift + Ctrl + A/Shift + Cmd + A). - Color Grading Panel:
- Find the Color Grading panel (it looks like a circle with split colors).
- Highlights: Therefore, drag the color wheel center towards Orange/Yellow for a warm feel. Use the inner ring to adjust Saturation and the Luminance slider for brightness.
- Shadows: Drag the color wheel center towards Teal/Blue for a cool contrast. Adjust Saturation and Luminance.
- Midtones: Therefore, you can leave this neutral or add a subtle opposing color (e.g., slight Magenta if you used a lot of Green/Teal).
- Blending & Balance: Use the sliders to control how the tones transition.
- Calibration Panel: Fine-tune colors, especially for skin tones, by adjusting the primary color hues (e.g., shifting the Red Primary Hue slightly to the right to make reds more orange and warmer).
Colour Grading Photoshop: Cinematic Effect Photo Editing,
2. Selective Color Adjustment Layer:
In other words, this offers great control over specific color ranges and is a non-destructive method.
- In other words, create a Selective Color Adjustment Layer.
- In the Properties panel, change the color dropdown to Neutrals.
- However, to add a cool tone to the shadows, increase Cyan and decrease Yellow (which adds blue).
- However, to adjust overall luminosity/contrast, adjust the Black slider.
- In other words, change the color dropdown to Reds and Yellows to adjust skin tones (which fall in this range).
- However, To ensure skin tones remain warm and don’t turn blue, decrease Cyan and/or increase Yellow to counteract the blue added to the Neutrals/shadows.
- In other words, you can also adjust the Blacks and Whites selectively.
Colour Grading Photoshop: Cinematic Effect Photo Editing,
3. Solid Color Fill Layer with Exclusion Blend Mode:
However, this is a quick and simple trick for split toning.
- Above all, Create a Solid Color Adjustment Layer.
- Above all, choose a cool, saturated color (like a deep blue or teal).
- However, change the Blending Mode of this layer from Normal to Exclusion.
- Above all, adjust the Opacity (usually around 20-40%) to control the intensity. This mode automatically puts the chosen color in the shadows and its complementary color (orange/yellow) in the highlights.
Colour Grading Photoshop: Cinematic Effect Photo Editing,
✨ Final Touches for the Cinematic Look:
- Contrast: Use a Curves Adjustment Layer to create a subtle “S” curve for deeper shadows and brighter highlights, increasing overall contrast.
- Film Grain: Add an empty new layer, fill it with 50% Gray, change the blending mode to Soft Light, and go to Filter > Noise > Add Noise. This mimics film texture.
- Vignette: Add a subtle vignette (darkening the edges) using the Camera Raw Filter’s Effects panel or a Curves layer with a radial mask.
- Aspect Ratio: To complete the look, crop your image or add black bars to the top and bottom to achieve a cinematic aspect ratio (like 16:9 or wider).
Would you like me to find a step-by-step video tutorial on the Camera Raw Color Grading technique?
