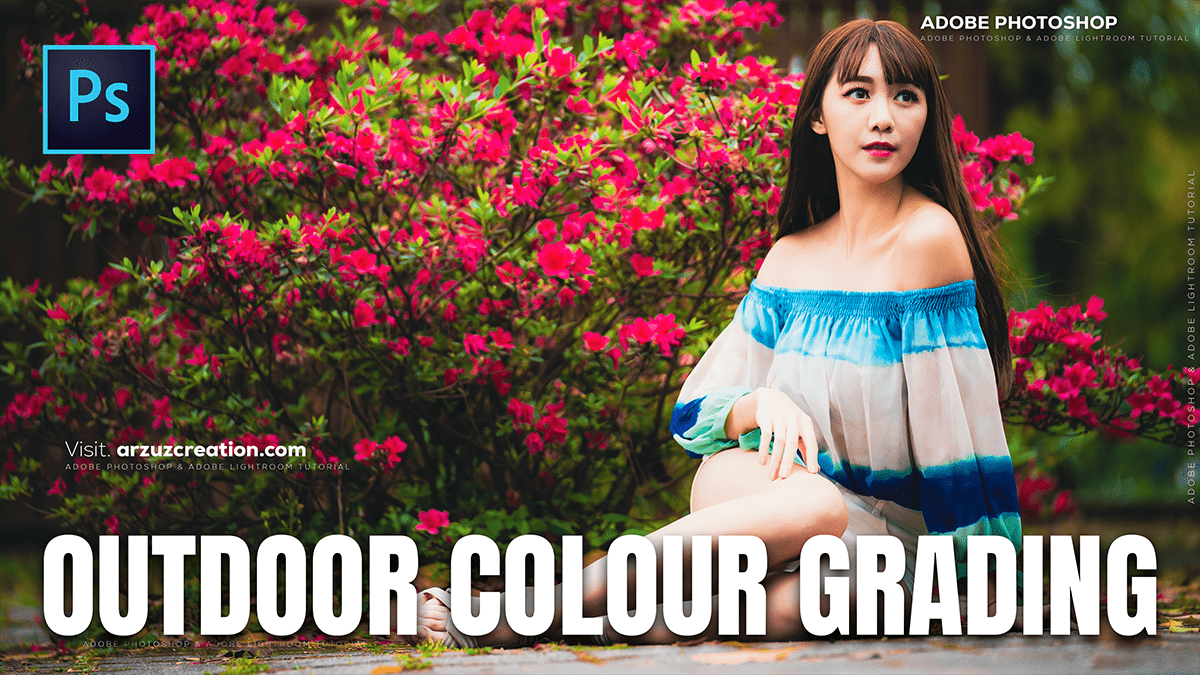
Colour Grading Adjustment Layer Adobe Photoshop 2025,

Therefore, Color grading in Photoshop ranges from fundamental adjustments to complex, artistic manipulations, often using Adjustment Layers for non-destructive editing.
Here is a breakdown of techniques from basic to advanced:
Colour Grading Adjustment Layer Adobe Photoshop 2025,
🎨 Basic Color Correction & Grading:
Therefore, Basic steps generally involve correcting the overall image tones and color cast. Always start with an Adjustment Layer for flexibility (e.g., Curves, Levels, Color Balance).
- White Balance and Exposure: Use a Camera Raw Filter or Levels/Curves to set your black point, white point, and midtones. This removes unwanted color casts and sets the base contrast.
- Tip: In Levels or Curves, use the gray eyedropper on an area that should be a neutral gray to quickly correct a color cast.
- Hue/Saturation: In other words, the Hue/Saturation adjustment layer allows you to shift the hue (color), saturation (intensity), and lightness of specific color ranges (e.g., just the Reds or Blues). This is great for making a single color stand out or look more vibrant.
- Color Balance: In other words, this tool is a straightforward way to add or subtract specific colors (Cyan/Red, Magenta/Green, Yellow/Blue) separately to the Shadows, Midtones, and Highlights.
Colour Grading Adjustment Layer Adobe Photoshop 2025,
✨ Intermediate Techniques:
Intermediate techniques involve more nuanced control and creative application of color.
- Curves: This is one of the most powerful tools. While basic use adjusts overall brightness/contrast (the RGB channel), intermediate use involves switching to the individual Red, Green, and Blue channels.
- In other words, you can add or subtract a color from a specific tonal range. For example, lifting the Blue curve in the highlights adds blue to the bright areas, while lowering it adds its complementary color, Yellow (creating a popular ‘warm highlights/cool shadows’ look).
- Selective Color: This adjustment layer gives you precise control over the component colors (Cyan, Magenta, Yellow, Black) within specific color ranges you select (e.g., modifying the C, M, Y, K values only within the ‘Reds’ of the image). It’s perfect for fine-tuning specific color appearances.
- Photo Filter: Use a Photo Filter adjustment layer to quickly apply a warming (e.g., 85) or cooling (e.g., 80) tint, or select a custom color to tint your image. Adjusting the Density controls the intensity.
Colour Grading Adjustment Layer Adobe Photoshop 2025,
🔮 Advanced Color Grading:
However, Advanced techniques focus on complex, cinematic, or highly stylized looks, often combining multiple layers.
- Color Grading Tool (in Camera Raw/Lightroom Filter): Found within the Camera Raw Filter (Filter > Camera Raw Filter), this tool uses three separate color wheels to simultaneously control the color and luminance of your Shadows, Midtones, and Highlights. This is the standard for professional 3-way color grading.
- Gradient Maps: A Gradient Map adjustment layer maps the colors of a gradient across the tonal range of your image (Shadows map to the left side of the gradient, Highlights to the right).
- However, you can set the blend mode to Soft Light or Color and adjust the Opacity to apply a sophisticated color tone to your image, which is excellent for creative and atmospheric effects.
- Color Lookup (LUTs): The Color Lookup adjustment layer lets you apply a pre-made color profile (called a LUT or Look-Up Table). These files are often used to instantly apply cinematic color styles (like a film stock emulation or a specific movie look) to your image. You can also export your own complex color adjustments as an LUT to apply to other photos.
