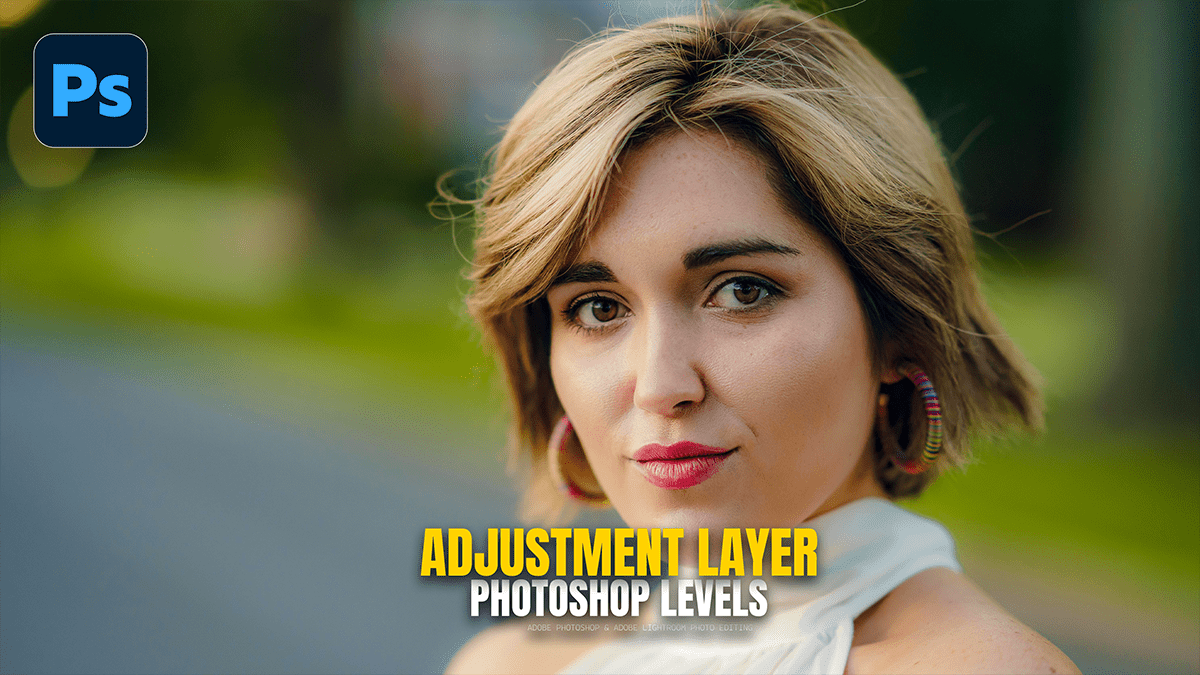
Using the Levels Adjustment Layer in Adobe Photoshop 2025,

Therefore, using the Levels adjustment in Photoshop is a fundamental and powerful technique for editing outdoor photos, primarily to correct tonal range, contrast, and brightness. For outdoor shots, Levels helps bring back detail in washed-out highlights or dark shadows often caused by bright sunlight or deep shade.
Using the Levels Adjustment Layer in Adobe Photoshop 2025,
🛠️ Key Steps for Outdoor Photo Editing with Levels:
Therefore, the best practice is to always use a Levels Adjustment Layer for non-destructive editing.
1. Create a Levels Adjustment Layer:
Therefore, go to the Layers panel.
In other words, click the “Create new fill or adjustment layer” icon (a half-filled circle) at the bottom.
Therefore, Select Levels from the menu. This opens the Levels properties panel, which displays the Histogram.
2. Understand the Histogram:
Therefore, the histogram is a visual representation of the tonal values in your image, from pure black (left) to pure white (right).
Left Side (Shadows): Represents the darkest tones.
Right Side (Highlights): Represents the brightest tones.
Middle (Midtones/Gamma): Represents the middle-gray tones.
In other words, A good outdoor photo’s histogram typically spans the full range, but outdoor shots often have tones clumped in the middle or pushed too far to one side due to high-contrast conditions.
Using the Levels Adjustment Layer in Adobe Photoshop 2025,
3. Set the Black and White Points (Contrast/Tonal Range)
In other words, the goal here is to expand the tonal range, making the image look less flat.
Black Point Slider: In other words, drag the leftmost black slider inward until it meets the point where the actual data (the mountain-like shape) begins on the histogram. This sets the darkest point in the image to pure black (0), deepening the shadows and increasing contrast.
Tip: Hold Alt (Windows) or Option (Mac) while dragging the black slider to see a clipping preview. Areas that turn solid black have lost all detail. Drag back slightly until the detail reappears.
White Point Slider: Drag the rightmost white slider inward until it meets the point where the data ends. This sets the brightest point in the image to pure white (255), brightening the highlights.
Tip: In other words, hold Alt (Windows) or Option (Mac) while dragging the white slider. Areas that turn solid white (or colored, depending on settings) have lost all detail in the highlights. Drag back slightly until the detail reappears.
Using the Levels Adjustment Layer in Adobe Photoshop 2025,
4. Adjust the Midtones (Brightness)
Midtone Slider (Gamma): In other words, use the middle gray slider to adjust the overall brightness without severely affecting the black and white points.
Drag Left: Brightens the midtones (good for slightly dark or underexposed outdoor shots).
Drag Right: Darkens the midtones (good for maintaining saturation or darkening an overly bright scene).
Using the Levels Adjustment Layer in Adobe Photoshop 2025,
5. Correct Color Casts (Individual Channels)
In other words, Outdoor light can sometimes introduce a color cast (e.g., too blue on a cloudy day, too yellow at sunset).
However, in the Levels panel, change the Channel dropdown from RGB to Red, Green, or Blue.
Above all, adjust the midtone slider for the specific channel to balance the color. For example:
In addition, if the photo is too blue, select the Blue channel and drag the midtone slider slightly right (to add yellow/remove blue).
After that, if the photo is too red, select the Red channel and drag the midtone slider slightly right (to add cyan/remove red).
Using the Levels tool, especially combined with the histogram and layer masks, is essential for improving the overall dynamic range and color of your outdoor photography.
