Photoshop: Professional Cinematic Photo Editing Tutorial 2025,

Therefore, that’s a great request! Cinematic photo editing in Photoshop involves several techniques to create a dramatic, moody, and film-like aesthetic.
In other words, Here is a breakdown of the key steps and techniques to achieve a cinematic look in Photoshop (PS):
Photoshop: Professional Cinematic Photo Editing Tutorial,
🎬 Key Steps for Cinematic Photo Editing in PS
In other words, The cinematic look usually focuses on color grading, contrast, and aspect ratio.
1. Adjust Exposure and Contrast (Curves/Levels)
Therefore, A cinematic image often has deep blacks and controlled highlights to create drama.
- Curves Adjustment Layer: The most powerful tool.
- Therefore, create a slight S-curve to boost overall contrast (darken shadows, brighten highlights).
- For a “matte” or “faded film” look: Raise the bottom-left point of the curve slightly to lift the blacks, preventing them from being pure black.
- Levels Adjustment Layer: Fine-tune the intensity of shadows, midtones, and highlights.
Photoshop: Professional Cinematic Photo Editing Tutorial 2025,
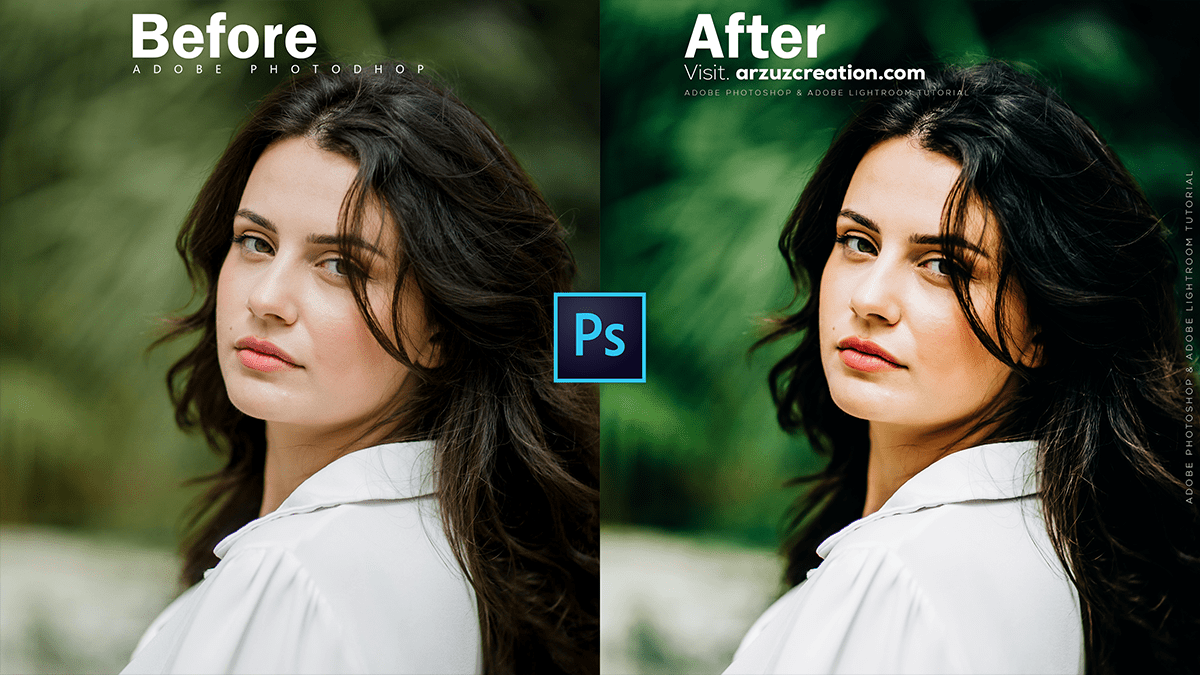
2. Cinematic Color Grading:
Therefore, this is where the magic happens, often using complementary color schemes like the popular Teal and Orange look.
- Color Lookup Adjustment Layer:
- Therefore, this is the quickest way to apply film-like effects. Try filters like
Fuji Eterna 250DorKodak 2383(under the “3DLUT File” option) or a generic one likeFoggy Night. - In other words, adjust the layer Opacity to control the intensity of the filter.
- Therefore, this is the quickest way to apply film-like effects. Try filters like
- Selective Color Adjustment Layer:
- In other words, use this to fine-tune specific colors. For the Teal & Orange look:
- However, Select Neutrals and add Cyan (to cool the shadows).
- In other words, select Reds and Yellows and adjust them toward Orange or Red (to warm up skin tones and highlights).
- In other words, use this to fine-tune specific colors. For the Teal & Orange look:
- Color Balance/Color Grading (in Camera Raw Filter):
- Color Balance lets you tint the shadows, midtones, and highlights separately.
- Camera Raw Filter (Filter > Camera Raw Filter) has an excellent Color Grading panel where you can use color wheels to easily push shadows toward teal/blue and highlights toward orange/yellow.
Photoshop: Professional Cinematic Photo Editing Tutorial 2025,
3. Add Film Grain and Texture:
However, to simulate the look of a real motion picture film, add grain.
- Add New Layer: Create a new layer, fill it with 50% Gray, and change the Blend Mode to Overlay.
- Add Noise: Go to
Filter > Noise > Add Noise. Apply a small amount of Gaussian, Monochromatic noise. - Adjust the layer’s Opacity to control the strength of the grain.
4. Aspect Ratio and Vignette:
- Cinematic Crop: However, crop your image to a wide aspect ratio, like 16:9 or the ultra-wide 2.35:1, often by adding black bars (letterboxing) to the top and bottom.
- Vignette: Darken the edges to draw the viewer’s eye to the center subject.
- However, use the Camera Raw Filter or a Curves/Levels layer with a brush painted on a mask to create a soft, subtle darkening around the perimeter.
Photoshop: Professional Cinematic Photo Editing Tutorial 2025,
💡 Pro Tip: Non-Destructive Editing:
However, always use Adjustment Layers instead of making changes directly to your photo layer. This keeps your original image untouched and allows you to go back and easily change any setting later.
In conclusion, would you like a more detailed, step-by-step tutorial focusing on a specific cinematic look, like the Teal and Orange style?
