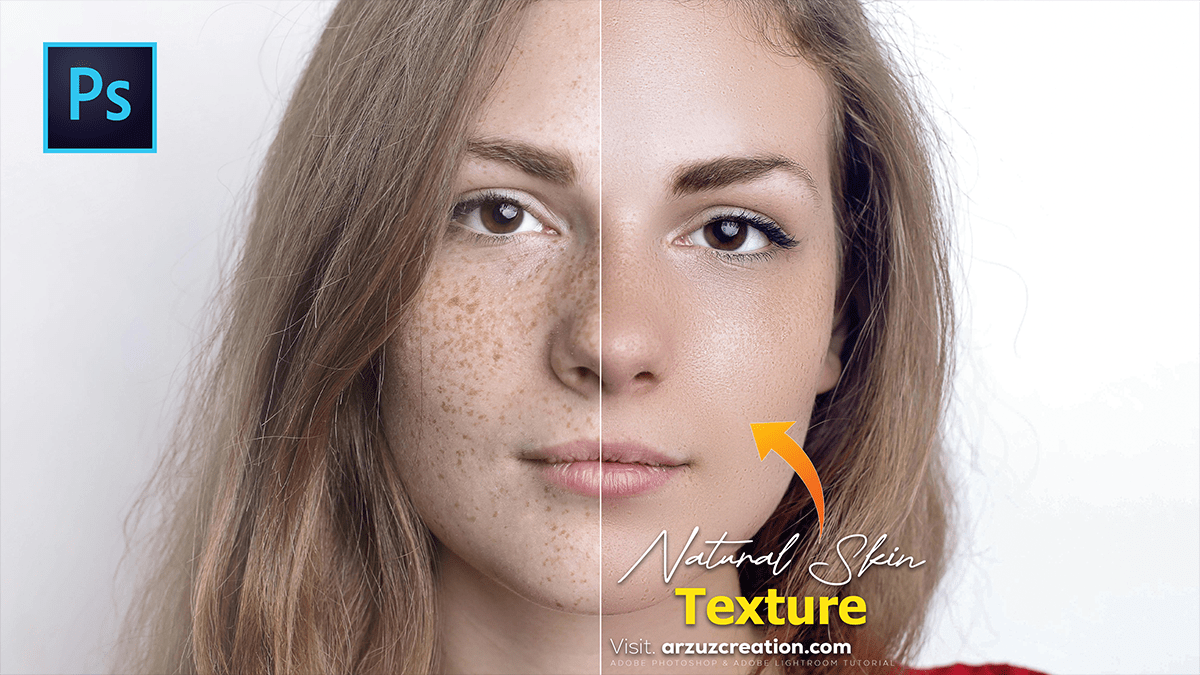
How to Create Natural Skin Texture in Adobe Photoshop,
Therefore, creating natural skin texture in Photoshop involves two main approaches: preserving the texture that is already there or re-creating it from scratch if the skin has become too “plastic” or smooth during editing.

How to Create Natural Skin Texture in Adobe Photoshop,
1. The “Sandstone” Method (Creating from Scratch)
Therefore, this is the most effective way to add realistic pores and fine details to an image that has been over-smoothed.
- Step 1: Create a Gray Layer. Therefore, create a new layer above your image and name it “Skin Texture.” Go to
Edit > Filland select 50% Gray. - Step 2: Convert to Smart Object. Therefore, right-click the layer and select Convert to Smart Object. This allows you to adjust the texture later.
- Step 3: Apply the Texturizer. Go to
Filter > Filter Gallery > Texture > Texturizer.- In other words, set the texture type to Sandstone.
- However, adjust the Scaling (size of pores) and Relief (depth of texture) to match your photo.
- Crucial: Match the Light Direction (e.g., Top Left) to the lighting in your portrait.
- Step 4: Blend and Mask. Therefore, Set the Layer Blend Mode to Soft Light or Overlay. Add a black layer mask (
Alt + Clickthe mask icon) and use a soft white brush at low opacity (around 20-30%) to paint the texture only where needed.
How to Create Natural Skin Texture in Adobe Photoshop,
2. Frequency Separation (Preserving Natural Texture)
In other words, Professional retouchers use this to separate the color (low frequency) from the texture (high frequency) so they can edit one without destroying the other.
| Layer | Content | Filter Used | Purpose |
| High Frequency | Pores, fine lines, hairs | High Pass or Apply Image | Editing blemishes while keeping skin depth. |
| Low Frequency | Skin tones, shadows, redness | Gaussian Blur | Smoothing out blotchy skin colors. |
- Therefore, duplicate your background twice. Name the top one “Texture” and the bottom one “Color.”
- In other words, on the Color layer, apply
Filter > Blur > Gaussian Blur. Choose a radius just until the fine skin details disappear. - However, on the Texture layer, go to
Image > Apply Image.- Select the Color layer as the source.
- Set Blending to Subtract, Scale to 2, and Offset to 128.
- Therefore, change the Texture layer’s blend mode to Linear Light. The image should look normal again, but now the texture is on its own layer!
How to Create Natural Skin Texture in Adobe Photoshop,
3. The “Noise & High Pass” Shortcut
However, if you just need a quick touch of realism:
- Above all, add a new 50% gray layer set to Overlay.
- Go to
Filter> Noise > Add Noise(around 1-3%, Monochromatic). - Follow up with a tiny
Filter> Other > High Pass(0.5 to 1.5 radius) to give those noise grains a “pore-like” structure.
Pro Tip: Use the Blend If sliders in the Layer Styles menu to hide the new texture from the deepest shadows and brightest highlights, where pores are naturally less visible.
In conclusion, would you like me to explain how to use the “Blend If” sliders specifically to make the texture look more integrated?
