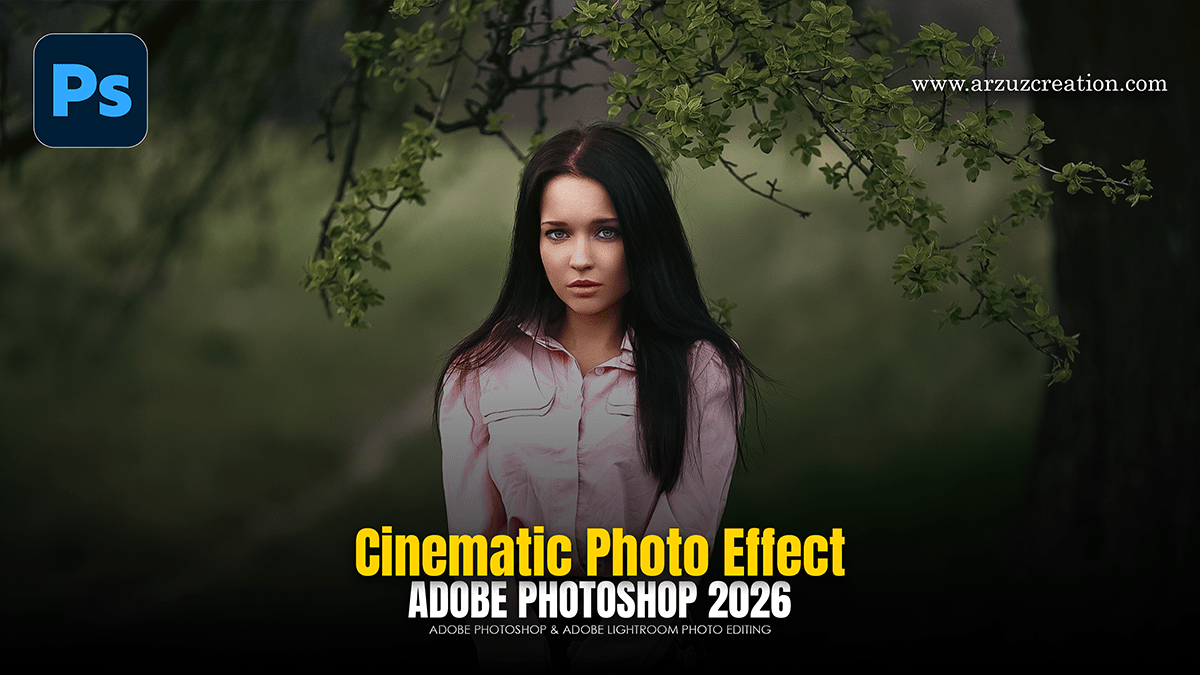
Professional Cinematic Colour Tone Effect in Adobe Photoshop,

Therefore, Professional cinematic editing in Photoshop focuses on storytelling through light, depth, and specific color palettes. However, in 2026, the workflow has evolved to balance classic “high-end” manual techniques with modern AI-driven precision.
In other words, here is a professional-grade workflow to achieve that cinematic look.
Professional Cinematic Colour Tone Effect in Adobe Photoshop,
1. The “Canvas” Prep (Camera Raw)
Therefore, Cinematic shots aren’t just about color; they’re about dynamic range.
Flatten the Profile: However, in Camera Raw, slightly drop the Highlights and lift the Shadows. This mimics the “log” footage used in film, giving you more room to grade.
Calibration Tab: (Pro Tip) In other words, go to the Calibration panel at the bottom. Boosting the Blue Primary Saturation while shifting the Red Primary Hue slightly can instantly create a more “filmic” skin-to-background separation.
2. Structural Retouching (Non-Destructive)
In other words, to keep the image professional, you must preserve texture while cleaning distractions.
Frequency Separation: For instance, manually split your image into a “Low Frequency” (color/tone) and “High Frequency” (texture) layer. This allows you to smooth out skin tones on the Low layer without losing pores or fine details on the High layer.
Micro Dodge & Burn: However, use a 50% Gray layer set to Overlay. Use a very soft brush at 1%–3% Opacity to manually even out transitions in light on the face. This is the secret to that “expensive” studio look.
Professional Cinematic Colour Tone Effect in Adobe Photoshop,
3. The Cinematic Color Grade:
For instance, this is where the “story” happens. Movie looks often rely on Split Toning (complementary colors).
Color Balance: Above all, add a Color Balance adjustment layer. Push Cyans/Blues into the Shadows and Reds/Yellows into the Highlights.
Selective Color: In addition, this is the most powerful tool for cinematic skin. Target the Reds and Yellows; usually, decreasing Cyan in these channels makes skin “pop” against a cool background.
LUTs (Color Lookup): Above all, apply a professional LUT (like Kodak 5218 or Fuji 3510) at a low opacity (15%–30%) to bind the colors together.
4. Optical Effects & Atmosphere:
Above all, Cinematography is limited by the physics of a lens; replicating those “limitations” makes a photo look like a film frame.
Professional Cinematic Colour Tone Effect in Adobe Photoshop,
Depth of Field: In addition, use the Lens Blur filter (or the AI-powered Depth Blur in Neural Filters) to create a soft fall-off. Cinematic images rarely have everything in sharp focus.
Bloom & Glow: After that, create a merged layer ($Ctrl+Alt+Shift+E$), set it to Screen, apply a Gaussian Blur, and use Blend If to only show the glow in the brightest highlights.
Grain: After that, never use “Add Noise.” Use a real Film Grain overlay on an Overlay layer to give the digital file a “tactile” organic feel.
5. The Final “Leone” Touch:
Aspect Ratio: Crop to 2.39:1 or 16:9.
Vignetting: Similarly, instead of a standard filter, use a Curves layer to darken the edges and mask out the subject. This directs the viewer’s eye exactly where you want it.
Professional Cinematic Colour Tone Effect in Adobe Photoshop,
Comparison of Key Cinematic Palettes:
| Style | Shadow Tone | Highlight Tone | Best For |
| Teal & Orange | Similarly, Deep Cyan/Teal | Warm Orange/Gold | Similarly, Action, Summer, Blockbusters |
| Noir / Moody | Desaturated Blue | Neutral/Pale | In addition, Mystery, Drama, Urban |
| Vintage Film | In addition, Faded Green/Brown | Cream/Yellow | Nostalgia, Editorial |
In conclusion, would you like me to walk you through a specific skin retouching workflow that doesn’t use third-party plugins?
