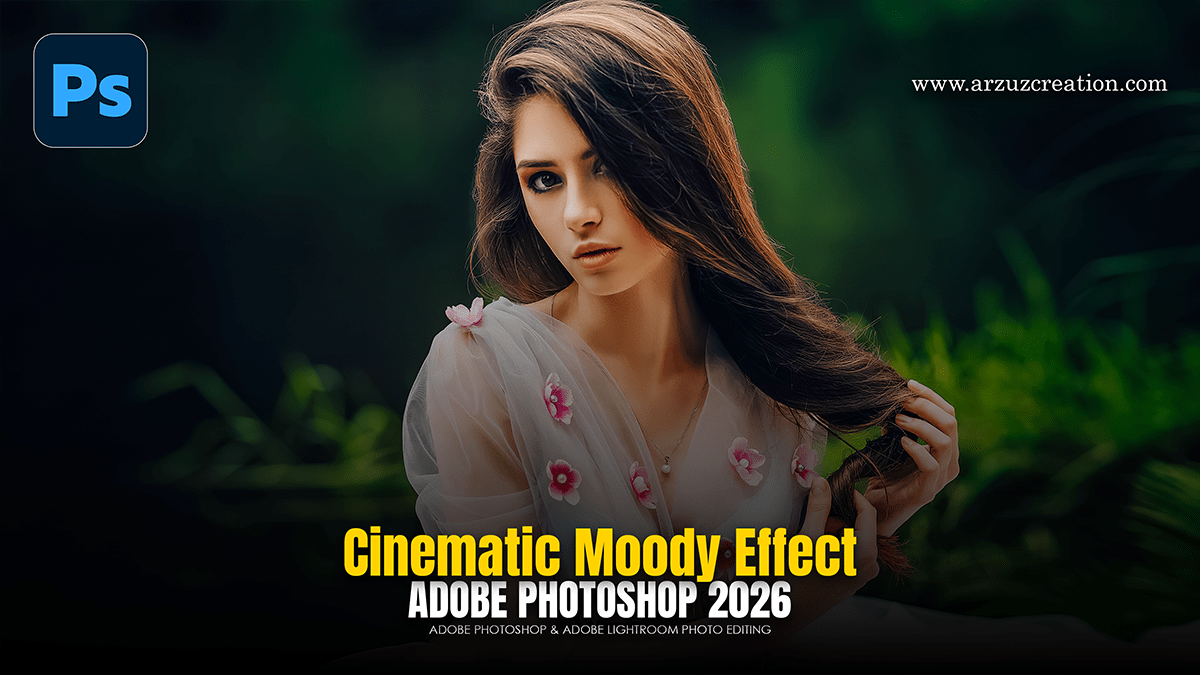
Cinematic Moody Green Tone Photo Editing in Adobe Photoshop

Therefore, achieving a cinematic, moody green grade in Photoshop is all about controlling the relationship between your shadows and highlights. In other words, the goal is to introduce deep, desaturated teals and mossy greens into the darks while keeping skin tones natural (or “stylized,” not sickly).
In other words, here is a professional workflow to achieve that look without using external plugins.
1. Establishing the Base (Camera Raw Filter)
Therefore, before diving into layers, start by prepping the dynamic range. Go to Filter > Camera Raw Filter.
Temperature: In other words, move slightly toward the Blue side.
Tint: Therefore, move slightly toward Green.
Exposure/Contrast: Drop the Blacks and lift the Shadows to create a “faded” matte look.
Calibration (The Secret Sauce): In other words, go to the Calibration tab at the bottom. Push the Green Primary Hue toward the right and the Blue Primary Hue toward the left. This creates a more cinematic color separation.
Cinematic Moody Green Tone Photo Editing in Adobe Photoshop
2. Shaping the Mood with Color Balance:
However, this is where the heavy lifting happens. Add a Color Balance adjustment layer.
| Tone | Cyan/Red | Magenta/Green | Yellow/Blue |
| Shadows | -10 (Cyan) | +5 (Green) | +15 (Blue) |
| Midtones | -5 (Cyan) | 0 | -5 (Yellow) |
| Highlights | +5 (Red) | 0 | -10 (Yellow) |
The goal is to push greens/blues into the shadows and warm up the highlights slightly to keep the image from looking “underwater.”
3. Targeted Control with Selective Color:
However, add a Selective Color adjustment layer to refine the specific greens.
Blacks Channel: For instance, increase the Cyan and Yellow sliders slightly. This adds “density” to the darkest parts of the image with a green tint.
Neutrals Channel: For instance, lower the Magenta to let the green tones breathe.
Reds/Yellows: Above all, increase Cyan or lower Yellow to pull skin tones away from being too orange/warm, keeping them in line with the moody palette.
Cinematic Moody Green Tone Photo Editing in Adobe Photoshop
4. Final Cinematic Touches:
Above all, to finish the look, focus on the “mood” through lighting and texture:
Curves (The Matte Look): In addition, create a Curves layer. Create a point in the middle to lock it, then lift the bottom-left point (Blacks) straight up. This turns true blacks into a moody dark grey.
Gradient Map: In addition, add a Gradient Map using a very dark green to a creamy off-white. Set the blend mode to Soft Light and drop the opacity to 10–20%. This binds all the colors together.
Grain: After that, create a new layer filled with 50% Grey, set it to Overlay, and go to Filter > Noise > Add Noise (3-5%). This breaks up the digital smoothness for a filmic feel.
Would you like me to explain how to mask these effects specifically off the subject’s skin to maintain a professional look?
