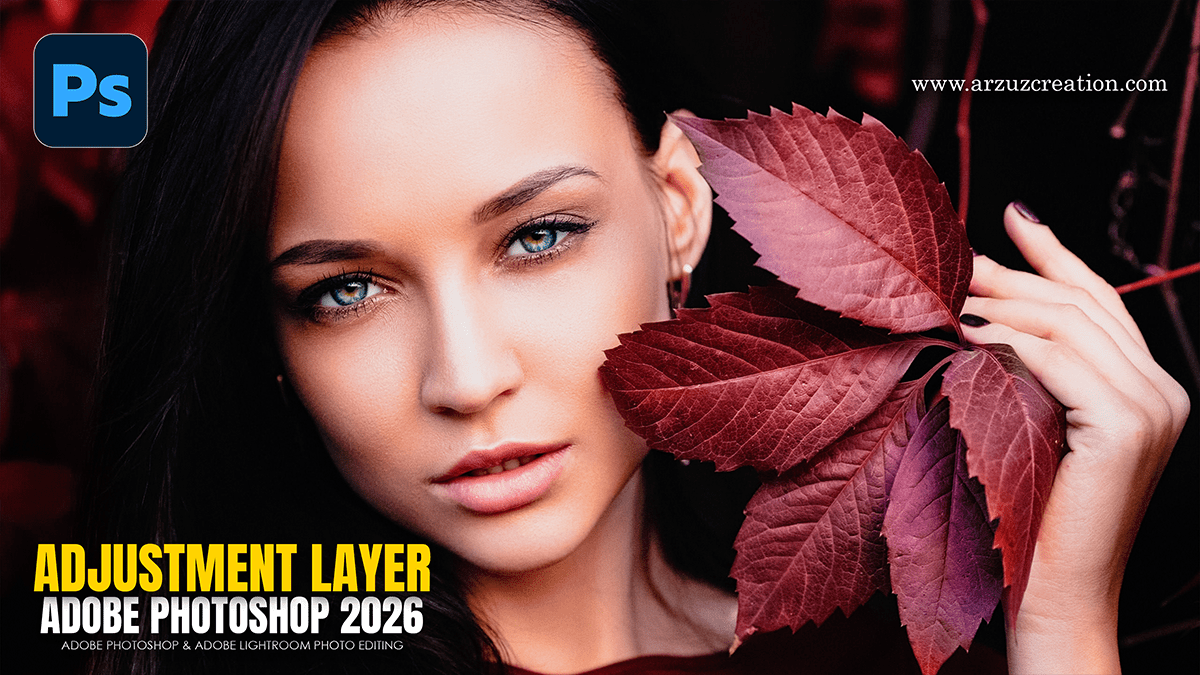
Adobe Photoshop 2026 Adjustment Layer Photo Editing Tutorial,

Therefore, to achieve a professional, non-destructive result for an outdoor portrait, utilizing Adjustment Layers is the most effective workflow. In other words, this approach allows you to tweak lighting and color without permanently altering your original image pixels.
Adobe Photoshop 2026 Adjustment Layer Photo Editing Tutorial,
1. Correct Exposure and Contrast:
Therefore, before diving into color, ensure your base tones are solid.
Curves Adjustment Layer: In other words, create an “S-Curve” by placing a point in the highlights and pulling up slightly, then a point in the shadows and pulling down. This adds a natural pop to outdoor shots, which can sometimes look flat due to overcast or harsh sun.
Levels Adjustment Layer: Therefore, use this to set your true black and white points. Slide the outer “input” sliders inward until they meet the edges of the histogram.
2. Refining Skin Tones:
Therefore, Outdoor lighting—especially under trees (green) or open sky (blue)—can create unwanted color casts on the skin.
Hue/Saturation Adjustment Layer: Select “Reds” or “Mellows” from the dropdown menu and use the eyedropper to sample the skin. Adjust the Hue slider slightly to neutralize any “muddy” tones.
Selective Color: This is the “secret sauce” for portraits. Go to the Reds and Yellows channels and decrease the Cyan slider; this adds warmth and health to the skin.
Adobe Photoshop 2026 Adjustment Layer Photo Editing Tutorial,
3. Enhancing the Environment:
Vibrance Adjustment Layer: Vibrance is smarter than Saturation for portraits; it boosts the “muted” colors (like the grass or sky) without over-saturating the skin.
Color Lookup (LUTs): For a quick cinematic feel, apply a “Color Lookup” layer. Presets like Crisp_Warm or Fall_Colors can instantly unify the outdoor background with your subject.
4. Directing Focus with Masks:
In other words, every Adjustment Layer comes with a Layer Mask (the white box next to the layer icon).
The Inverse Technique: If you want to brighten only the subject, create a Curves layer, pull it up, then press Ctrl+I (Windows) or Cmd+I (Mac) to turn the mask black. Use a soft white brush to “paint” the brightness back onto the subject’s face.
Adobe Photoshop 2026 Adjustment Layer Photo Editing Tutorial,
Pro Tip: The “Global” Finish:
However, once your individual adjustments are done, add a final Gradient Map adjustment layer set to “Soft Light” opacity at 10-15%. Use a “Purple to Orange” gradient to give the entire outdoor scene a subtle, golden-hour glow.
In conclusion, would you like me to walk through how to use the Healing Brush or Clone Stamp to remove distracting elements like stray branches or background clutter?
