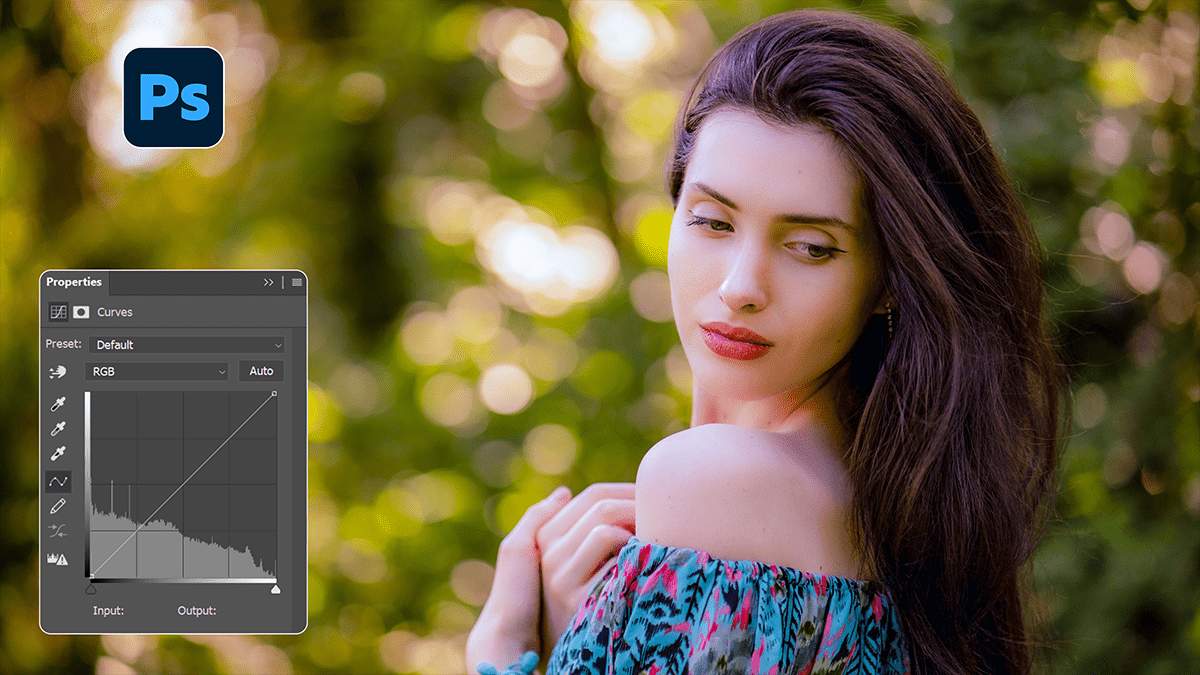
Professional Photo Editing Using Adobe Photoshop Curves 2026,
Therefore, mastering the Curves adjustment is often the “ah-ha!” moment for professional editors. While Levels allows you to adjust three points (Blacks, Midtones, Whites), Curves gives you total control over the entire tonal range and individual color channels.
Professional Photo Editing Using Adobe Photoshop Curves 2026,

Therefore, think of it as the surgical scalpel of photo editing—precise, powerful, and a bit intimidating until you know where to cut.
1. Understanding the Grid:
Therefore, the Curves graph represents the tonal values of your image.
The X-axis (Bottom): Represents the Original values (Input).
The Y-axis (Left): Represents the New values (Output).
The Diagonal Line: Represents the current state. If the line is straight, no changes have been made.
Professional Photo Editing Using Adobe Photoshop Curves 2026,
Tonal Zones:
Bottom-Left: Shadows
Center: Midtones
Top-Right: Highlights
2. Essential Techniques:
The Classic “S-Curve” (Adding Contrast)
In other words, this is the bread and butter of photo editing.
In other words, click in the upper-right quadrant (Highlights) and drag upward.
However, click in the lower-left quadrant (Shadows) and drag downward. This brightens the lights and deepens the darks, making the image “pop” without losing detail.
Professional Photo Editing Using Adobe Photoshop Curves 2026,
The “Matte” or “Film” Look:
In other words, to get that soft, vintage aesthetic:
However, grab the black point (bottom-left corner) and drag it straight up. This turns true blacks into dark greys.
Above all, grab the white point (top-right corner) and drag it slightly down to dull the harshest highlights.
Precision Targeting (The Finger Tool)
However, don’t guess where a tone sits on the graph. Click the on-image adjustment tool (the little hand icon). Click and drag directly on a specific part of your photo (like a face or a shadow), and Photoshop will automatically place a point on the curve for you to move.
3. Advanced Color Grading:
Above all, by default, Curves affects “RGB” (Luminosity). However, you can switch the dropdown to individual channels: Red, Green, or Blue.
| Channel | Dragging Up Adds… | Dragging Down Adds… |
| Red | Red | Cyan |
| Green | Green | Magenta |
| Blue | Blue | Yellow |
Pro Tip: To fix a yellow color cast in the highlights, select the Blue channel and pull the top-right of the curve upward to add blue (the opposite of yellow).
Professional Photo Editing Using Adobe Photoshop Curves 2026,
4. Best Practices:
Use Adjustment Layers: Above all, never apply Curves directly to your image layer (Image > Adjustments). Use the Layers Panel to create a Curves Adjustment Layer so you can go back and tweak it later.
Change Blend Mode to “Luminosity”: If you only want to affect brightness without shifting the saturation of your colors, change the layer’s Blend Mode from Normal to Luminosity.
Small Moves: A tiny nudge on the curve goes a long way. Avoid “rollercoaster” shapes, which create solarization and artifacts.
Would you like me to walk you through how to use Curves specifically for skin tone correction or landscape enhancement?
