Creating A Dreamy Photo Effect in Adobe Photoshop 2026,

Therefore, that classic, ethereal “dreamy” look in photography is usually achieved by creating a soft, glowing halation around the highlights while keeping the core details of the image relatively sharp. In professional photography, this is known as the Orton Effect.
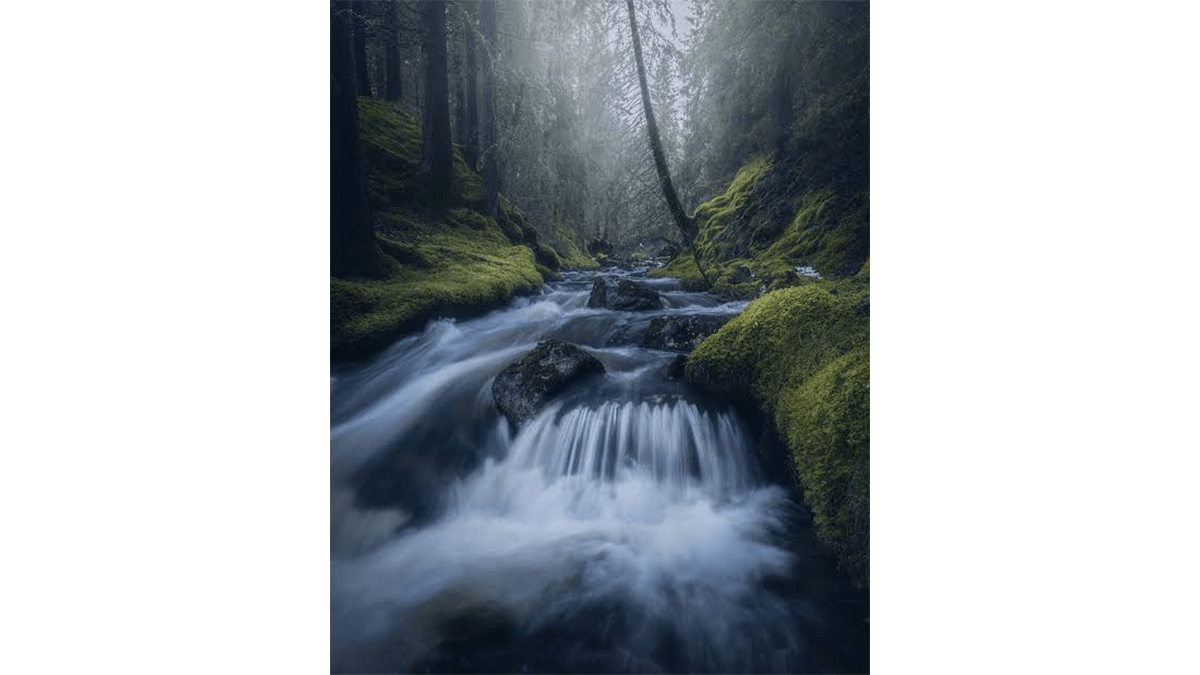
In other words, notice how the light seems to bleed softly into the shadows in the misty forest scene below, creating a surreal, painterly atmosphere without making the entire image look blurry.
Creating A Dreamy Photo Effect in Adobe Photoshop 2026,
Therefore, you can easily replicate this look using modern editing apps like Lightroom, Photoshop, or mobile editors like Snapseed. Here is how to do it.
Method 1: The Quick Mobile Fix (Lightroom Mobile, Snapseed, or Instagram)
In other words, if you are editing on your phone, the easiest way to get this look is by manipulating texture and haze sliders.
Therefore, drop the Clarity/Texture: Move the Clarity slider into negative numbers (around -15 to 30). This softens the midtone edges where harsh details live.
Lower the Dehaze: Dropping the Dehaze slider slightly (around -5 to -15) introduces a soft, foggy mistiness to the scene.
Boost the Blacks & Shadows: Pull the shadow slider up to fade the darkest parts of the image, giving it a slightly lifted, vintage feel.
Method 2: The Photoshop Pro Method (Classic Orton Effect)
In other words, for total control over the glow, you can stack sharp and blurry layers using Adobe Photoshop.
Creating A Dreamy Photo Effect in Adobe Photoshop 2026,
1. However, duplicate your base layer: Requires Photoshop or GIMP.
For instance, open your image and duplicate the background layer twice. Name the middle layer “Blur” and the top layer “Sharp”. Turn off the visibility of the “Sharp” layer for a moment.
2. In other words, apply a Gaussian Blur: Creating the glow font.
However, select your “Blur” layer. Go to Filter > Blur > Gaussian Blur. Increase the radius until the details soften significantly, but you can still make out the large shapes (usually between 15ando 30 pixels, ls depending on your image resolution).
3.Adjust the Layer Opacity: Blending the glow.
In other words, turn the top “Sharp” layer back on. Change the blending mode of your “Blur” layer to Screen (to brighten the glow) or Soft Light (for a moodier, high-contrast glow). Lower that layer’s opacity to around 15% to 30%.
Creating A Dreamy Photo Effect in Adobe Photoshop 2026,
4. However, mask the crucial details: Keeping it professional.
For instance, add a layer mask to your blur layer. Use a soft black brush at low opacity (around 20%) to gently paint over areas you want to keep perfectly crisp, like eyes in a portrait or text on a sign.
Method 3: In-Camera (No Editing Required)
However, if you want to capture this look directly through the lens, professionals rely on physical diffusion filters rather than post-processing.
Pro-Mist Filters: A Black Pro-Mist or “CineBloom” lens filter has tiny particles embedded in the glass that scatter light, creating an instant blooming effect around lamps, windows, and sunlight.
The DIY Trick: Breathe a faint layer of fog onto your clean camera lens right before snapping the photo, or stretch a piece of sheer nylon stocking over the back of the lens.
