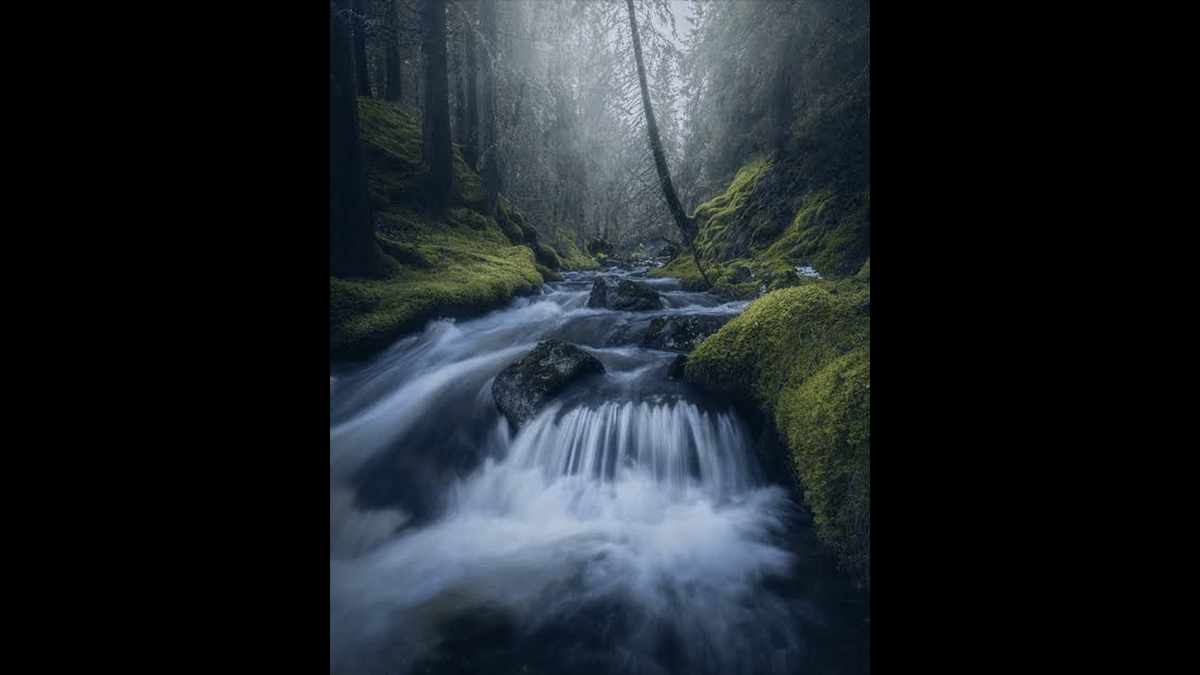
Step-by-step Guide to Creating a Dreamy Glow Effect in Photoshop,

Therefore, Using advanced masking for a dreamy glow gives you complete control over where the light bleeds. Instead of hazing out the entire image, this technique isolates your brightest highlights, forces them to bloom, and blends them seamlessly back into the shadows.
In other words, Here is the professional workflow to achieve this in Photoshop.
Step-by-step Guide to Creating a Dreamy Glow Effect in Photoshop,
The Advanced Luminosity Masking Workflow
1. Therefore, Isolate the Highlights: Channels Palette.
In other words, Open your image. Go to the Channels tab (usually nested next to Layers). Hold Ctrl (Windows) or Cmd (Mac) and click directly on the thumbnail of the RGB Channel. This instantly selects only the brightest values (luminosity) of your photo.
2. Create the Glow Layer: Layers Palette.
Therefore, Switch back to your Layers tab. Press Ctrl + J (Windows) or Cmd + J (Mac). This copies only your selected bright highlights onto a brand-new layer. Name this layer “Glow Base”.
3 . In other words, Change Blend Mode: Set to Screen.
Therefore, Change the blending mode of your new “Glow Base” layer from Normal to Screen. This will immediately make your highlights look brighter and more vibrant.
Step-by-step Guide to Creating a Dreamy Glow Effect in Photoshop,
4. However, Apply Advanced Blu Filter.
For instance, Blur > Gaussian Blur”>
However, With “Glow Base” selected, go to Filter > Blur > Gaussian Blur. For a high-resolution image, set the radius between 40 and 80 pixels. You want the blur to be wide enough that the light physically spills outside its original boundaries. Click OK.
5. For instance, Apply the Advanced Mas: Targeted Control.
Above all, Hold Alt (Windows) or Option (Mac) and click the Add Layer Mask icon (the rectangle with a circle inside) at the bottom of the Layers panel. This creates a Black Mask, which completely hides the blur you just made.
Sculpting the Light
However, Now that your glow is hidden behind a black mask, you get to hand-paint the dreaminess exactly where it makes sense visually (like hair highlights, sun beams, or water reflections) while keeping areas like eyes, skin details, and sharp text completely untouched.
[Glow Base Layer] -> (Screen Mode + Gaussian Blur)
       |
       v
[Black Layer Mask] -> Paint with Soft White Brush (Opacity: 20-30%)
Step-by-step Guide to Creating a Dreamy Glow Effect in Photoshop,
- In addition, Select the Brush Tool (B).
- After that, Set your Foreground color to White.
- In addition, Choose a Soft Round Brush and drop the brush Opacity to 20% or 30%.
- After that, Click directly on the Black Mask thumbnail on your Glow layer.
- In addition, Gently paint over the highlights. With every stroke, you will see a soft, painterly glow feathering out into the surrounding scene.
Pro-Tip for Pro-Level Contrast: If the glow makes your image look a bit too washed out, add a Curves Adjustment Layer right above your glow layer. Clip it to the glow layer (Ctrl+Alt+G / Cmd+Opt+G) and pull down slightly on the middle of the curve line. This injects rich contrast back into the blooming light.
