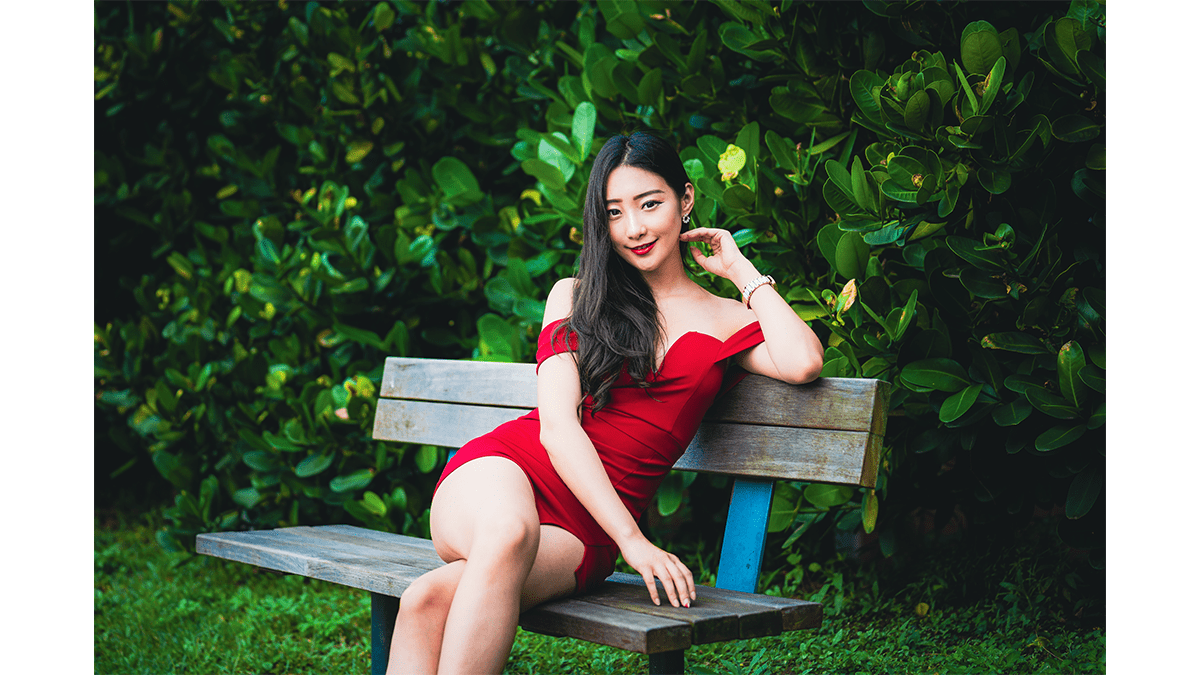
Photoshop 2026 Cinematic Colour Grading Tutorial For Beginners,

Therefore, Cinematic color grading transforms a flat, standard photo into a visual storytelling piece, evoking a specific mood, atmosphere, and time of day.
Therefore, achieving this “holy grail” look involves utilizing core adjustment tools, along with native Photoshop 2026 workflows, such as the dedicated Grain and Clarity/Dehaze adjustment layers and advanced Camera Raw masking.
In other words, here is a step-by-step masterclass on crafting high-end cinematic color grading.
Photoshop 2026 Cinematic Colour Grading Tutorial For Beginners,
1. The Foundation: Correction and Contrast:
In other words, before adding a stylized color grade, you need a balanced canvas. This prevents your grading choices from clipping highlights or crushing shadows aggressively.
Exposure & Levels: In other words, add a Curves adjustment layer. Create a subtle “S-Curve” to establish rich, deep shadows and crisp, clean highlights. For a classic, vintage cinematic feel, lift the bottom-left point of the Curve slightly upward—this “fades” or mattes the absolute blacks.
The 2026 Core Polish: Use the Clarity and Dehaze Adjustment Layer. Gently boost Clarity to add localized midtone contrast (giving details a crisp, modern cinematic bite) and adjust Dehaze slightly to control atmospheric glare or add a touch of cinematic mist.
2. Advanced Masking and Color Work (Camera Raw)
In other words, the secret to Hollywood-level color grading is treating different elements of your frame uniquely, rather than slapping a blanket filter over everything.
However, open your image (or a stamped layer) in Adobe Camera Raw (ACR).
Targeted Masking: Utilize the Select Subject or Select Sky masking tools.
Localized Color Grading: However, use the dedicated Color Grading wheels within your masks. This allows you to apply warm amber tones exclusively to the background/sky while utilizing an inverted mask to cool down the foreground shadows—creating incredible cinematic color separation without spilling unwanted color casts onto your subject’s skin.
Photoshop 2026 Cinematic Colour Grading Tutorial For Beginners,
3. The Classic “Teal and Orange” (Using Color Wheels)
However, the most prominent cinematic palette relies on complementary color harmony: warm skin tones contrasting against cool backgrounds.
- However, Back in your main layer stack, add a Color Grading or Color Balance adjustment layer.
- Shadows: Above all, Inject deep teal, cyan, or rich blue into the darker areas of your image.
- Midtones: For instance, Keep these relatively neutral or slightly warm to protect and anchor natural skin tones.
- Highlights: Above all, Introduce a soft orange, gold, or soft amber glow to simulate natural sunlight or cinematic key lighting.
4. Unifying the Scene with AI Harmonization:
For instance, if you are working with a composite or elements shot under different lighting conditions, achieving a believable grade used to take hours.
Above all, select your layered elements and utilize the Harmonize tool.
In addition, Photoshop’s engine analyzes the background layer’s lighting, shadows, and overall temperature, automatically blending your subject into the environment to give the entire composite a unified, seamless cinematic grade.
Photoshop 2026 Cinematic Colour Grading Tutorial For Beginners,
5. Adding the Filmic Texture:
In addition, Cinematic storytelling isn’t just about color; it’s about texture. Digital images are often too sharp and clean.
- After that,Add the Grain Adjustment Layer.
- Adjust the size and roughness sliders to taste.
- Pro Tip: After that,Change the blending mode of your Grain layer (such as Darken or Overlay) and lower the opacity to around 10%–15%. This perfectly emulates organic 35mm film stock, helps bind your color tones together, and masks any digital artifacting.
Photoshop 2026 Cinematic Colour Grading Tutorial For Beginners,
Pro Workflow Summary Checklist:
| Step | Tool / Feature | Cinematic Purpose |
| 1. Prep | Above all, Curves & Clarity Layer | Similarly, Matte blacks, set midtone punch |
| 2. Isolate | AI Masking (ACR) | In addition, Protect skin tones, separate elements |
| 3. Grade | Above all, Color Wheels | Establish Teal & Orange harmony |
| 4. Blend | In addition, Harmonize Tool | Similarly, Unify color and light across layers |
| 5. Texture | Grain Layer | Emulate organic 35mm film stock |
In conclusion, for a comprehensive visual walkthrough of how to handle flat images and apply these adjustments effectively, check out this tutorial on Fixing Flat Colors with the New Photoshop Tool, which covers utilizing the new built-in layer workflows for dynamic images.
