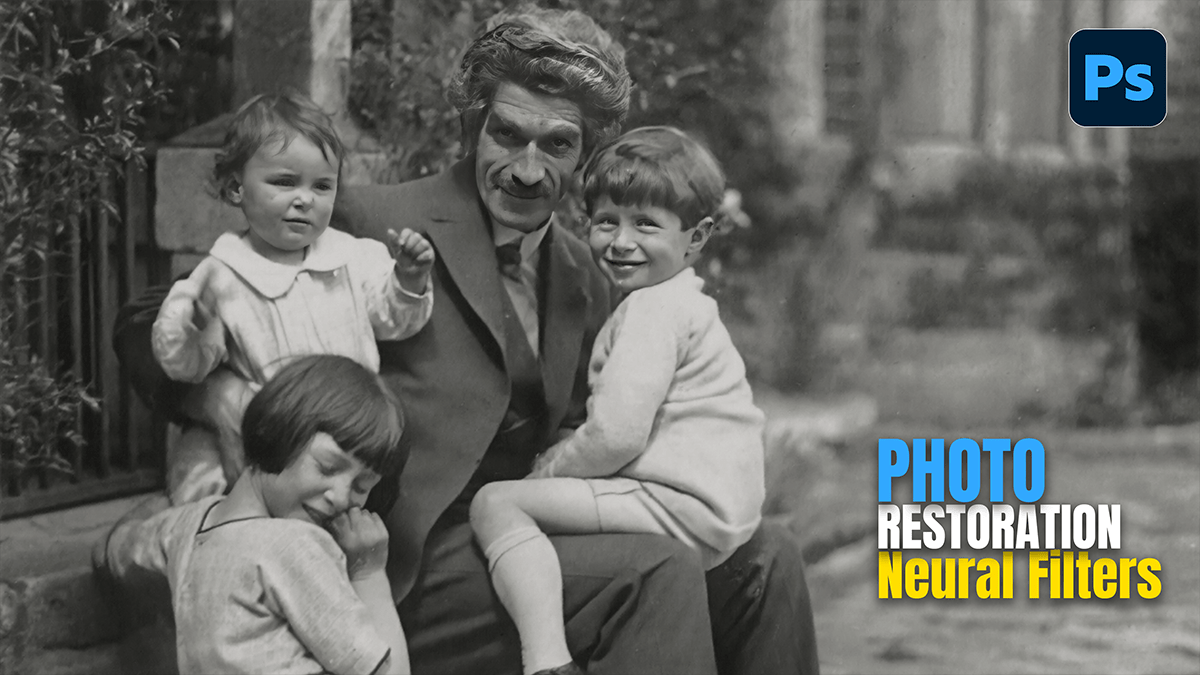
Photo Restoration Adobe Photoshop 2026 Neural Filters Tutorial

Therefore, in Photoshop 2026, the Photo Restoration Neural Filter has evolved from a beta feature into a powerhouse for bringing vintage memories back to life. It leverages Adobe Sensei AI to handle complex tasks like scratch removal and facial reconstruction that used to take hours of manual cloning.
Photo Restoration Adobe Photoshop 2026 Neural Filters Tutorial
In other words, here is the essential guide to using these AI tools in the 2026 version.
🛠️ Step-by-Step Restoration Workflow:
1. Preparation & Non-Destructive Setup:
Therefore, before letting the AI do the heavy lifting, set your workspace up for success:
Duplicate your layer: Always press Ctrl + J (Win) or Cmd + J (Mac) So you have a backup of the original scan.
Convert to Smart Object: Therefore, Right-click the new layer and select Convert to Smart Object. This allows you to go back and tweak the Neural Filter settings later without losing quality.
2. Launching the Photo Restoration Filter:
Therefore, go to Filter > Neural Filters and look for the Photo Restoration toggle under the “Restoration” category.
Photo Enhancement: Start with this slider to improve general clarity, contrast, and brightness.
Enhance Face: This is the “magic” slider. It uses AI to reconstruct facial features that might be blurred or faded.
Scratch Reduction: Increase this to automatically patch cracks, dust, and physical tears.Note: If you are working on a 2026 build, you may notice better “identity preservation,” meaning the AI is less likely to make the subject look like a different person than in previous versions.
Photo Restoration Adobe Photoshop 2026 Neural Filters Tutorial
3. Colorizing (Optional)
Therefore, if your photo is black and white, you don’t need a separate layer. In the same Neural Filters panel, toggle on Colorize.
Auto-Color: The AI will predict colors based on historical data (e.g., identifying a 1940s uniform and applying olive drab).
Manual Adjustment: In other words, if the AI gets a dress or a car color wrong, click the preview image on the right to place a “focal point” and manually select the correct color.
4. The 2026 “Secret Sauce”: Generative Upscaling:
In other words, if your original scan is low resolution, use the new Generative Upscale (under the Image menu).
However, in the 2026 version, you can choose between Firefly (for natural portraits) or the integrated Topaz Gigapixel model (for sharp architectural or high-texture details) to quadruple your image size while adding missing detail.
Photo Restoration Adobe Photoshop 2026 Neural Filters Tutorial
💡 Expert Pro-Tips for 2026:
The “Nano Banana” Model: For specific damaged areas that the Neural Filter misses, use the Lasso Tool to select the damage and use Generative Fill. In 2026, you can select the “Nano Banana” model in the Contextual Task Bar for higher realism in textures like skin and fabric.
Harmonize: However, if you have to “patch” a missing corner of a photo by bringing in a piece from another image, use the Harmonize tool (in the Neural Filters or Task Bar) to automatically match the aged lighting and film grain of the original.
In conclusion, would you like me to explain how to use the “Remove Tool” specifically for those stubborn stains that the AI filter might have missed?
