How to Smooth Skin in Photoshop, Learn professional skin retouching with Photoshop,

Remove all skin blemishes and even bring back beautiful and natural skin tones using some Photoshop tools. You don’t need to be an expert in Photoshop’s advanced labels to do this. You can do this with just a few tools.
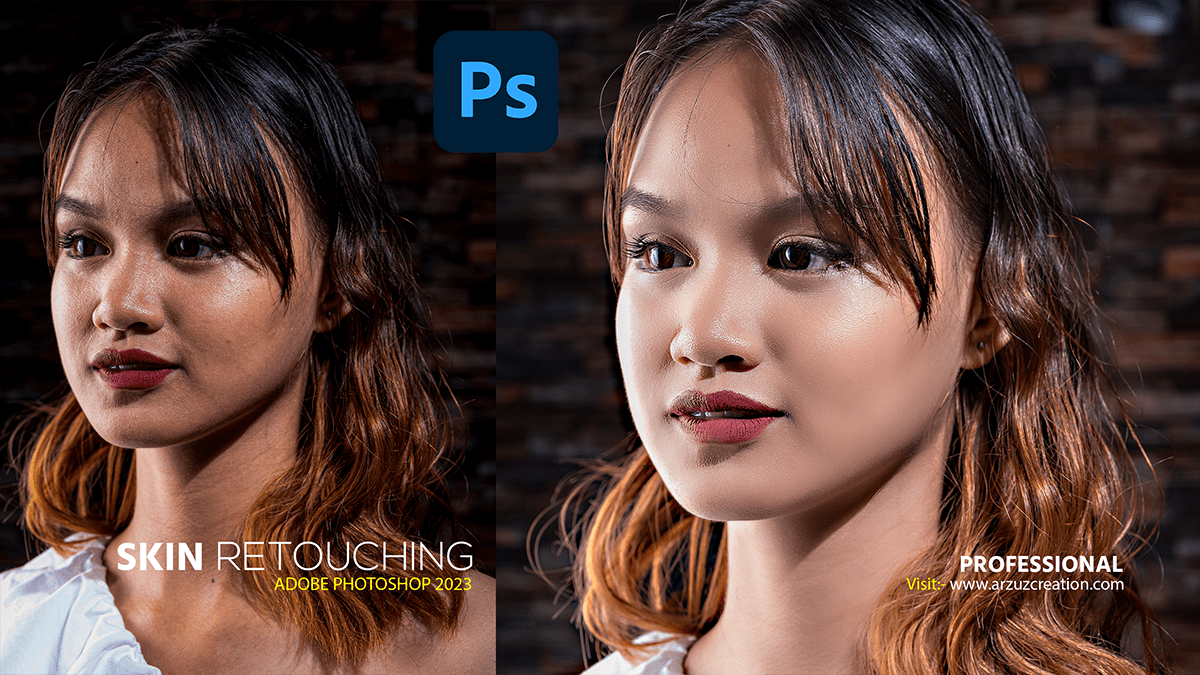
Firstly, In today’s Photoshop tutorial, I will show you how you can use Adobe Photoshop 2023 to transform rough skin in your portrait photos into smooth faces. We will learn to do this using various Photoshop tools. We can easily remove any blemishes on the face using the Healing Brush tool from the Photoshop toolbar.
In addition to the Healing Brush tool, we will learn how to use the Spot Healing Brush tool to remove blemishes and acne on the face. Then using the patch tool we will learn step by step how to remove blemishes and clean the face.

Then, we’ll learn step-by-step how to smooth and soften the skin without blurring important details such as the person’s eyes, hair, etc., and keep the texture of the skin as good as possible. Click here to take a professional photo editing course with Adobe Photoshop 2023.
Similarly, I used the latest version of Photoshop Adobe Photoshop CC 2023 to create this skin retouch tutorial. Visit here to download the latest version of Photoshop.

How to Smooth Skin in Photoshop,
Step One: Create a duplicate layer
Therefore, To duplicate the image layer we can press ( Ctrl + J ) from the keyboard. Or, Drag the image layer to the create new layer icon and release the duplicate layer as a new layer. While creating the layer, name the layer Spot Remove from Face.
Now watch this video 📹 tutorial and click on the video tutorial button to learn the work,
Step Two: Select the Spot Healing Brush tool from the Photoshop toolbar
We will select the spot healing brush tool from the Photoshop toolbar and then select Content Aware from the top option and then remove the spots from the face.
Step Three: Now we will duplicate the spot removed from the face layer again
Firstly, Name the new duplicated layer Smooth Skin. Now the work that we will do for smooth skin will be in this newly created layer.


Step Four: Now we will go to the filter option from the menu bar
Secondly, We will click on the filter option from the menu bar and then open the high pass filter from the other at the bottom.
Step Five: A high pass radius value of 20 gives the best results with my portrait photos. Choose the radius value according to your portrait photo.
After that, I posted this tutorial in video form on my YouTube channel Arzuz Creations. However, You can watch the video if you want. Hope you can learn smooth skin & skin retouching by watching the video.
