Photoshop Tutorial Bangla For Beginners,
In this Photoshop tutorial bangla, we’ll cover the basics of using Adobe Photoshop, a powerful image editing software. We’ll start with the interface and navigation, then move on to creating a new document, selecting and editing images, and saving your work.
Interface and Navigation:
After that, when you open Photoshop, you’ll see a window with several panels and menus. In other words, here’s a quick overview of the interface:

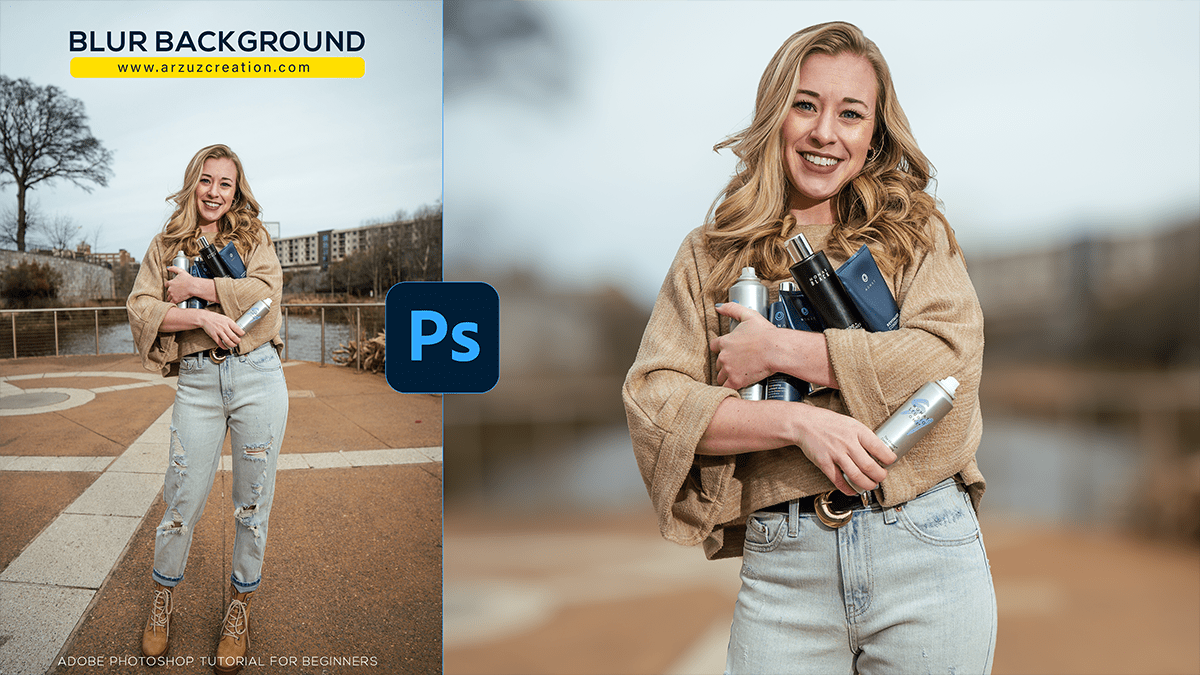
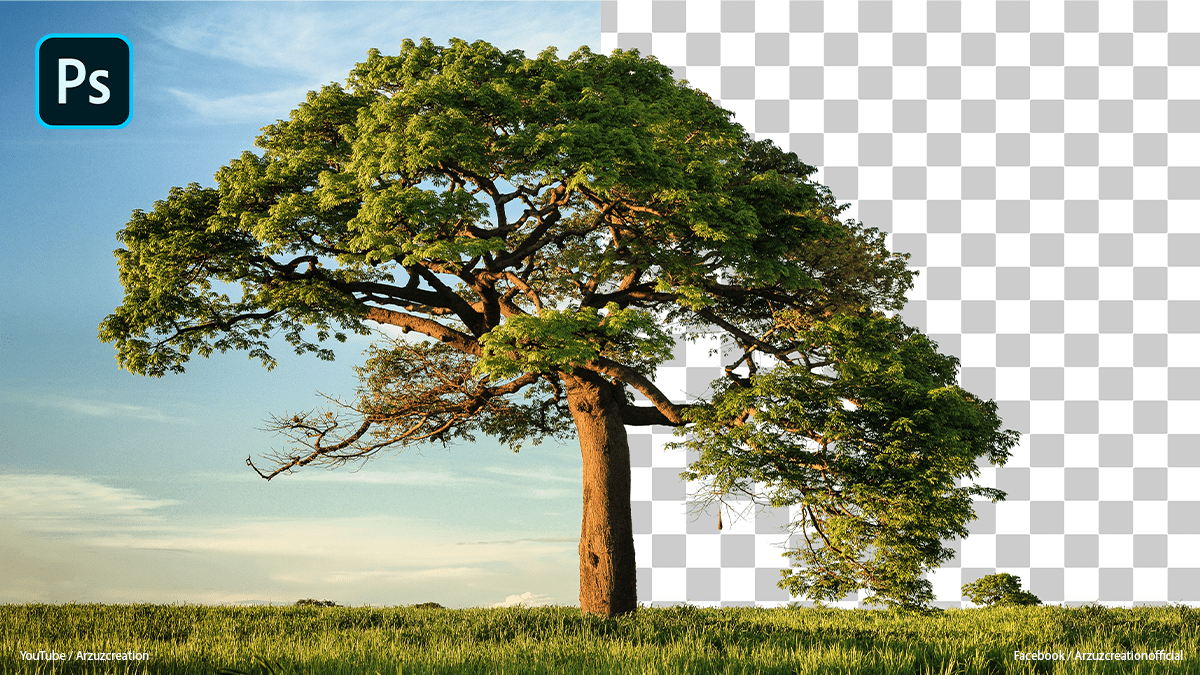
How to remove background in Photoshop
Similarly, Menu Bar: This is where you’ll find all the commands and functions in Photoshop. You can access them by clicking on the corresponding menu items.
In addition, Toolbar: This is where you’ll find all the tools you need to edit your images. You can select a tool by clicking on it in the toolbar.
For instance, Options Bar: This is where you’ll find options specific to the selected tool. You can change settings like brush size, hardness, and opacity here.
Panels: These are where you’ll see your images, layers, and other information about your document. You can access them by clicking on the corresponding tabs in the panel area on the right-hand side of the screen.
After that, Creating a New Document
To create a new document, follow these steps:
Go to File > New (or press Ctrl + N on Windows or Command + N on Mac).
In the New Document dialog box, choose your document settings like size, resolution, and color mode. Click OK to create your new document.
Selecting and Editing Images
In other words, to select an area of your image, use one of these tools:
Marquee Tool: This tool lets you select rectangular or elliptical areas of your image. Hold down Shift to add to your selection or Alt/Option to subtract from it.