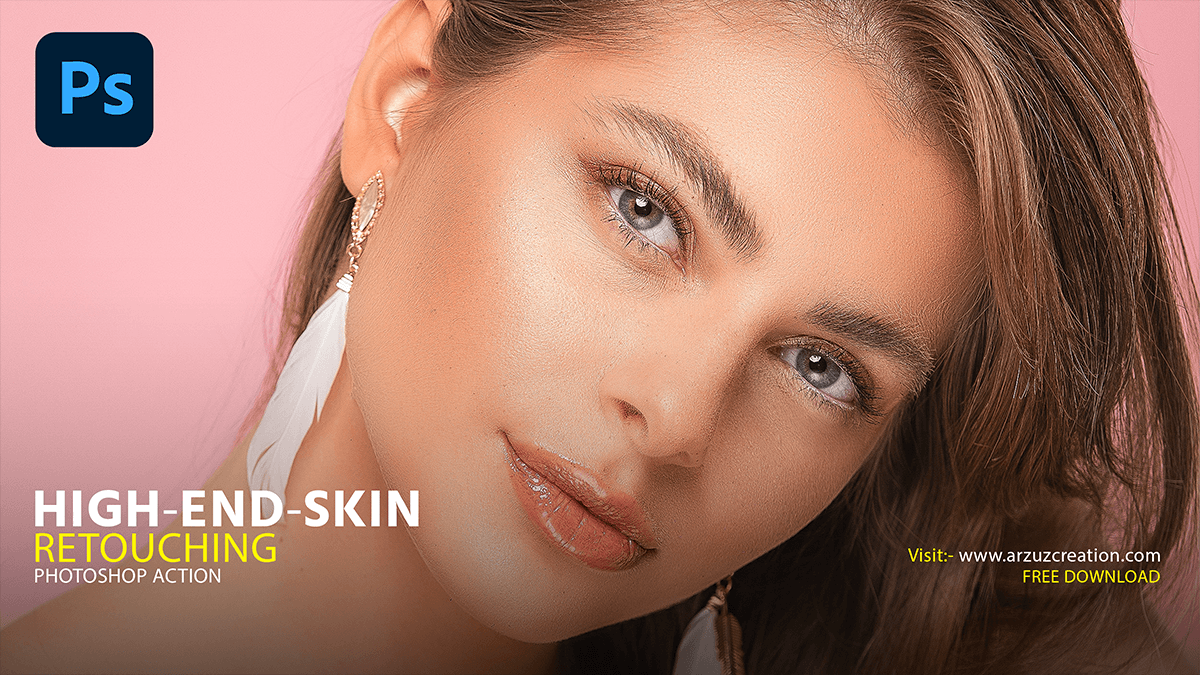
High End Retouching Photoshop. Professional Skin Retouching
We’re going to learn an advanced technique for flawless skin retouching, sculpting, and skin softening in Adobe Photoshop! Combining the power of frequency separation with manual sampling and painting, learn how to recreate and sculpt skin to maintain beautiful skin texture in today’s Photoshop tutorial of mine.
Today I will show you, How to smooth and skin-retouch professional model portrait photos. I will present the work of high-end skin retouching to you in a very simple way.

Using this technique of mine, you can not only achieve smooth skin but also control the natural way to remove wrinkles, lift cheekbones, and reform the entire structure of the skin while still keeping the skin texture intact.
My method is an all-in-one method whether you want to soften the skin or just generally repair specific areas or discoloration. You can do it any way you want.
How to High-End Skin Retouching,

Firstly, we will select the original image layer and unlock it. Then drag the layer and drop it on the New Layer icon to create a duplicate layer. Then I will name the duplicate layer Remove Blemishes From Face.

Then I will name the duplicate layer Remove Blemishes From Face.

Now we will select the spot healing brush tool from the Photoshop toolbar to remove the blemishes. Right-click on the Healing Brush Tool in Photoshop toolbar and it will show many brushes. From there, select the Spot Healing Brush tool.

Similarly, Now we will hold the Alt key from the keyboard and click on the fresh area of the face to take the sample. Then I put the sample on the blemishes.
Neural Filter Photoshop Plugin,

Firstly, In this way, we will remove the blemishes from the face gradually. Then go to the filter menu and open The Neural Filters Photoshop Plugin.

Secondly, We will smooth and retouch the model face using the Neural Filter Photoshop plugin. Then we will open it in a new layer.

However, Now we will open the Adobe camera raw filter from the filter menu.

Then change the basic setting and do the color correction.
Finally, we will do the rest of the color correction using levels, curves, selective colors, and color lookup from the adjustment layer.

Therefore, Color correction should be done very carefully because after smoothing the skin if color correction is not done beautifully, it will not look natural. Ok, guys today this is the topic that will be seen in the next tutorial. Thank you.
