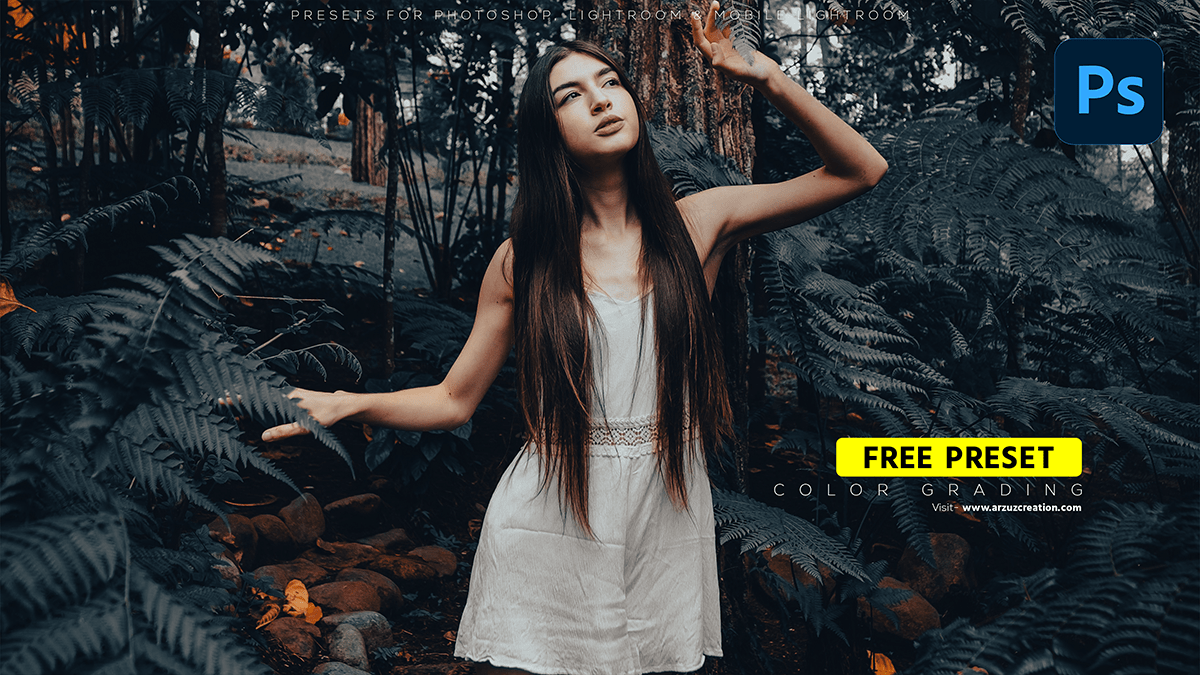
Cinematic photo editing camera raw presets Professional color grading tutorial for beginners.

Therefore, In this Photoshop tutorial, you learn, How to use Cinematic Photo Editing Camera Raw Presets in Photoshop. Cinematic Presets For Photoshop 2024. Premium Presets For Photoshop using Camera Raw Filter. Outdoor Photo Editing Camera Raw Presets. Colour Outdoor Photo Editing in Photoshop.
However, Outdoor Photo Editing Photoshop Tutorial. Outdoor Photo Editing Camera Raw Presets. Photo Editing. Color Correction in Photoshop. Color Correction. Photo Color Correction. Photoshop Photo Editing.
Cinematic Photo Editing Camera Raw Presets,
In other words, Cinematic color grading enhances the color and tone of a video or film to create a specific mood, atmosphere, or style. In Photoshop, you can simulate this process using adjustment layers and layer masks to make non-destructive edits to your images.
Click here to download this camera raw preset file,
For instance, Here’s a basic workflow for cinematic color grading in Photoshop:
Open your image in Photoshop and duplicate the background layer.
In addition, Add a Color Lookup adjustment layer by going to Window > Adjustments > Color Lookup. Choose a 3D LUT (Look Up Table) file that matches the style you want to achieve. You can find free LUTs online or create your own using software like DaVinci Resolve or Adobe SpeedGrade.
Above all, Add a Curves adjustment layer to control the brightness and contrast of your image. Use the Curves tool to shape the tonal curve to your liking.
Click here to watch this video tutorial,
After that, Add a Hue/Saturation adjustment layer to adjust the colors of your image. Use the sliders to increase or decrease saturation, vibrance, and hue as desired.
Add a Selective Color adjustment layer to fine-tune specific colors in your image. Use the sliders to adjust the cyan, magenta, yellow, and black channels separately.
Similarly, Use layer masks to selectively apply these adjustments to specific areas of your image. For example, you might want to apply more saturation to the sky or less contrast to the shadows.
Finally, add a Vibrance adjustment layer to enhance the colors of your image without over-saturating them or affecting skin tones. Use the sliders to increase or decrease vibrance as desired.
In conclusion, Flatten your image and save it in your desired format (e.g., JPEG, PNG).
Remember that cinematic color grading is a creative process, so feel free to experiment with different adjustments and layer masks until you achieve the look you want!
