Matte green Photoshop preset 2024. Photo editing and color grading tutorial for beginners. The camera is raw presets free to download for your photo edit. Professional color grading tutorial.

Therefore, In this Photoshop tutorial, you learn, How to use Matte Green Photoshop Preset in Adobe Camera Raw Filter. Photoshop Color Grading in Photoshop 2024. Color Grading Photoshop Camera Raw Filter. Camera Raw Filter Color Grading Tutorial.
In other words, Preset Photo Editing Photoshop. Cinematic Presets For Photoshop 2024. Premium Presets For Photoshop using Camera Raw Filter. Outdoor Photo Editing Camera Raw. Colour Outdoor Photo Editing in Photoshop.
Matte Green Photoshop Preset 2024,
However, Outdoor Photo Editing Photoshop Tutorial. Outdoor Photo Editing Camera Raw. Photo Editing. Photo Editing. Color Correction in Photoshop. Color Correction. Photo Color Correction. Photoshop Photo Editing.
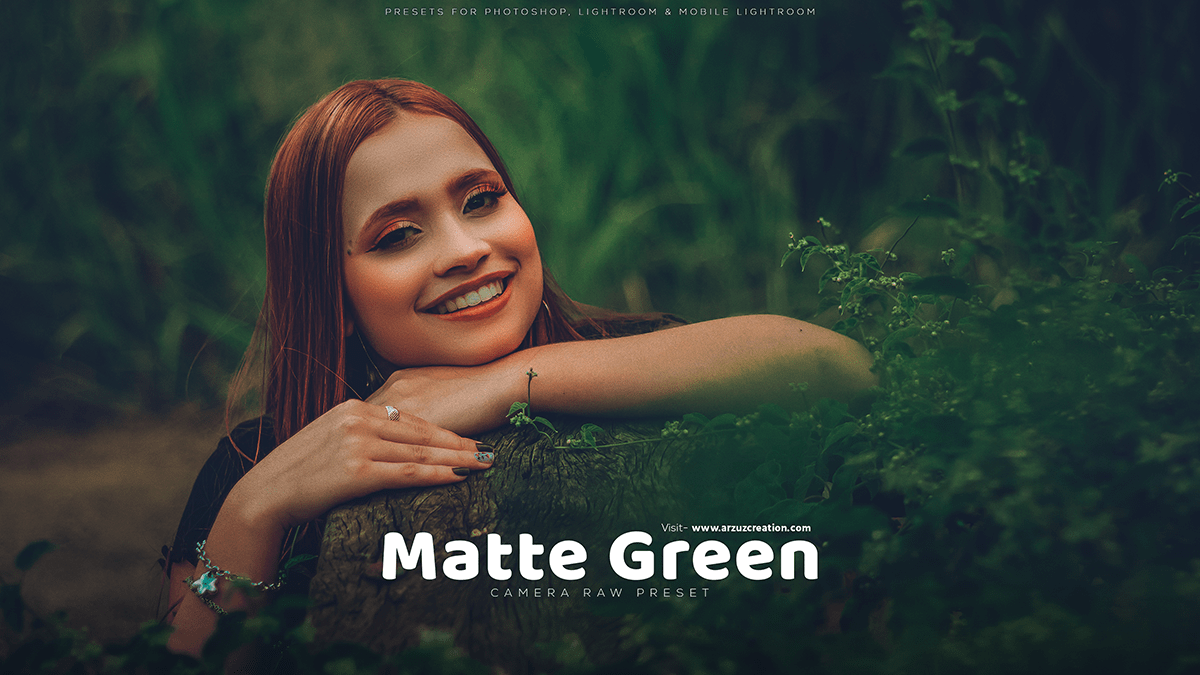
For instance, To create a matte green photo edit in Photoshop, follow these steps:
Above all, Open your photo in Photoshop and duplicate the background layer by pressing Ctrl/Cmd + J.
In addition, Select the duplicated layer and change its blending mode to Overlay. This will make the colors more vibrant and saturated.
Click here to download this preset file,
After that, Create a new layer and fill it with a solid color of matte green (#3c5a40) using the Paint Bucket tool (G).
Similarly, Lower the opacity of the green layer to around 70% to make it more subtle.
Use the Lasso tool (L) to select an area of your photo where you want to apply the matte green effect, such as leaves or grass.
Press Ctrl/Cmd + C to copy the selected area and then press Ctrl/Cmd + V to paste it onto the green layer. This will apply the matte green color to the selected area.
Click here to watch this video tutorial,
Use the Eraser tool (E) to remove any unwanted areas of green from the pasted selection, such as edges or highlights.
Repeat steps 5-7 for any other areas you want to apply the matte green effect to.
Adjust the levels and contrast of your photo using the Levels and Curves tools (Levels: Ctrl/Cmd + L, Curves: Ctrl/Cmd + M) to enhance the overall image quality.
In conclusion, Save your edited photo in your desired format and resolution.
