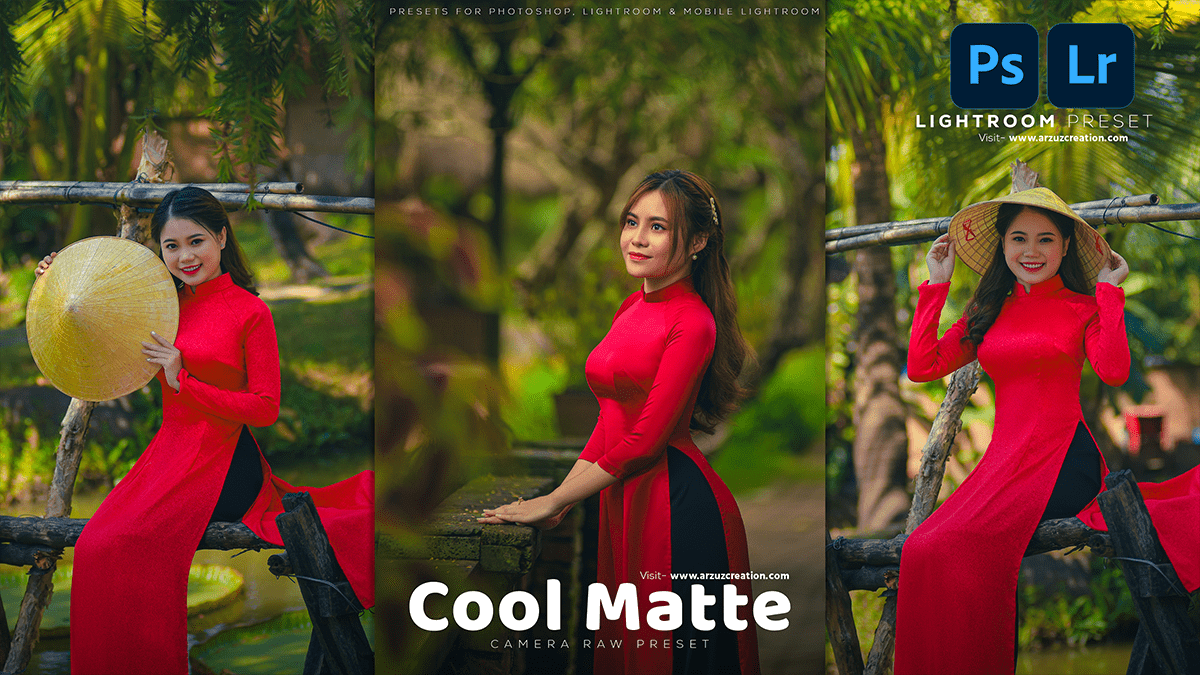
Cool matte Photoshop preset 2024, Photo editing & color grading tutorial for beginners. Learn here, Professional photo editing work step by step.

Therefore, In this Photoshop tutorial, you learn, How to use Cool matte Photoshop Preset 2024 in Adobe camera raw filter. Photoshop color grading in Photoshop 2024. Color grading Photoshop camera raw filter. Camera raw filter color grading tutorial.
Preset photo editing Photoshop. Cinematic presets for Photoshop 2024. Premium presets for Photoshop using camera raw filter. Outdoor photo editing camera raw presets—color outdoor photo editing in Photoshop.
Cool Matte Photoshop Preset 2024,
In other words, Cool matte color grading in Photoshop involves adjusting an image’s color, tone, and texture to give it a subdued, muted, and desaturated look. Here’s a step-by-step guide on how to achieve this effect:
However, Open your image in Photoshop and duplicate the background layer by pressing Ctrl + J (Windows) or Command + J (Mac).
For instance, Rename the duplicate layer to “Matte” and click on it to select it.
Click here to download this preset file,
Above all, Go to Layer > New Adjustment Layer > Color Lookup and choose “Cinema” from the drop-down menu. This will add a new adjustment layer with a predefined color lookup table to give your image a cool matte look.
Next, go to Layer > New Adjustment Layer > Curves and adjust the curve to darken the shadows and mid-tones slightly. This will add depth and contrast to your image.
In addition, Now, go to Layer > New Adjustment Layer > Hue/Saturation and reduce the saturation to -30 or -40. This will desaturate your image and give it a muted look.
Click here to watch this video tutorial,
Next, go to Layer > New Adjustment Layer > Gradient Map and choose a gradient that goes from black at the top to white at the bottom. After that, This will create a tonal range that will enhance the contrast of your image.
Finally, go to Layer > New Adjustment Layer > Levels and adjust the levels to fine-tune the brightness and contrast of your image. You can also use the Levels adjustment layer to make specific tonal adjustments by clicking on the eyedropper tool and selecting areas of your image that you want to brighten or darken.
Once you’re happy with your cool matte color grading, you can merge all the layers by going to Layer > Merge Visible or pressing Ctrl + Shift + E (Windows) or Command + Shift + E (Mac). This will flatten your image with all the adjustments applied.
Save your image in a format that supports high-quality images such as TIFF or PSD for further editing or export it as a JPEG for web use.
