Cinematic color tone preset 2024, Photo editing tutorial for beginners. Adobe Photoshop Camera raw filter photo editing preset free download. Learn, professional skin retouching work here.

Therefore, In this Photoshop tutorial, you learn, How to Use Cinematic Color Tone Preset 2024 in Adobe Photoshop. Cinematic presets for Photoshop 2024. Premium presets for Photoshop using Camera raw filter. Outdoor photo camera raw presets—color photo editing in Photoshop.
Outdoor photo editing Photoshop tutorial. Camera raw presets. Photo editing. Color correction in Photoshop. Color Correction. Photo Color Correction. Photoshop Photo Editing.
Cinematic Color Tone Preset 2024,
In other words, Photoshop camera raw filter editing. Color correction in Photoshop. Color correction Photoshop. Photoshop cc color grading. Professional color grading. Color grading Photoshop camera raw. Camera raw photo editing.
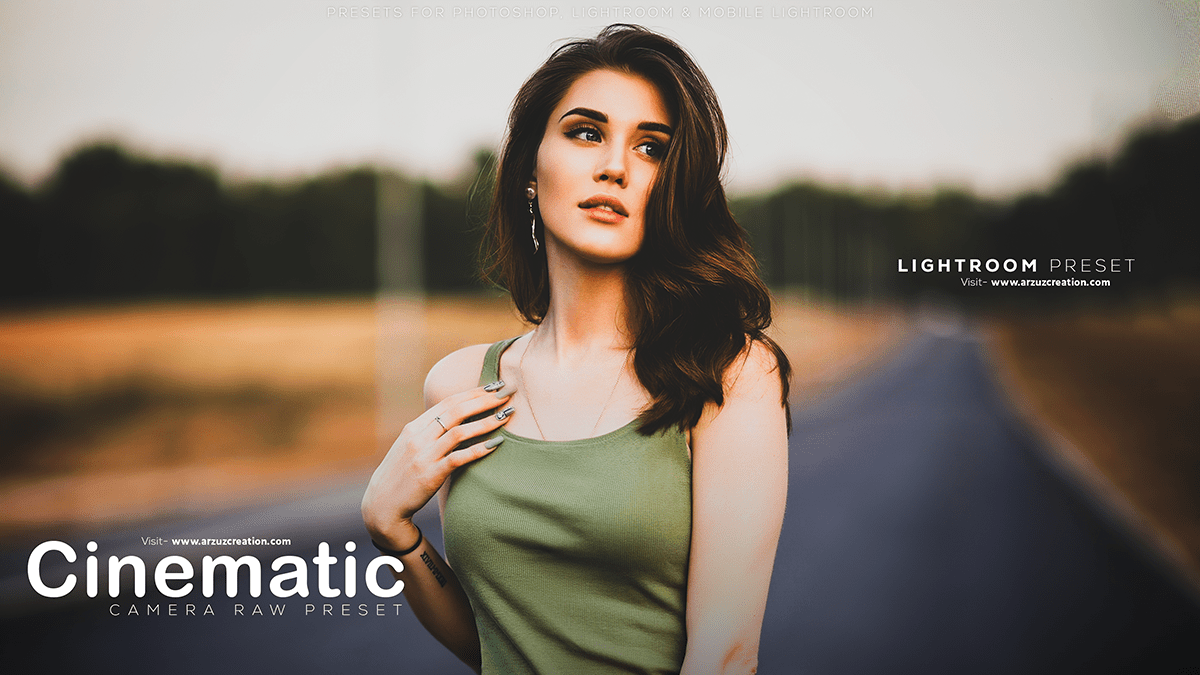
However, The cinematic color tone is a popular style used in film and video production to create a specific mood or atmosphere. In photography and post-processing, this style can be achieved using Adobe Photoshop. Here’s a step-by-step guide to help you create a cinematic color tone in Photoshop:
For instance, Open your image in Photoshop and duplicate the background layer by pressing Ctrl + J (Windows) or Command + J (Mac).
Click here to download this preset file,
Above all, Go to Layer > New Adjustment Layer > Curves. This will create a new adjustment layer that you can use to adjust the tonality of your image.
In the Curves dialog box, click on the curve to add a point. Then, drag the point upwards to brighten the highlights, and drag it downwards to darken the shadows. This will help to create more contrast in your image.
Photoshop Photo Editing & Color Grading,
In addition, Next, go to Layer > New Adjustment Layer > Color Lookup. This will create a new adjustment layer that you can use to add a specific color tone to your image.
In the Color Lookup dialog box, select the “3DLUT” tab and choose a 3D LUT file that has a cinematic color tone. You can find these files online or create your own using software like DaVinci Resolve or Adobe SpeedGrade.
Click here to watch this video tutorial,
Once you’ve selected your 3D LUT file, click OK to apply it to your image. You may need to adjust the opacity of the Color Lookup layer to achieve the desired effect.
After that, To add depth and dimension to your image, go to Filter > Blur > Radial Blur. Select “Zoom” as the blur type in the Radial Blur dialog box and adjust the settings until you achieve the desired effect. Then, click OK to apply the filter.
Finally, you may want to add some vignetting or darkening around the edges of your image to draw the viewer’s eye toward the center of the frame. To do this, go to Layer > New Adjustment Layer > Gradient Filter. In the Gradient Filter dialog box, select “Black” as the gradient and adjust the angle and feather until you achieve the desired effect. Then, click OK to apply the filter.
You can also adjust the opacity of this layer to achieve the desired level of vignetting or darkening around the edges of your image.
Save your image in a high-quality format such as TIFF or PSD for further editing or export it as a JPEG for web or print use.
By following these steps, you should be able to achieve a cinematic color tone in your images using Adobe Photoshop!
