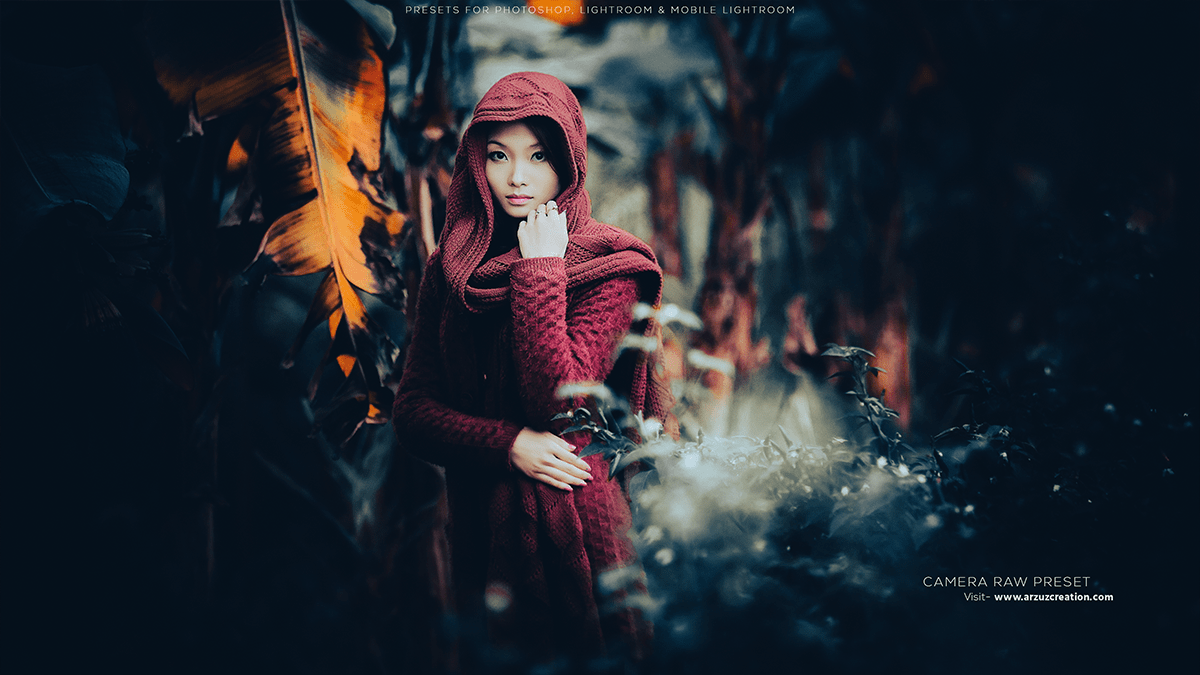
Cinematic Presets Photoshop 2024, Cinematic Presets Photoshop 2024. How to make cinematic photo effects in Adobe Photoshop. Photoshop presets are free to download. Camera raw filter.

Therefore, In this Photoshop tutorial, you learn, How to create cinematic color grading in Photoshop.
In other words, To achieve a cinematic color grade in Photoshop, follow these steps:
Open your image in Photoshop: Launch Adobe Photoshop and open the image you want to color grade.
However, Duplicate the Background Layer: Right-click on the Background layer and select “Duplicate Layer.” For instance, Rename the new layer to “Color Grade” or something similar to keep your layers organized.
Cinematic Presets Photoshop 2024,
Apply a Camera RAW Filter: Go to the “Filter” menu, then “Camera Raw Filter.” This will open the Camera RAW editing window where you can adjust the image’s color, tone, and other properties.
Above all, Adjust White Balance: In the Camera RAW window, locate the White Balance tool (it looks like an eyedropper). Click on a neutral area of your image (like a gray wall or overcast sky) to set the correct white balance. This will help you achieve a more cinematic look.
Click here to download this preset file,
After that, Adjust the Tone Curve: Use the tone curve to adjust the contrast and brightness of your image. Move the curve points to shape the tonal range as desired. A “S-shaped” curve is often used for a cinematic look.
In addition, Adjust Color Balance: In the Basic panel, use the sliders to adjust the color balance of your image. You can add more warmth by increasing the Temperature (towards the orange side) or cool down the image by decreasing it. Adjust the Tint (towards the green-magenta axis) as needed.
Click here to watch this video tutorial,
Apply Vignette: To create a cinematic vignette, go to the Lens Corrections panel and move the Amount slider under Vignette to add a subtle darkening around the edges of your image.
Split Toning: In the HSL/Grayscale panel, enable the “Split Toning” option. Here, you can select a color for the highlights (e.g., a soft pastel shade) and a different color for the shadows (e.g., a deep blue). Adjust the Hue, Saturation, and Balance sliders to your liking.
Learn, Professional Photo Editing,
Save Changes: Once satisfied with your color grade, click “OK” to apply the changes and close the Camera RAW window.
Similarly, Adjust Opacity (Optional): If the color grade looks too intense, you can lower the opacity of the “Color Grade” layer to blend it with the original image.
Remember that color grading is subjective, and you might need to experiment with different settings to achieve the desired cinematic look.
