Camera raw photo editing. Adobe Photoshop camera raw filter professional photo editing tutorial. Learn, Photoshop photo editing work here.
Therefore, In this Photoshop tutorial, you learn, How to edit professional photo editing in Adobe Photoshop.

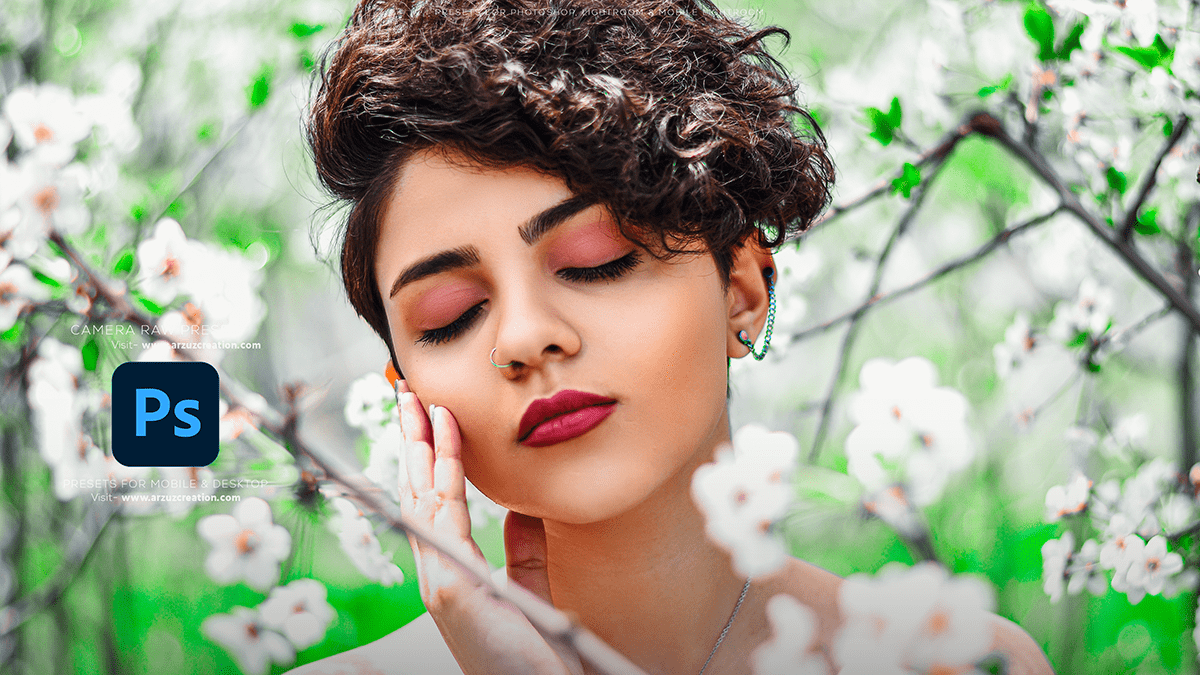
Camera Raw Photo Editing,
In other words, To edit a photo using Camera Raw in Photoshop, follow these steps:
Open Photoshop and import your image: Launch Adobe Photoshop and either create a new document or open an existing image you’d like to edit.
For instance, Access Camera Raw Filter: Go to the menu bar and click on “Filter” > “Camera Raw Filter” (or press Shift + Ctrl + A on Windows or Shift + Command + A on macOS). This will open the Camera Raw editor.
Click here to download this preset file,
Adobe Photoshop Lightroom Photo Editing,
Above all, Adjust settings: In the Camera Raw editor, you can make various adjustments to your photo. Here are some key tools and their functions:
- Basic Panel: This panel allows you to adjust the overall tone and color of your image. You can modify settings like White Balance, Exposure, Contrast, Highlights, Shadows, Whites, and Blacks.
- Tone Curve: This tool lets you make more precise tonal adjustments. You can choose between a Parametric Curve or a Point Curve to manipulate the tones in your image.
- HSL/Grayscale: This panel enables you to adjust the Hue, Saturation, and Luminance of different color channels in your photo.
- Split Toning: With this tool, you can add a different color tone to your highlights and shadows, giving your image a unique mood.
- Lens Corrections: This panel helps you fix any lens-related issues, such as distortion, vignetting, or chromatic aberration.
- Details: In this panel, you can adjust the sharpness, clarity, and noise reduction of your image.
- Camera Calibration: This tool allows you to fine-tune the color profile of your photo, depending on your specific needs.
Apply adjustments: Once you’ve made the desired changes, click “OK” to apply the edits and exit the Camera Raw editor. In addition, Your changes will now be applied to the original image in Photoshop.
Click here to watch this video tutorial,
Further editing: If you’d like to make additional adjustments in Photoshop, you can do so using various tools and filters available in the program.
Learn, Professional Photo Editing,
Remember to save your work regularly and create a backup of your original image to avoid any loss of data.
