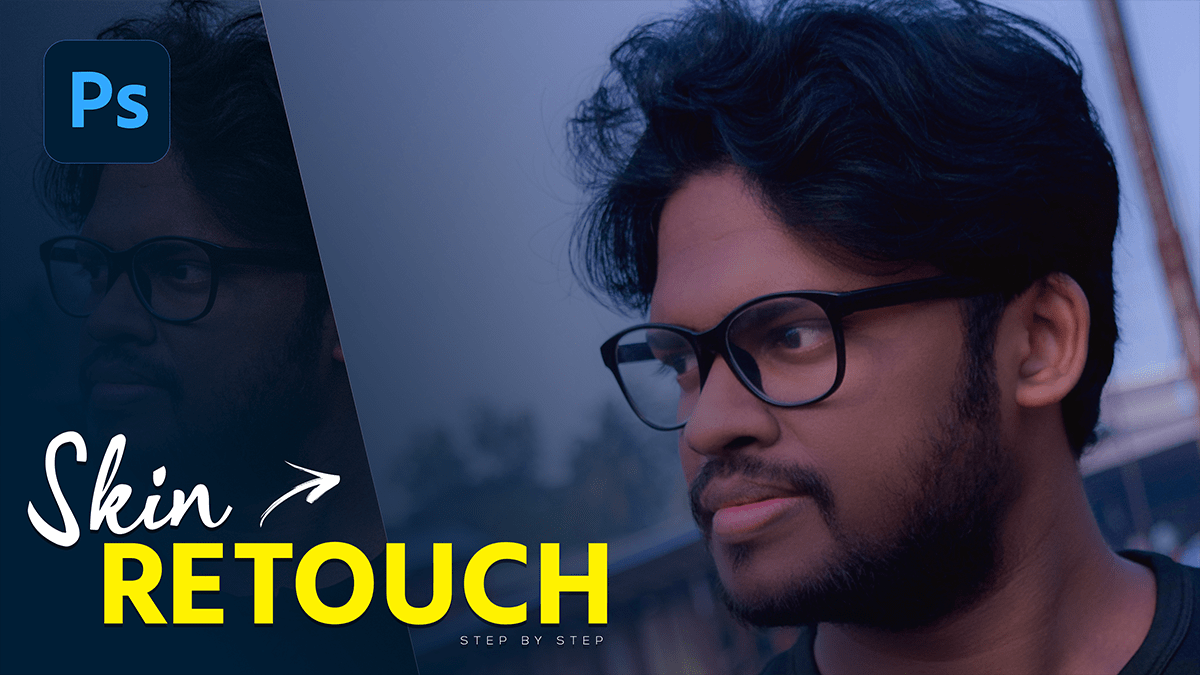
Adobe Photoshop Skin Retouching Tutorial For Beginners. Learn here, Skin Retouch Full Process Step By Step. Professional Photo Editing. Photoshop Skin Retouch Action. Photoshop Presets.
Therefore, In this Photoshop tutorial, you learn, How to Skin Retouch in Adobe Photoshop 2024.

Adobe Photoshop Skin Retouching,
Skin retouching in Photoshop refers to the process of enhancing and improving the appearance of skin in digital images. In other words, This technique is often used in portrait photography to make the subject’s skin look smoother, clearer, and more even-toned. Here’s a step-by-step guide on how to perform skin retouching in Photoshop:
Open the image in Photoshop: Start by opening the photo you want to work on in Adobe Photoshop.
Duplicate the background layer: For instance, Create a duplicate of the background layer by right-clicking on the layer in the Layers panel and selecting “Duplicate Layer.” This will allow you to work on a copy without affecting the original image.
Apply a skin softening filter: Go to Filter > Blur > Surface Blur. Adjust the Radius and Threshold sliders to smooth out the skin while preserving details like eyes, hair, and clothing. A higher radius will smooth more, while a lower threshold will preserve more details.
Click here to download this preset file,
Create a new Stamp Visible layer: Click on the “Create a New Layer” icon at the bottom of the Layers panel, then go to Edit > Fill. Choose 50% Gray from the Contents dropdown and click OK. This layer will be used to clone and heal blemishes and imperfections.
Use the Healing Brush tool: Select the Healing Brush tool (keyboard shortcut: Shift + J) and set the Source to the Stamp Visible layer. Paint over any blemishes, spots, or discolorations on the skin. You can also use the Spot Healing Brush tool (keyboard shortcut: J) for smaller imperfections.
Adobe Photoshop Skin Retouching,
Use the Clone Stamp tool: Select the Clone Stamp tool (keyboard shortcut: S) and set the Source to the Stamp Visible layer. Paint over any areas you want to remove or replace, such as scars, pimples, or uneven skin texture.
Click here to watch this video tutorial,
Apply a frequency separation technique: This method separates the image into high and low frequencies, allowing for more precise skin retouching. Create a new layer above the background copy and go to Image > Apply Image.
Set the Blend Mode to Subtract and the Layering to New Layer. Apply a high pass filter by going to Filter > Other > High Pass. Adjust the radius until you see the desired skin texture.
Create another layer above this one and fill it with 50% gray (Edit > Fill > 50% Gray). Set the blend mode of this layer to Soft Light. Finally, adjust the opacity of the high pass layer to control the intensity of the effect.
Learn, Professional Photo Editing,
Adjust color and contrast: Use levels or curve adjustment layers to balance the skin tones and overall image contrast.
Merge and flatten the layers: Once you’re satisfied with the retouching, merge the layers (right-click on a visible layer and select “Merge Visible”) and flatten the image if necessary.
Save the final image: Export or save the final image in your desired format, ensuring you preserve the quality and resolution of the original photo.
Remember, skin retouching should be done with care and discretion, respecting the natural appearance of the subject.
