Cinematic Color Grading Lightroom Tutorial For Beginners. In other words, How to Create Cinematic Color Grading in Adobe Photoshop Lightroom. However, Lightroom Photo Editing Tutorial For Beginners. Lightroom Presets.
Therefore, In this Lightroom tutorial, you learn, How to edit outdoor portrait photos by editing a cinematic look in Adobe Photoshop Lightroom. For instance, Step by step you learn this photo editing.

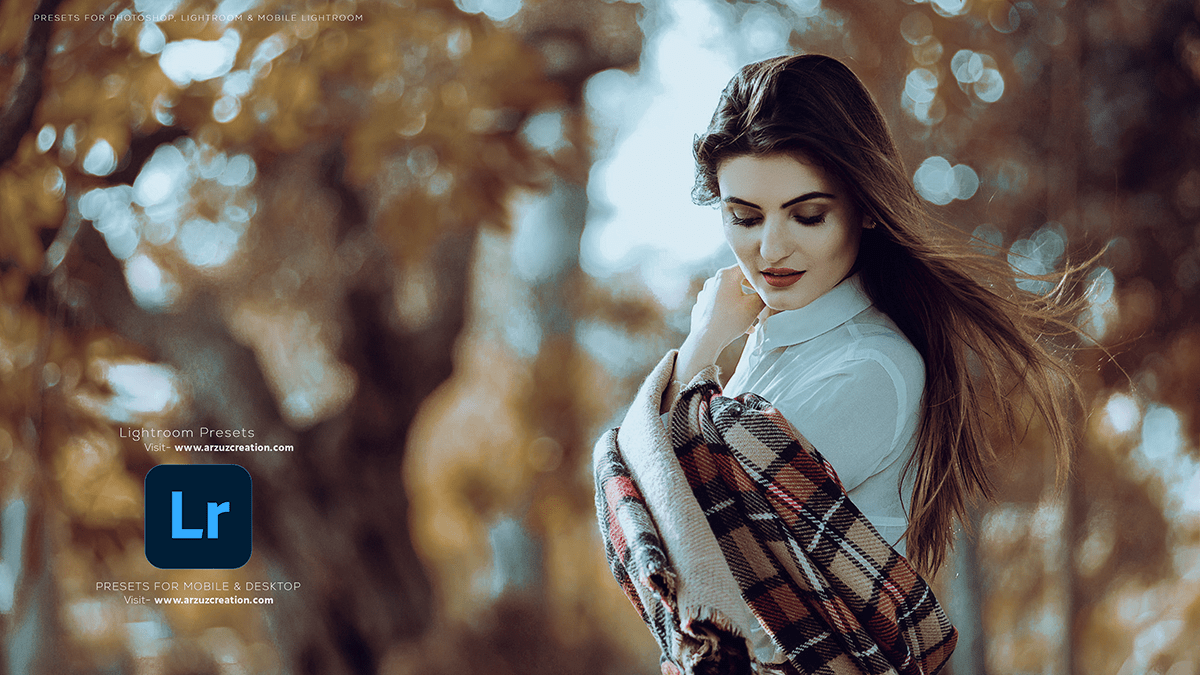
Cinematic Color Grading Lightroom Tutorial For Beginners,
Above all, Cinematic color grading in Lightroom is a process of adjusting the colors, tones, and contrast of your photos to give them a visually appealing, cinematic look. This technique is popular among photographers and videographers who want to enhance their images or videos to make them more captivating and professional-looking. Here’s a step-by-step guide to help you achieve cinematic color grading in Lightroom:
Import your image: In addition, Begin by importing the photo you want to work on into Lightroom.
Basic adjustments: Start by making basic adjustments to your photo, such as exposure, contrast, highlights, shadows, whites, and blacks. After that, This will help you establish a good foundation for your color grading process.
Lightroom Editing,
Temperature and Tint: Similarly, Next, adjust the temperature (white balance) and tint of your image. For a cinematic look, you may want to slightly cool down the image by lowering the temperature and adding a hint of greenish or magenta tint.
Click here to download this preset file,
Tone Curve: Utilize the tone curve to make specific tonal adjustments. A ‘S’ curve can help to add contrast and depth to your image. Push the shadows slightly to the right and the highlights a little to the left to create a more dramatic look.
Split Toning: This feature allows you to apply different colors to the highlights and shadows of your image. For a cinematic look, consider using warm colors like gold, orange, or yellow for the highlights, and cooler tones like blue or purple for the shadows.
Click here to watch this video tutorial,
Vibrance and Saturation: Adjust the vibrance and saturation levels to enhance the colors in your image. Be careful not to overdo it, as too much saturation can make the image appear unnatural.
Luminance and Color Noise Reduction: To maintain image quality, reduce luminance and color noise. This will help in preserving the cinematic look you’ve created.
Finishing Touches: You can further enhance your image by using Lightroom’s presets or adjusting other settings like clarity, dehaze, and grain. These adjustments can help to add a unique touch to your cinematic color grading.
Professional Photo Editing in Adobe Lightroom,
Export and Review: Once you’re satisfied with your adjustments, export the image and review it in your preferred photo or video editing software to see how it looks in context.
Remember, cinematic color grading is a matter of personal preference and experimentation. Don’t be afraid to try different settings and combinations to achieve the desired effect.
