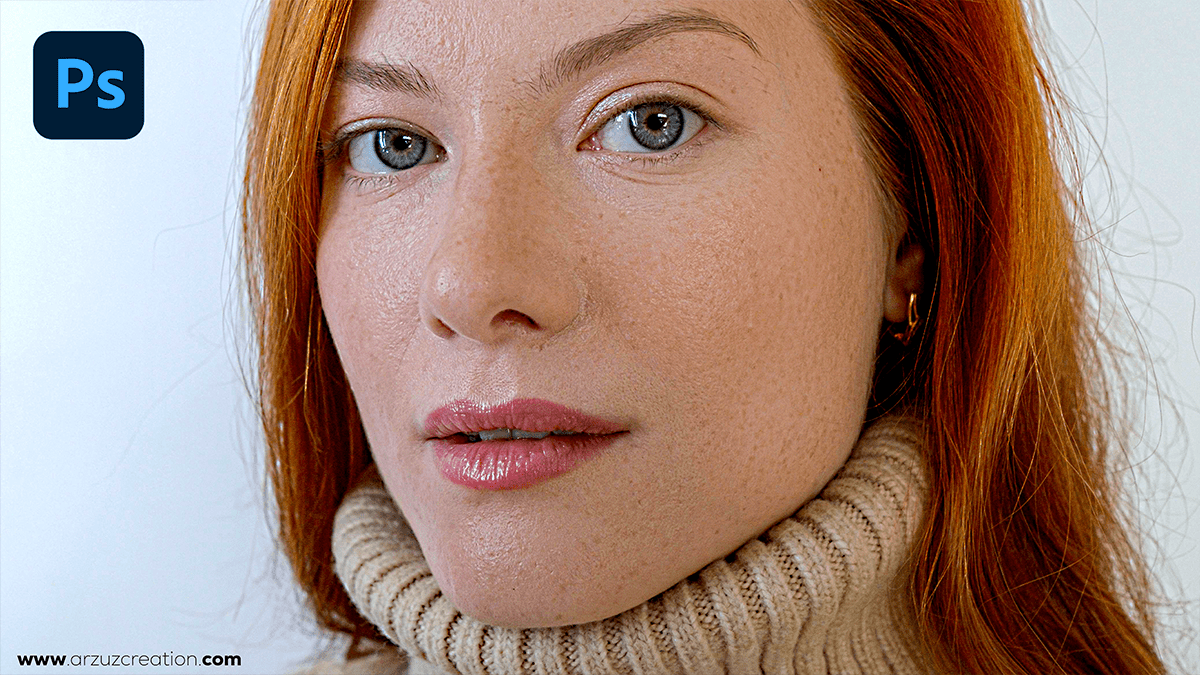
Create Skin Texture Photoshop, How to Create Realistic Skin Texture in Adobe Photoshop. If you want to make your portrait photos more realistic then you need to add skin texture to portrait photos. Your photo will look more beautiful when you add skin texture to the portrait photo.
Therefore, Professional photographers add skin texture to their portrait photos to enhance the photo look. Which they do with precision while photo editing.

In other words, Creating realistic skin texture in Photoshop involves several steps and techniques. Here’s a step-by-step guide to help you achieve this effect:
Open your image in Photoshop:
However, Start by opening the image you want to work on in Adobe Photoshop.
Duplicate the background layer:
For instance, Right-click on the background layer and select “Duplicate Layer.” This will create a new layer on top of the background, allowing you to work on it without affecting the original image.
Create Skin Texture Photoshop Tutorial For Beginners,
Apply a texture:
Above all, Go to “Filter” > “Noise” > “Add Noise.” Set the “Amount” to around 25–30% and make sure “Uniform” is selected. This will add a subtle texture to your image.
Apply a skin overlay:
In addition, Find a skin overlay or texture online that you like. You can use free resources or purchase high-quality ones. Drag and drop the overlay onto your image. Adjust the blending mode of the overlay layer to “Multiply” or “Overlay” to blend it with the background image.
Professional Photo Editing in Photoshop,
Adjust the texture:
After that, You can adjust the opacity of the overlay layer to control the strength of the texture. You may also need to use the “Transform” tool (Edit > Transform > Scale, Edit > Transform > Rotate, or Edit > Transform > Warp) to fit the overlay to your image.
Add pores and imperfections:
Create a new layer above the overlay layer. Paint tiny white dots to represent pores using a small, hard-edged brush. You can use a low-opacity brush (around 10–20%) and paint carefully to avoid creating an unnatural appearance.
Create a Highly Realistic Skin Texture in Photoshop,
Add shadows and highlights:
Create a new layer above the previous one. Set the foreground color to black (#000000) and use a soft-edged brush to paint shadows in the areas where the light source would create shadows on the skin. Then, set the foreground color to white (#FFFFFF) and paint highlights on the high skin points where the light would hit.

Final touches:
You can further enhance the skin texture by adjusting the levels (Image > Adjustments > Levels) or curves (Image > Adjustments > Curves) to bring out more detail in the skin. Use a low-pass filter (Filter > Blur > Gaussian Blur) to soften the texture if needed.
Save your work:
Once you’re satisfied with the result, save your image as a PSD file to preserve all the layers and adjustments. If you want to share your final image, save it as a JPEG or appropriate format.
Remember that creating realistic skin texture requires practice, patience, and attention to detail. Experiment with different techniques and textures to find what works best for your specific image.
