Photoshop Skin Retouching Tutorial For Beginners. In other words, How to Skin Retouch in Adobe Photoshop. However, Professional Skin Retouching Learn Here. Photoshop Action Free Download.
Therefore, In this Photoshop tutorial, you learn, How to retouch portrait skin in Adobe Photoshop.

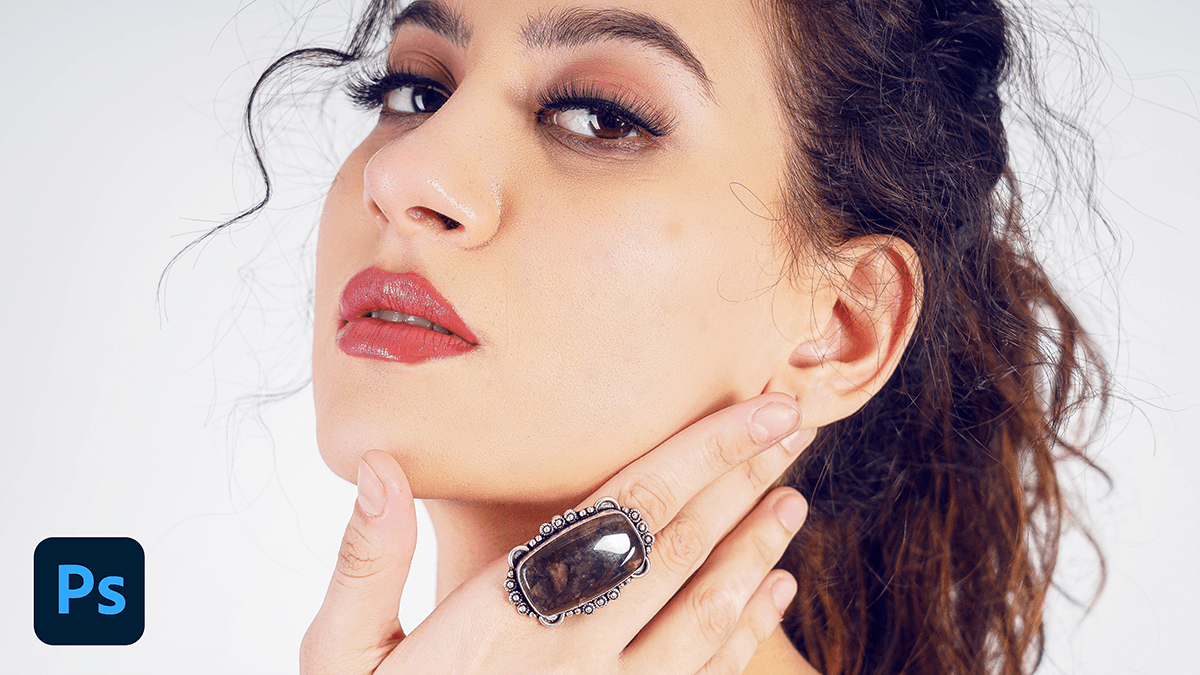
A Photoshop skin retouching tutorial focuses on enhancing the appearance of skin in an image using Adobe Photoshop. This process can help to smooth out blemishes, even out skin tone, and add a natural-looking glow. Here’s a step-by-step guide to help you get started:
Open your image in Adobe Photoshop:
For instance, Start by opening the image you want to work on in Photoshop. You can do this by going to “File” in the top menu, selecting “Open,” and choosing your image file.
Duplicate the background layer:
To protect your original image, create a duplicate layer by right-clicking on the background layer in the “Layers” panel and selecting “Duplicate Layer.” Rename this new layer to something like “Skin Retouching.”
Apply a surface blur:
Go to “Filter” in the top menu, then select “Blur” and “Surface Blur.” Adjust the radius and threshold settings to smooth out the skin while preserving details. This step will help in reducing any imperfections and creating a more even base.
Use the Spot Healing Brush:
Above all, Select the Spot Healing Brush tool from the toolbar on the left. With a small brush size, click on any visible blemishes or imperfections on the skin. This tool will automatically sample the surrounding area and remove the blemish.
Apply the Healing Brush:
Switch to the Healing Brush tool (also found in the toolbar). This tool allows you to clone pixels from one area of the image to another. Zoom in on any larger blemishes or areas that need more attention. Select a source point with good skin texture near the blemish, and paint over the blemish to blend the new texture seamlessly.

Adjust color and tone:
To even out skin tone, create a new layer above your retouching layer and fill it with a color that complements the skin. Set the blending mode of this layer to “Color.” Adjust the opacity until you achieve the desired skin tone.
Add a subtle glow:
Create a new layer above your retouching layer and fill it with white. Set the blending mode to “Screen” and use a large, soft-edged brush to paint gently over the cheeks and other high points of the face. This will add a natural-looking glow to the skin.
Final touches and adjustments:
Take a step back and assess your work. If necessary, make any final adjustments to the skin retouching layers, such as opacity or brush size. You can also use other tools like the Dodge and Burn tool to add contrast and dimension to the skin.
Save your work:
Once you’re satisfied with the results.
