Adobe Photoshop Eraser Tool Tutorial,
Therefore, The Eraser tool in Photoshop is used to remove parts of an image or layer, effectively erasing pixels to reveal the underlying layer or transparency. In other words, Here’s how to use the Eraser tool effectively:

However, Open Your Image:
- For instance, Open the image you want to edit in Photoshop.
Above all, Select the Eraser Tool:
- Select the Eraser tool from the toolbar on the left side of the screen. It looks like a pink eraser. You can also press the
Ekey on your keyboard to quickly select it.
Set the Brush Size and Hardness:
- At the top of the screen, you’ll find options for adjusting the brush size and hardness. Choose a brush size that suits the area you are working on. A softer edge (lower hardness) is useful for blending, while a harder edge is useful for precise erasing.
Adjust the Opacity and Flow:
- You can adjust the opacity and flow settings at the top of the screen to control how much of the image is erased with each stroke. Lower opacity can help you create a gradual erasing effect.
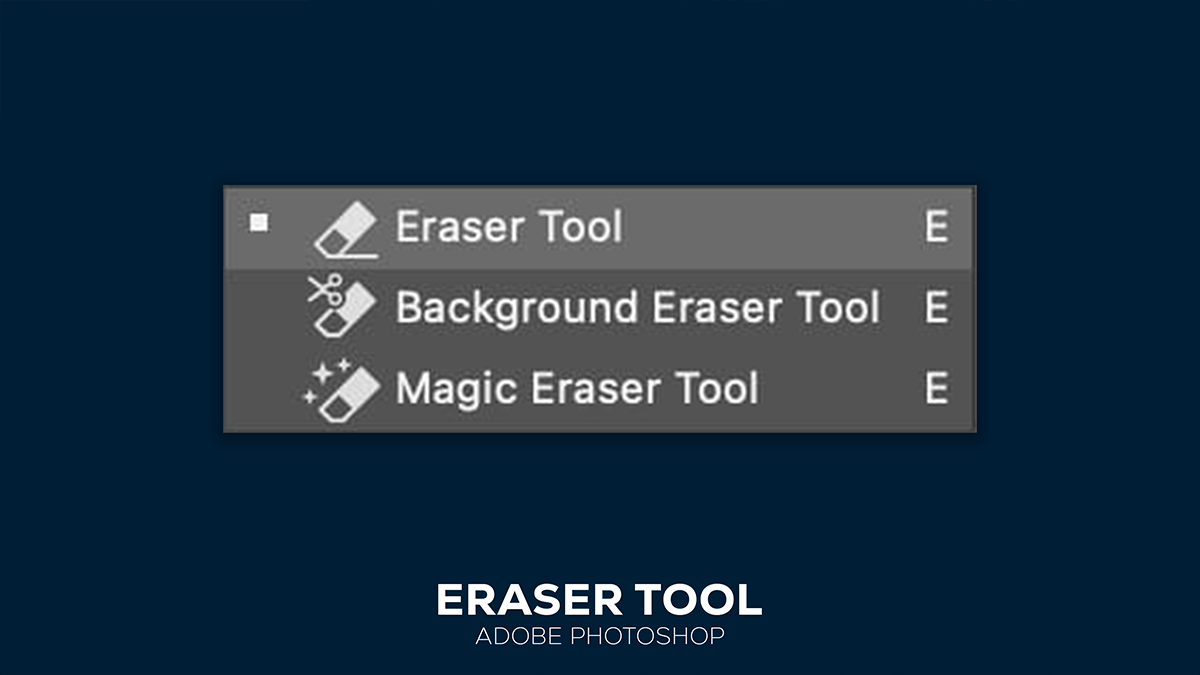
Adobe Photoshop Eraser Tool Tutorial, Types of Erasers,
Photoshop offers three types of erasers: the Eraser tool, the Background Eraser tool, and the Magic Eraser tool. Each serves a different purpose.
Standard Eraser Tool,
Use for General Erasing:
- This is the default eraser, used for general erasing tasks. Simply click and drag over the area you want to erase.
Work on Layers:
- Make sure you’re working on the correct layer. If you want to erase a specific layer, select it in the Layers panel.
Adobe Photoshop Eraser Tool Tutorial, Background Eraser Tool,
Select the Background Eraser Tool:
- Click and hold the Eraser tool in the toolbar, then select the Background Eraser tool from the submenu.
Erase Backgrounds:
- The Background Eraser tool is useful for removing background colors while preserving foreground objects. Click and drag over the background area you want to remove. The tool samples the color at the center of the brush and erases similar colors.
Adjust Tolerance:
- Adjust the tolerance level at the top of the screen to control how similar the colors need to be to the sampled color to be erased. Lower tolerance erases colors very similar to the sample, while higher tolerance erases a broader range of colors.
Sampling Options:
- Choose from Continuous, Once, or Background Swatch sampling options. Continuous samples colors continuously as you drag, Once samples the color at the initial click, Background Swatch erases colors matching the current background color.
Adobe Photoshop Eraser Tool Tutorial, Magic Eraser Tool,
Select the Magic Eraser Tool:
- Click and hold the Eraser tool in the toolbar, then select the Magic Eraser tool from the submenu.
Erase Similar Colors:
- The Magic Eraser tool works like the Magic Wand tool but erases the selected area instead of selecting it. Click on the area you want to erase, and the tool will remove all similar colors.
Adjust Tolerance:
- Set the tolerance level to control the range of colors erased. Lower tolerance erases colors very similar to the clicked color, while higher tolerance erases a broader range of colors.
Contiguous and Anti-Alias Options:
- Enable Contiguous to erase only adjacent pixels of the same color, or disable it to erase all pixels of the same color throughout the image. Enable Anti-Alias for smoother edges.
Adobe Photoshop Eraser Tool Tutorial, Working Non-Destructively,
To avoid permanently erasing parts of your image, consider using layer masks instead of the Eraser tool:
Add a Layer Mask:
- Select the layer you want to work on and click the Add Layer Mask button at the bottom of the Layers panel.
Paint on the Mask:
- Use the Brush tool to paint on the mask. Painting with black hides parts of the layer, painting with white reveals them, and painting with gray creates semi-transparency.
Saving Your Work,
Once you’re satisfied with your edits, save your work. Save in a format that preserves layers (like PSD) if you want to make further adjustments later, or export to formats like JPEG or PNG for final output.
By following these guidelines, you can effectively use the Eraser tool and its variants in Photoshop to edit and enhance your images.
