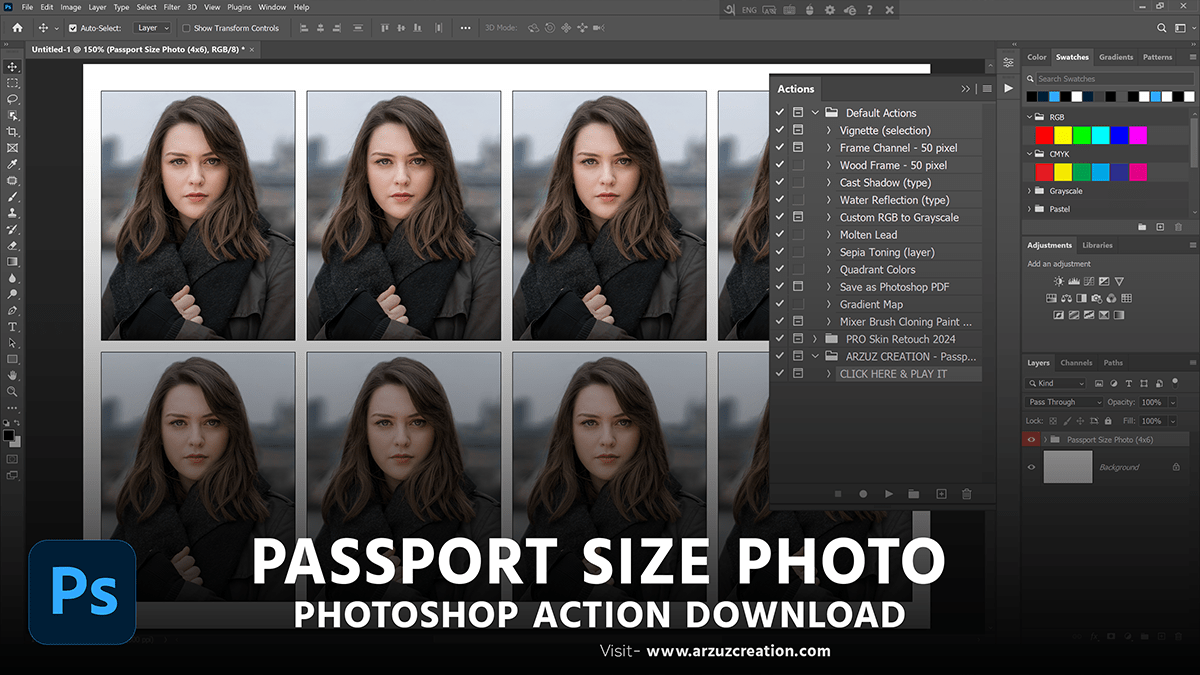
How to Create a Passport Size Photo in Adobe Photoshop 2024,
Therefore, Creating a passport-size photo in Photoshop is a straightforward process that involves setting up the correct dimensions, cropping the photo, and ensuring it meets the required specifications. In other words, Here’s a detailed guide to help you create a passport-size photo:

However, Step-by-Step Guide,
For instance, Open Photoshop:
- Above all, Launch Adobe Photoshop on your computer.
In addition, Create a New Document:
- Go to
File>New. - Set the dimensions:
- Width: 2 inches
- Height: 2 inches
- Resolution: 300 pixels per inch (PPI)
- Set the
Background ContentstoWhite. - Click
Create.
After that, Open the Photo:
- Go to
File>Openand select the photo you want to use for the passport photo. - Alternatively, drag and drop the photo into Photoshop.
Similarly, Crop the Photo:
- Select the
Crop Toolfrom the toolbar (shortcut:C). - Set the aspect ratio to 1:1 (Square) in the top options bar.
- Adjust the crop box to include the head and shoulders, ensuring the face is centered.
- Press
Enterto crop the photo.
Therefore, Resize the Photo:
- Go to
Image>Image Size. - Ensure the width and height are both set to 2 inches.
- Make sure the resolution is set to 300 PPI.
- Click
OK.
Adobe Photoshop Color Grading, How to Create a Passport Size Photo,
In other words, Adjust the Background (if necessary):
- If the background is not plain or does not meet the requirements, you can change it:
- Use the
Quick Selection Tool(shortcut:W) or theMagic Wand Toolto select the background. - Once selected, go to
Edit>Filland chooseWhiteor the required background color.
- Use the
- Alternatively, use the
Select and Maskfeature (found underSelect>Select and Mask) to refine the edges of your selection.
However, Color Correction Photoshop,
For instance, Adjust Color and Lighting:
- Go to
Image>Adjustments>Brightness/Contrastto adjust the lighting. - Adjust the
BrightnessandContrastsliders as needed. - For more precise adjustments, use
Image>Adjustments>LevelsorCurves.
Above all, Check and Refine the Photo:
- Ensure that the photo meets the official passport photo guidelines of the specific country.
- Check that the face is centered and well-lit, the background is plain, and the overall photo quality is high.
Save the Photo:
- Go to
File>Save As. - Choose JPEG as the file format.
- Set the quality to maximum.
- Name your file and click
Save.
Print the Photo (if needed):
- Print the photo using a high-quality photo printer if you need physical copies.
- Ensure the printer settings are set to the highest quality and the paper size is appropriate.

- Neutral Expression: Maintain a neutral expression with your eyes open and mouth closed.
- Proper Lighting: Ensure the photo is taken in a well-lit environment to avoid shadows.
- Check Guidelines: Different countries have specific requirements for passport photos. Always check the official guidelines before proceeding.
By following these steps, you can create a professional-quality passport-size photo that meets the necessary specifications.
