Adobe Photoshop 2024 Retouching Tutorial,

Therefore, Photoshop 2024 offers several advanced tools and techniques for face retouching. In other words, Here’s a rundown of some key features and tips:
Key Tools and Techniques:
Neural Filters:
- Skin Smoothing: Uses AI to smooth skin textures while retaining important details.
- Smart Portrait: Above all, Allows adjustments to facial features, expressions, and more.
Spot Healing Brush Tool:
- However, Quickly removes blemishes, acne, and other minor imperfections by blending them with the surrounding skin.
Healing Brush Tool:
- Similar to the Spot Healing Brush but gives you more control over the sampled area, which can be useful for more complex retouching.
Clone Stamp Tool:
- Provides precision by allowing you to copy pixels from one part of an image to another. Useful for duplicating textures or removing larger blemishes.
Dodge and Burn Tools:
- For instance, Lighten (dodge) or darken (burn) specific areas to enhance facial contours and create depth.
Frequency Separation:
- In addition, A more advanced technique separates the texture and color layers of the image, allowing for detailed retouching without affecting skin texture.
Adobe Photoshop 2024 Retouching Tutorial,

Adobe Photoshop 2024 Retouching Tutorial, Workflow Tips:
Non-Destructive Editing:
- After that, Always work on duplicate layers or use adjustment layers and masks to ensure your edits are non-destructive.
Use Low Opacity and Flow:
- When using tools like the Clone Stamp or Healing Brush, set a lower opacity and flow to build up changes gradually and blend seamlessly.
Zoom In and Out:
- Regularly zoom in to work on fine details and zoom out to check the overall effect, ensuring the retouching looks natural.
Blend Modes:
- Experiment with different blend modes for layers to achieve the desired effect, especially when working with Dodge and Burn tools.
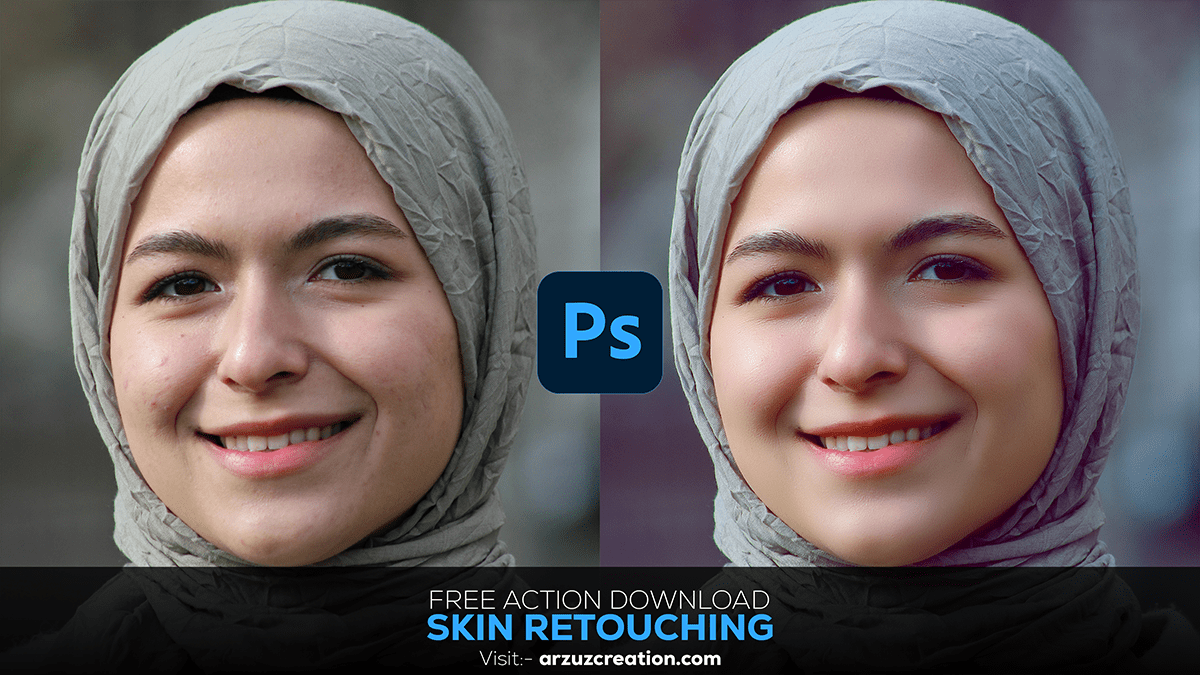
Before and After Comparison:
- Similarly, Frequently compare your edited image with the original to ensure you’re enhancing the face naturally without overdoing it.
Preserve Texture:
- Avoid over-smoothing the skin. Keeping some natural texture helps maintain a realistic look.

Example Steps for Basic Face Retouching:
Duplicate the Background Layer:
- Start by duplicating the background layer (Ctrl+J) to work non-destructively.
Apply Neural Filters:
- Go to
Filter > Neural Filtersand apply the Skin Smoothing filter to reduce skin imperfections.
Spot Healing:
- Use the Spot Healing Brush Tool (J) to remove blemishes and minor spots.
Dodge and Burn:
- Create a new layer, set it to Soft Light blend mode, and use a soft brush with low opacity to dodge (lighten) and burn (darken) areas to enhance facial features.
Photoshop Action Free Download,
Frequency Separation:
- Apply frequency separation to work on the texture and color layers separately for more detailed retouching.
Final Touches:
- Add final touches like sharpening the eyes or whitening the teeth using adjustment layers and masks.
In conclusion, Additional Resources:
- Adobe Tutorials: Adobe offers comprehensive tutorials on its website and YouTube channel.
- Online Courses: Platforms like Udemy, Coursera, and LinkedIn Learning provide in-depth courses on Photoshop retouching.
- Community Forums: Engage with the Photoshop community on forums like Adobe Support Community or Reddit for tips and feedback.
