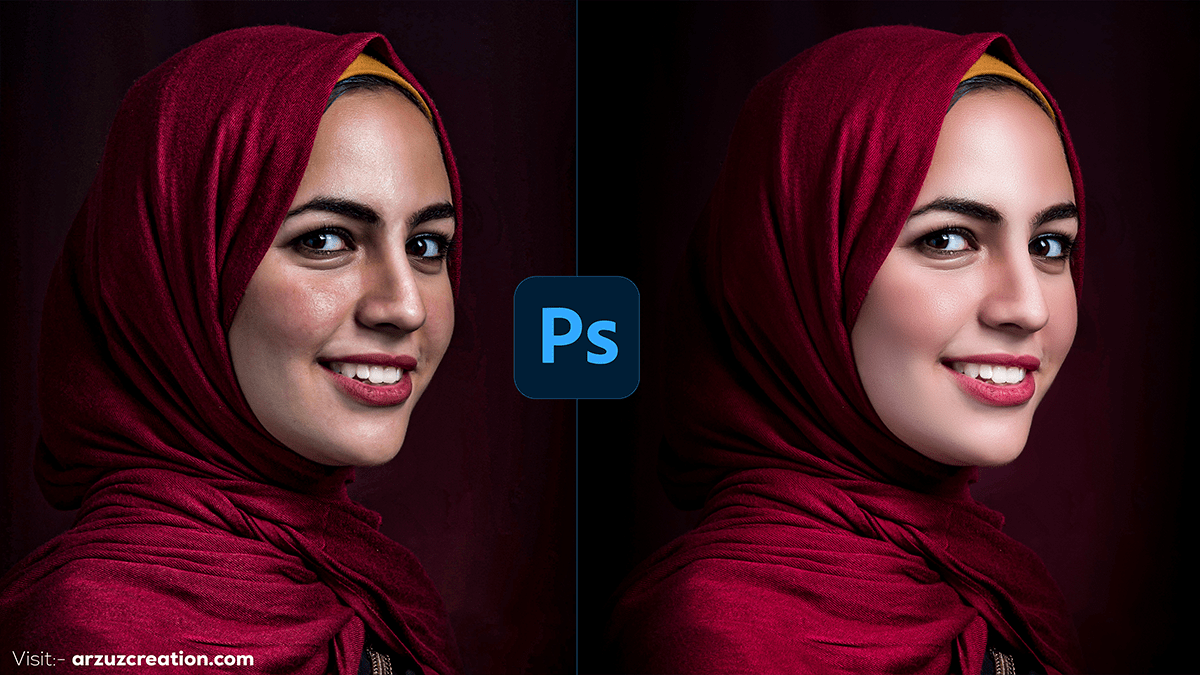
Photoshop Retouching Tutorial How to Retouch a Photo,

Therefore, High-end retouching in Photoshop involves a series of advanced techniques to enhance images, often used in fashion, beauty, and commercial photography. In other words, Here are some key steps and methods commonly employed in high-end retouching:
Non-Destructive Workflow:
- Smart Objects: However, Convert layers to smart objects to preserve the original image data.
- Adjustment Layers: For instance, Use adjustment layers for color correction and tonal adjustments.
- Layer Masks: Above all, Apply masks to control where adjustments are applied.
Skin Retouching:
- Frequency Separation: Separates texture and color/tone into different layers to independently retouch each aspect.
- Dodge and Burn: Enhances highlights and shadows to add depth and dimension to the skin.
- Healing Brush and Clone Stamp: Removes blemishes and imperfections without affecting the surrounding texture.
Detail Enhancement:
- High Pass Filter: In addition, it Sharpens details selectively.
- Micro Dodge and Burn: After that, fine-tune small areas of light and shadow for realistic texture.
Photoshop Retouching Tutorial, Color Grading:
- Selective Color Adjustments: Fine-tunes specific colors for a cohesive look.
- Gradient Maps: Adds creative color effects.
- Color Balance and Curves: Adjusts overall color tone and contrast.
Hair Retouching:
- Stray Hair Removal: Uses clone stamp and healing brush to tidy up stray hairs.
- Hair Volume and Texture: Enhances volume and texture using dodge and burn and custom brushes.
Eyes and Teeth:
- Whitening and Brightening: Uses selective color and dodge tools to brighten eyes and teeth.
- Detail Enhancement: Enhances iris detail and sharpness.
Photoshop Retouching Tutorial, Makeup Enhancement:
- Digital Makeup: Similarly, Add or enhance makeup using soft brushes and blending modes.
- Lip Color Adjustment: Therefore, fine-tune lip color and shape.
Final Touches:
- Vignetting: In other words, Draws attention to the subject using subtle vignettes.
- Sharpening: Final global sharpening to enhance overall image clarity.
- Review at 100% Zoom: However, Ensure all details are retouched seamlessly.
Photoshop Retouching Tutorial How to Retouch a Photo,

Photoshop Retouching Tutorial, Example Workflow:
- Preparation: Open your image and convert the layer to a smart object.
- Frequency Separation: Duplicate the layer and apply Gaussian Blur to one copy, then apply the High Pass filter to the other.
- Dodge and Burn: Create new layers set to soft light and paint with black and white brushes to enhance highlights and shadows.
- Color Grading: Use adjustment layers like curves, color balance, and selective color to adjust the overall color tone.
- Detail Work: Use the clone stamp, healing brush, and additional dodge and burn layers to perfect the details.
Tools and Techniques:
- Healing Brush Tool (J): Perfect for removing small blemishes and imperfections.
- Clone Stamp Tool (S): Useful for duplicating parts of an image or removing unwanted elements.
- Dodge Tool (O): Lightens areas of the image to enhance highlights.
- Burn Tool (O): Darkens areas to enhance shadows.
- Brush Tool (B): Essential for painting and creating soft transitions.
- Liquify Filter: This allows you to push, pull, rotate, and bloat parts of the image to refine shapes and features.
High-end retouching requires patience and attention to detail. It’s essential to work slowly and make small adjustments to maintain the natural look of the subject.
