Photoshop 2024 Retouch Tutorial For Beginners,
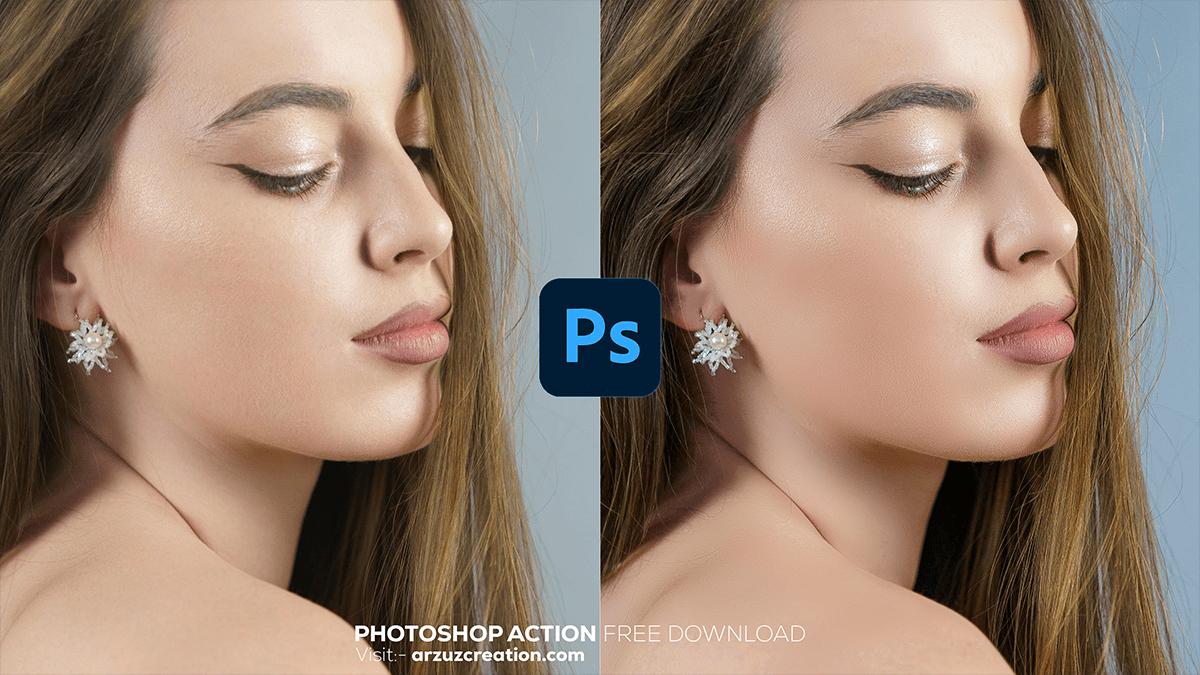
Therefore, Here’s a basic Photoshop portrait retouching tutorial that covers some of the most important steps for enhancing a portrait without making it look overly edited.

Duplicate the Background Layer:
In other words, Open your image in Photoshop.
However, Press Ctrl + J (Windows) or Cmd + J (Mac) to duplicate the background layer. This ensures that you’re working non-destructively.
Photoshop 2024 Full Retouch, Spot Healing Brush for Blemishes:
For instance, Select the Spot Healing Brush Tool from the toolbar (J).
Above all, Zoom in on your image and carefully remove any blemishes, pimples, or unwanted marks. The brush will blend the texture around the area to create a smooth surface.
Frequency Separation (Optional for Advanced Users):
In addition, This technique separates the texture from the color in an image so you can edit them independently. You can download actions or do it manually:
Above all, Create two duplicates of the background layer.
After that, Name the bottom one “Low Frequency” (color) and the top one “High Frequency” (texture).
In addition, Apply a Gaussian Blur to the “Low Frequency” layer (2-3 px depending on the image).
Above all, Select the “High Frequency” layer, go to Image > Apply Image, choose the “Low Frequency” layer, set the blending mode to Subtract, and scale to 2. Then, change the layer blending mode to Linear Light.
After that, You can now smooth skin using the low-frequency layer and retain texture details with the high-frequency layer.
Photoshop 2024 Full Retouch Tutorial For Beginners,

Dodge and Burn for Light Adjustments:
Similarly, Create a new layer set to Soft Light.
Therefore, Use the Brush Tool with a soft, low-opacity brush to gently paint over areas of the face where you want to lighten (dodge) or darken (burn). Common areas to dodge include the forehead, cheeks, and chin. Areas to burn might include the sides of the nose or under the jawline to enhance contours.
Enhance the Eyes:
In other words, Use the Dodge Tool to subtly brighten the whites of the eyes and the irises. Be careful not to overdo it; subtlety is key to keeping it realistic.
However, You can also add sharpness to the eyes by selecting them and applying Unsharp Mask from the Filter > Sharpen menu.
Photoshop 2024 Full Retouch, Teeth Whitening:
For instance, Select the Lasso Tool and carefully select around the teeth.
Above all, Create a Hue/Saturation adjustment layer and reduce the yellow saturation. Increase the lightness a little to make the teeth appear whiter.
Smoothing Skin:
In addition, Create a new blank layer and select the Clone Stamp Tool set to a low opacity (around 20-30%). Sample clean skin areas and gently brush over any uneven patches.
After that, Alternatively, use a skin-smoothing plugin or action if you have one, but ensure that some texture remains.
Color Correction and Finishing Touches:
Therefore, Apply a Curves or Levels adjustment layer to correct the brightness and contrast.
In other words, If necessary, use the Selective Color adjustment layer to fine-tune specific colors (such as reducing red in the skin tones).
However, Add any final sharpening to the overall image using Unsharp Mask or Smart Sharpen.
Photoshop 2024 Full Retouch, Final Review:
Therefore, Zoom out and look at the image from different distances. Make sure everything looks natural and that no area is overly retouched.
Save Your Work:
In other words, Save your portrait in a PSD file to preserve the layers for future adjustments. Then, export the final image in your desired format (usually JPEG for web, TIFF for print).
Would you like a more detailed breakdown of any of these steps, or do you have a specific aspect you’d like to focus on?