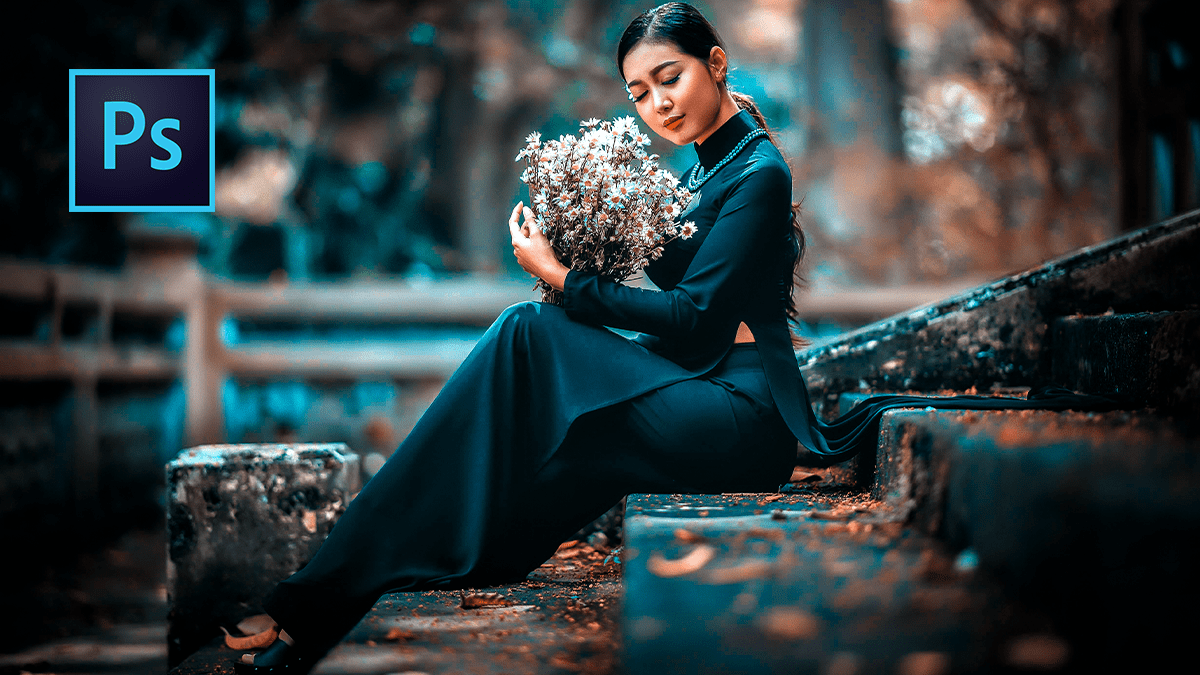
Cinematic Blue Tone Photo Editing in Adobe Photoshop 2025,
Therefore, creating a cinematic blue tone is one of the most popular ways to give photos a “moody” or “Hollywood” look. This is often achieved by adding Teal/Blue to the shadows and Orange/Yellow to the highlights (split toning).
Therefore, here are the three most effective methods to achieve this in Photoshop.

Cinematic Blue Tone Photo Editing in Adobe Photoshop 2025
Method 1: Using the Camera Raw Filter (Easiest)
Therefore, This is the most modern and intuitive way to color grade.
- Open Filter: In other words, select your layer and go to Filter > Camera Raw Filter…
- Basic Adjustments: Lower the Temperature slider toward blue. Increase Contrast and slightly drop the Blacks to create depth.
- Color Grading Panel:
- Shadows: In other words, drag the middle point of the wheel toward Blue/Teal.
- Highlights: Drag the middle point slightly toward Orange/Yellow to keep skin tones natural.
- Blending/Balance: Move the “Balance” slider to the left if you want more blue to dominate the image.
- Calibration (The Secret Sauce): In other words, scroll to the bottom panel. Set the Blue Primary Hue to the left (toward -50) to get that deep cinematic teal.
Cinematic Blue Tone Photo Editing in Adobe Photoshop 2025
Step 2: Selective Color (Professional Control)
In other words, this method allows you to inject blue into specific tonal ranges without affecting the whole image.
- Go to Layer > New Adjustment Layer > Selective Color.
- Neutrals: Change the dropdown to “Neutrals” and adjust:
- Cyan: +10 to +20
- Yellow: -10 to -20 (Moving yellow to the left adds blue)
- Blacks: In other words, change the dropdown to “Blacks” and add a bit more Cyan (+5).
- Reds/Yellows: To keep skin looking natural, select “Reds” and decrease Cyan (-10) to bring back the warmth in faces.
Method 3: Curves (Classic Film Look)
In other words, Curves give you the most “filmic” control over the RGB channels.
- Add a Curves adjustment layer.
- Blue Channel: In other words, select “Blue” from the dropdown. Lift the bottom-left point (Shadows) to add blue to the dark areas. Drop the top-right point (Highlights) down slightly to add a hint of yellow to the bright areas.
- Red Channel: Select “Red” and pull the middle of the curve down slightly to add Cyan to the midtones.
- RGB (Contrast): In other words, switch back to “RGB” and create a subtle S-Curve (lift highlights, drop shadows) to make the colors pop.
Cinematic Blue Tone Photo Editing in Adobe Photoshop 2025
Pro Tips for the “Cinematic” Look
- Crush the Blacks: However, in your Curves layer, lift the very bottom-left point vertically. This turns true blacks into a “faded” dark grey, common in film.
- Vignette: Go to Filter > Lens Correction (or Camera Raw) and add a slight dark vignette to draw focus to the center.
- Add Grain: However, A small amount of grain (Filter > Noise > Add Noise at 2-3%) can help sell the movie-still aesthetic.
Would you like me to create a specific Photoshop Action or a step-by-step guide for a particular type of photo, like a night street scene or a portrait?
